10 Basic Steps to Install Deck Tiles
The smell of damp earth and the crisp turgor of a healthy leaf define a successful garden; however, the structural foundation of your outdoor space requires equal precision. Integrating a stable floor is a critical horticultural necessity to prevent soil compaction in high traffic areas. Following the correct steps to install deck tiles ensures a level surface that protects the surrounding rhizosphere from heavy footfall. This installation process demands the same attention to drainage and structural integrity as preparing a seedbed for high value perennials.
A successful installation begins with a stable substrate. Whether you are placing tiles over an existing concrete slab or a compacted gravel base, the goal is to prevent moisture pooling that leads to fungal pathogens. Deck tiles provide a modular solution for transforming sterile surfaces into functional spaces. By understanding the mechanical properties of your materials and the environmental stressors of your specific microclimate, you can create a durable transition between your home and your botanical collection. Precision in the early stages of the steps to install deck tiles prevents shifting and buckling during seasonal freeze thaw cycles.
Materials:

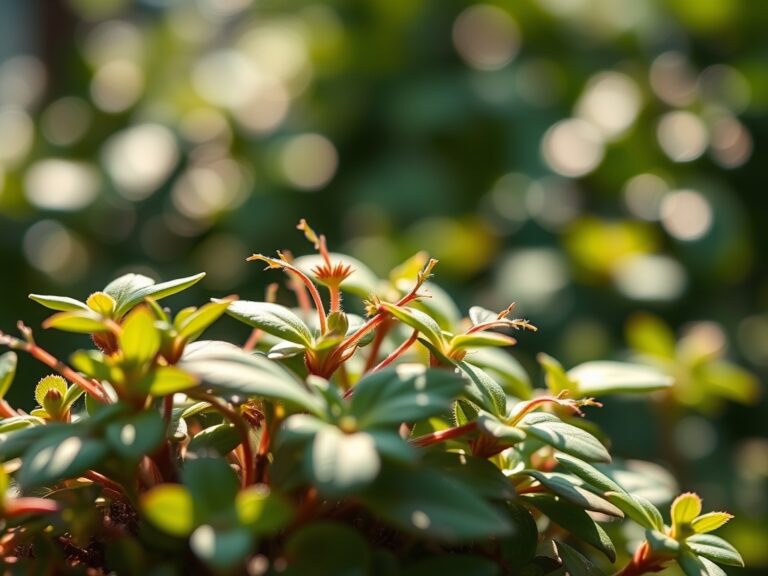
Substrate preparation requires an understanding of soil chemistry if the tiles border planting beds. The ideal surrounding soil is a friable loam with a pH between 6.0 and 7.0 to ensure optimal nutrient availability. When selecting materials for the installation area, consider the Cation Exchange Capacity (CEC) of the underlying soil. High CEC soils, such as those rich in clay or organic matter, retain more nutrients but may suffer from poor drainage.
For the installation, you require:
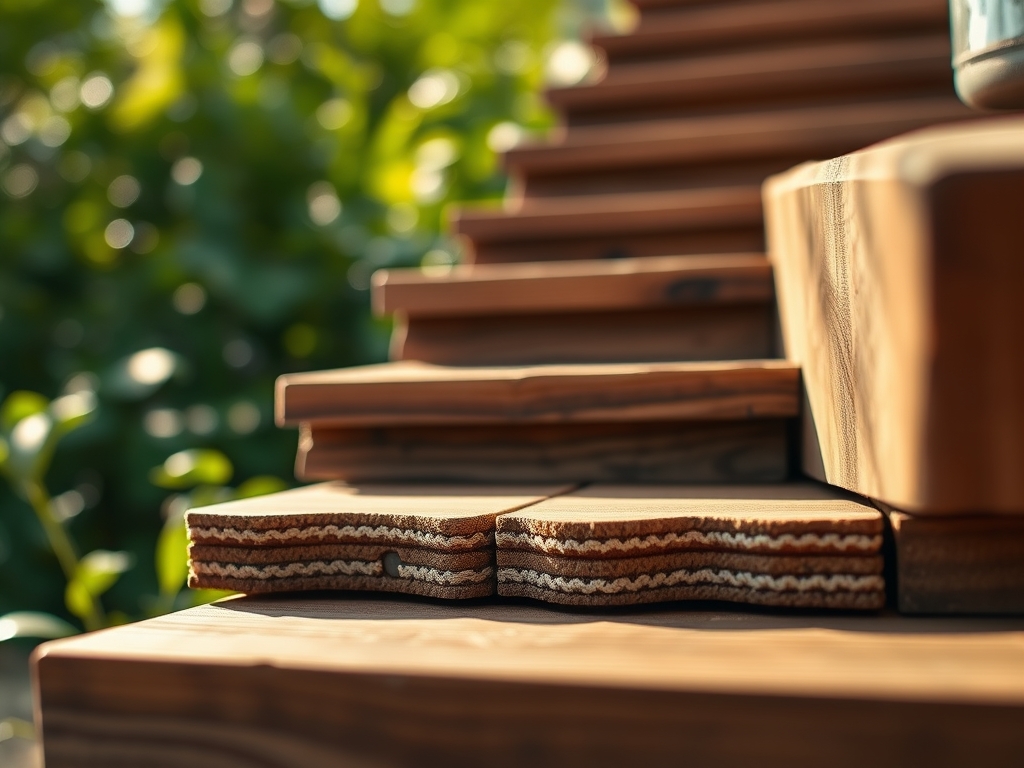
- Interlocking deck tiles (Wood, composite, or stone).
- A level surface with a 1 to 2 percent slope for drainage.
- Landscape fabric to suppress weed growth if installing over soil.
- Crushed stone or gravel (Size: 0.5 to 0.75 inches) for a stable base.
- Edging materials to prevent lateral shifting.
If your tiles are adjacent to heavy feeders, ensure the soil is amended with an NPK ratio of 10-10-10 to support baseline growth. Avoid high nitrogen fertilizers (e.g., 21-0-0) near wood tiles, as runoff can promote the growth of surface algae or wood-decaying fungi.
Timing:
Installation should occur during periods of environmental stability. In Hardiness Zones 4 through 7, the ideal window is late spring after the final frost date has passed. This prevents the substrate from shifting due to frost heave. Observe the biological clock of your garden; avoid heavy construction during the peak reproductive stages of your plants to prevent stress from dust and physical disturbance.
The transition from vegetative growth to flowering requires high metabolic energy. Installing deck tiles during the dormant season (late autumn) is also acceptable in warmer Hardiness Zones 8 through 10. This timing allows the ground to settle before the spring surge in turgor pressure and root expansion. Always monitor local weather patterns; a dry 48 hour window is necessary to ensure the substrate remains stable during the leveling process.
Phases:

Sowing the Foundation
The first phase involves clearing the site of all organic debris. Remove weeds and turf to a depth of 4 inches. Level the area using a rake and a spirit level. If the tiles sit on soil, lay down a heavy duty landscape fabric to prevent geotropism in weed seeds.
Pro-Tip: Proper drainage prevents anaerobic conditions in the soil. When water saturates the substrate, it displaces oxygen, leading to root rot in nearby plants due to a lack of cellular respiration.
Transplanting the Tiles
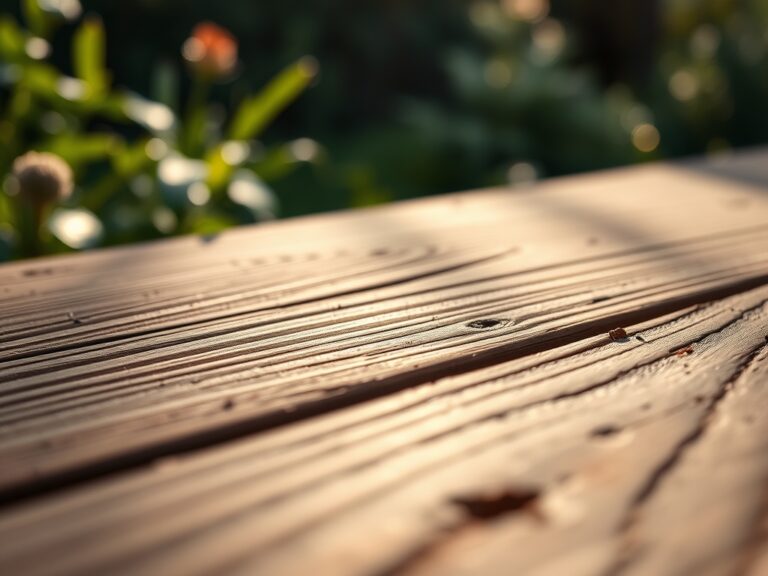
Begin laying tiles at the most visible corner of the area. Align the interlocking tabs and press firmly until they click into place. Use a rubber mallet for stone or heavy composite tiles to ensure a flush fit. Maintain a consistent pattern to ensure structural integrity across the entire surface.
Pro-Tip: Leave a 0.25 inch gap at the perimeter. This allows for thermal expansion. Materials expand and contract based on temperature; ignoring this can lead to buckling, similar to how internal turgor pressure causes plant cells to expand.
Establishing the Perimeter
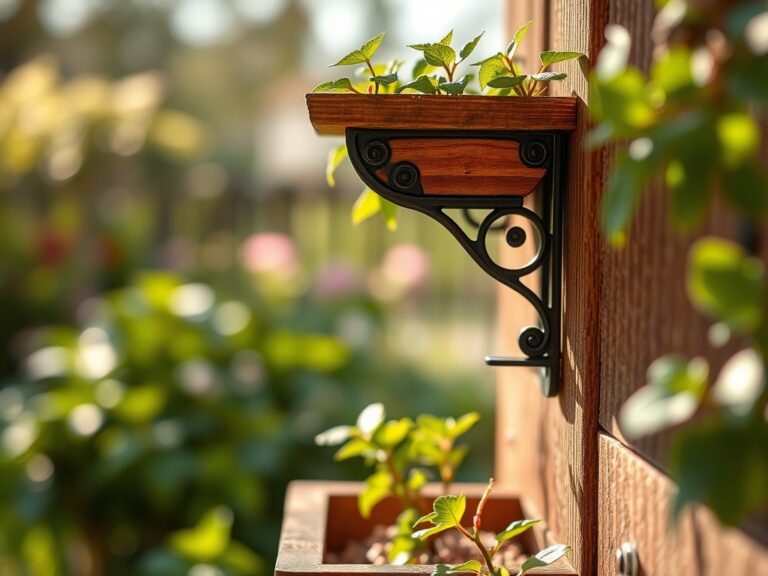
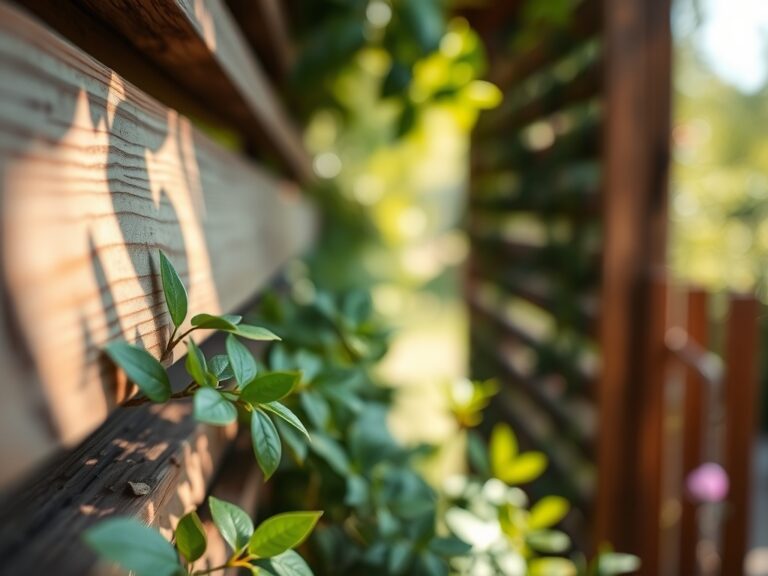
Once the main field is laid, cut edge tiles to fit using a jigsaw or miter saw. Secure the edges with a dedicated transition strip or a border of heavy stones. This prevents the tiles from migrating over time due to lateral forces.
Pro-Tip: Use a hori-hori knife to trim away encroaching root systems or sod at the edge of the tile line. Removing competing vegetation reduces auxin suppression in your desired plants, allowing them to grow more vigorously toward the new border.
The Clinic:
Physiological disorders in your garden often manifest through visible symptoms. Use this guide to diagnose and treat issues near your new deck installation.
Symptom: Interveinal chlorosis (yellowing leaves with green veins).
Solution: This indicates a micronutrient deficiency, often Iron or Magnesium. Test the soil pH. If the pH is above 7.0, iron becomes insoluble. Apply chelated iron to restore chlorophyll production.
Symptom: Leaf scorch or marginal necrosis.
Solution: This suggests moisture stress or salt accumulation. Ensure the deck tiles are not redirecting salty runoff from de-icing agents into the root zone. Flush the area with 2 inches of fresh water.
Symptom: Stunted growth and purplish stems.
Solution: This is a classic sign of Phosphorus deficiency. Phosphorus is essential for ATP production and energy transfer. Apply a bone meal or a 5-10-5 fertilizer to the rhizosphere.
Fix-It: Nitrogen Chlorosis
If plants near the deck show uniform paling of older leaves, they lack Nitrogen. Apply a quick release liquid fertilizer with a high first number (e.g., 20-10-10) to boost vegetative vigor immediately.
Maintenance:
A professional maintenance schedule preserves both the tiles and the surrounding flora. Use a soil moisture meter twice weekly to ensure the area under and around the tiles maintains a consistent moisture level. Most established perennials require 1.5 inches of water per week at the drip line.
Keep the tile gaps clear of organic matter. Accumulated leaf litter breaks down into compost, which can harbor pests or provide a medium for weed seeds to germinate. Use bypass pruners to keep overhanging branches at least 12 inches away from the tile surface to improve airflow and reduce the risk of powdery mildew. Every two years, inspect the levelness of the tiles; if shifting has occurred, lift the affected section and add more leveling sand to the base.
The Yield:
If your deck tiles surround a container garden or edible border, harvesting must be timed to peak sugar and oil content. For leafy greens, harvest in the early morning when turgor pressure is highest. This ensures the cells are fully hydrated, providing a crisp texture. Use a sharp hori-hori knife to make clean cuts, reducing the surface area for potential pathogen entry.
Post harvest, immediately move produce to a cool, shaded area. Removing field heat is the most critical step for maintaining "day-one" freshness. For flowers, cut stems at a 45 degree angle and submerge in 100 degree Fahrenheit water to break air locks in the xylem, ensuring maximum water uptake during senescence.
FAQ:
Can I install deck tiles directly over grass?
No. Grass will decay, causing the tiles to become uneven and unstable. You must remove the sod, compact the soil, and lay a gravel base or landscape fabric to ensure a flat, well drained surface for the tiles.
How do I clean deck tiles safely for my plants?
Use a solution of mild dish soap and water with a stiff brush. Avoid bleach or harsh chemical cleaners, as runoff can alter soil pH and damage the delicate microbial life within the surrounding rhizosphere.
Do deck tiles require sealing?
Wood tiles, such as Ipe or Acacia, require an annual application of UV resistant oil. This prevents silvering and cracking caused by photo-oxidation. Composite and stone tiles generally do not require sealing but should be kept free of debris.
How do I handle drainage on a flat concrete balcony?
Ensure the concrete has a slight pitch. Most deck tiles feature a built-in drainage grid on the underside. This allows water to flow freely beneath the tiles toward the floor drain, preventing standing water and mosquito breeding sites.