5 Stylish Ways How to Build a Louvered Privacy Wall
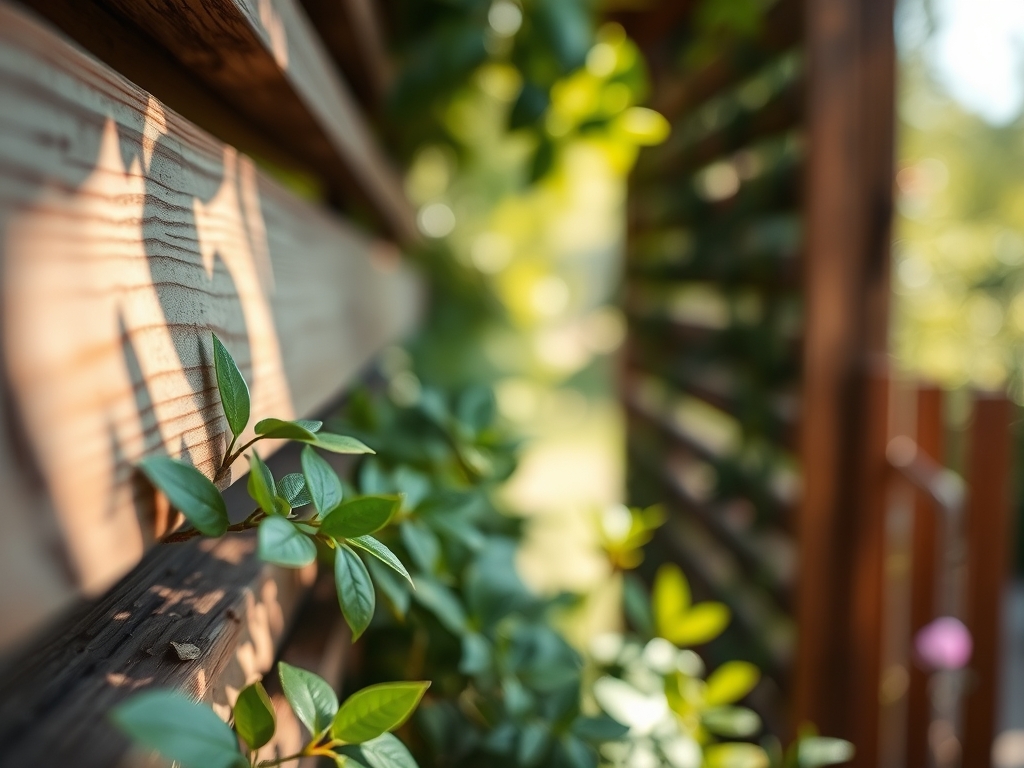
The scent of damp, mineral-rich earth signals a high Cation Exchange Capacity (CEC) in the rhizosphere; it is the foundation of any structural garden project. When you learn how to build a louvered privacy wall, you are managing microclimates and airflow as much as aesthetics. These slats must withstand the turgor pressure of climbing vines while resisting the rot induced by high humidity. Structural integrity begins with understanding the soil mechanics that support your posts.
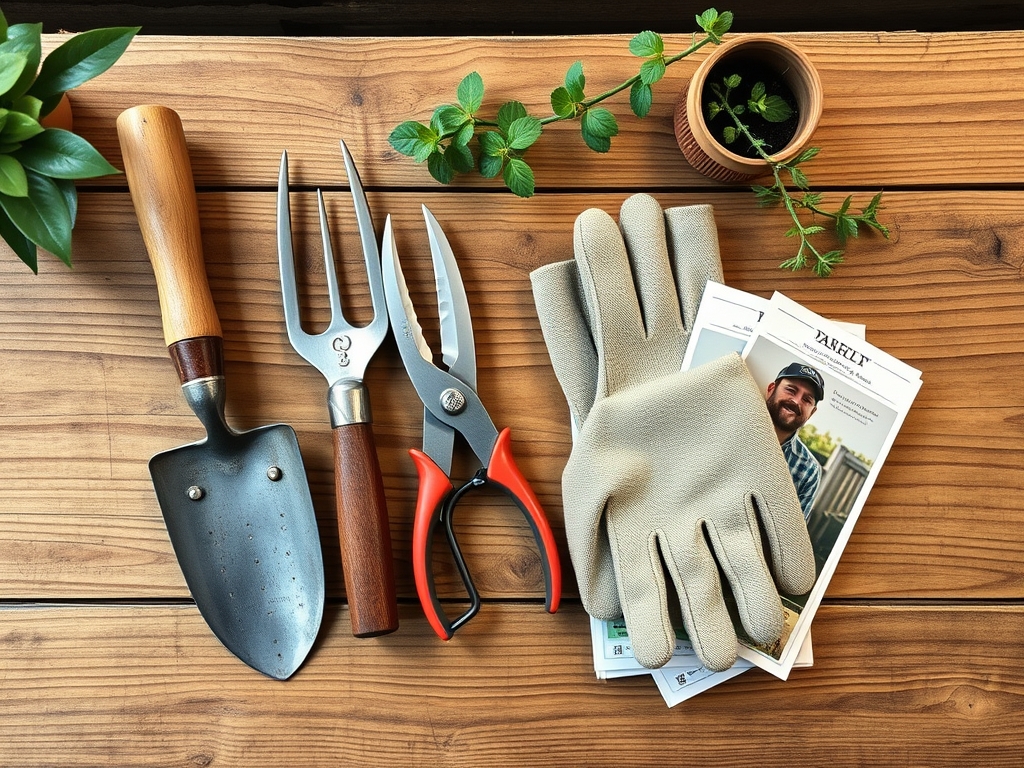
Materials:
A louvered wall is a living extension of the landscape. To support perimeter plantings, the soil must be a **friable loam** with a pH between **6.0 and 7.0**. High-alkaline soils limit the bioavailability of micronutrients like iron and manganese. Prepare the surrounding beds with a **10-10-10 NPK ratio** to ensure balanced vegetative growth and root development. For heavy feeders like *Clematis* or *Hydrangea* that might flank the wall, an NPK of **5-10-10** encourages lignification of stems rather than excessive foliage. The substrate should feel granular; it must crumble under 5 pounds of pressure per square inch to allow for maximum oxygen diffusion to the root zone.
Timing:
Construction and planting must align with your local Hardiness Zone. In Zones 5 through 7, the ideal window opens after the final frost, typically between April 15 and May 15. This timing exploits the biological clock of the plant, specifically the transition from dormancy to the vegetative stage. You must set your posts before the spring flush of growth to avoid damaging emerging root systems. Avoid construction during the summer solstice when high evapotranspiration rates can stress any new plantings positioned near the wall. Aim for a soil temperature of at least 55 degrees Fahrenheit to ensure microbial activity is high enough to process organic matter around the structure.
Phases:

Sowing and Foundation
Excavate post holes to a depth of 36 inches or below the frost line to prevent heave. If you are planting seeds at the base, such as Ipomoea tricolor, ensure the soil is loose and well-aerated.
Pro-Tip: Maintain a 2-foot clearance between the wall and the main stem of any shrub. This prevents auxin suppression, where the plant's hormonal response to shade causes leggy, weak growth as it searches for light.
Transplanting and Angling
When installing the louvers, angle them at 45 degrees. This allows for optimal light penetration for understory plants. When transplanting container-grown specimens, ensure the root ball is level with the soil surface to prevent crown rot.
Pro-Tip: Dust the root ball with mycorrhizal fungi before backfilling. This symbiotic relationship increases the root surface area by up to 100 times, significantly improving phosphorus uptake and drought resistance.
Establishing the Structure
Secure the slats using stainless steel fasteners to prevent tannin staining on the wood. As the plants begin to climb, use soft ties to encourage upward movement.
Pro-Tip: Monitor the phototropism of your plants. If the wall creates too much shade, the plants will lean away from the structure. Adjust the louver pitch to allow more dappled sunlight to reach the lower foliage, preventing premature senescence of the bottom leaves.
The Clinic:
Physiological disorders often mimic pest damage but are usually environmental.
- Symptom: Interveinal chlorosis (yellowing between leaf veins).
Solution: This is often a sign of Iron deficiency caused by a pH above 7.5. Lower the pH using elemental sulfur or chelated iron drench.
- Symptom: Marginal leaf burn or necrosis.
Solution: This indicates Potassium deficiency or salt buildup. Flush the soil with 2 inches of water and apply a high-K fertilizer.
- Symptom: Leaf curl and stunted terminal buds.
Solution: Often a Calcium deficiency in acidic soils. Apply lime to raise the pH and increase calcium availability.
- Fix-It (Nitrogen Chlorosis): If the entire leaf turns pale green or yellow, apply a quick-release nitrogen source with an NPK of 21-0-0 (Ammonium Sulfate) to restore chlorophyll production.
Maintenance:
Precision is the hallmark of a master gardener. Use a soil moisture meter to ensure the root zone stays between 40% and 60% field capacity. Provide 1.5 inches of water per week at the drip line; do not spray the louvers directly to prevent fungal pathogens. Use a hori-hori knife to remove deep-rooted weeds that compete for nutrients. Every spring, inspect the structural integrity of the wall. Use bypass pruners to thin out dead wood (senescent tissue) from any climbing plants to improve airflow and reduce the risk of powdery mildew.
The Yield:
If your louvered wall supports edible crops like Actinidia arguta (Hardy Kiwi), harvest when the fruit reaches a sugar content of 18 to 22 Brix. Use a refractometer for accuracy. Harvest in the early morning when turgor pressure is highest. This ensures the fruit is crisp and prevents wilting. Handle the harvest with nitrile gloves to avoid bruising the delicate skin. Store in a cool, dark environment at 35 degrees Fahrenheit to slow the metabolic rate and preserve "day-one" freshness.
FAQ:
What is the best wood for a louvered wall?
Western Red Cedar or Ipe are superior. They contain natural oils that resist rot and fungal decay. These woods maintain structural integrity in high-humidity environments where saprophytic fungi typically thrive and break down cellulose.
How far apart should I space the louvers?
Space slats 2 to 4 inches apart. This gap allows for adequate gas exchange and wind passage. Tight spacing creates a wind sail effect that can destabilize the post footings during high-velocity weather events.
Can I grow heavy vines on a louvered wall?
Yes, but you must reinforce the frame. Heavy vines like Wisteria exert significant thigmotropic force, which can warp slats. Use 4×4 posts and 2×6 frames to handle the increased weight and mechanical stress of the woody biomass.
Do I need to treat the wood?
Apply a UV-resistant penetrant every 24 months. This prevents the breakdown of lignin in the wood fibers. Untreated wood becomes silver and brittle, losing the elasticity required to withstand seasonal expansion and contraction cycles.
How do I prevent root rot near the wall?
Ensure the site has a 2% slope away from the structure. Use a soil mix with at least 20% perlite or coarse sand to increase macropore space. This prevents anaerobic conditions that lead to Phytophthora infections.