6 Easy Steps to Install Sticky Traps
The glossy yellow surface catches the first fungus gnat in minutes. Within an hour, thrips and whiteflies crowd the adhesive perimeter, trapped mid-flight before they can lay eggs on your tomato foliage. Understanding the precise steps to install sticky traps transforms passive observation into active integrated pest management, reducing insect populations by 60-80% in greenhouse and indoor environments without synthetic pesticides. These traps exploit phototactic behavior, the instinctive movement of insects toward specific wavelengths, typically yellow for fungus gnats and blue for thrips.
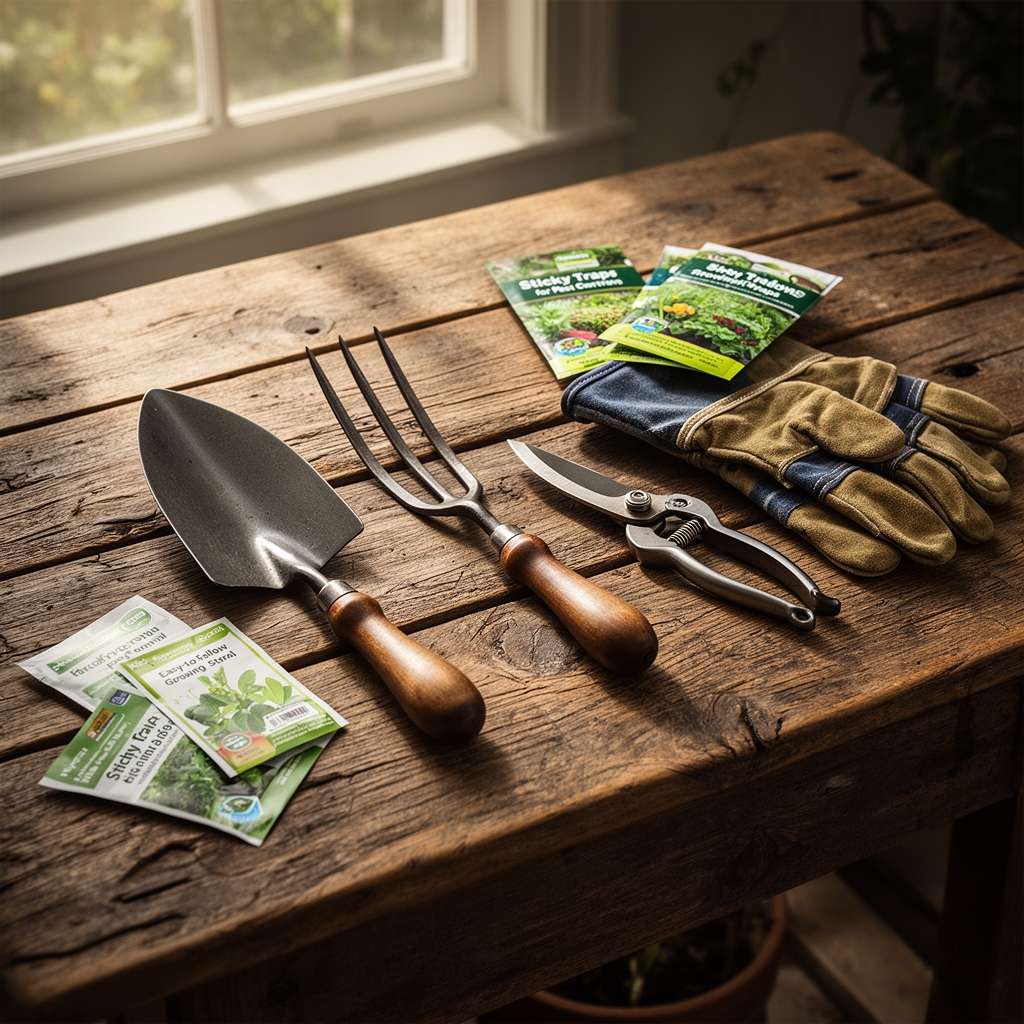
Materials
Select traps rated for your target pest. Yellow cards attract fungus gnats, aphids, whiteflies, and leafminers. Blue cards draw thrips and leafminer adults. Each trap measures 3×5 inches or 5×7 inches for commercial applications. Purchase water-resistant adhesive formulations that maintain tack for 8-12 weeks under 60-80°F and 50-70% relative humidity.
Wooden stakes or wire hangers accompany most trap kits. Choose 12-18 inch stakes for soil insertion near containerized plants. Wire hangers suit overhead suspension in greenhouses. For pH-sensitive crops like blueberries (requiring 4.5-5.5 pH) or brassicas (6.0-7.5 pH), avoid treated wood stakes that leach alkaline compounds. Untreated bamboo stakes preserve soil chemistry.
Mounting hardware includes twist ties, zip ties, or small spring clamps. Stainless steel or UV-resistant plastic ensures longevity. Avoid copper wire near copper-sensitive plants like lettuce, where excess cations disrupt auxin distribution and cause tip burn.
Monitoring tools include a hand lens (10x magnification) for species identification and a field notebook for tracking catch rates. Document traps per 100 square feet and insects per trap per week to calculate economic thresholds.
Timing
Install traps two weeks before transplanting seedlings into their final growing positions. This pre-emptive window allows you to establish baseline pest pressure in Zones 3-11. In northern climates (Zones 3-6), indoor installation begins in late February when seed-starting operations commence under grow lights. Southern growers (Zones 8-11) benefit from year-round deployment, rotating traps every 60 days to maintain adhesive effectiveness.
Synchronize installation with soil temperature monitoring. When root-zone temperatures stabilize at 55-65°F, fungus gnat larvae emerge from dormant eggs in potting media. Adult emergence peaks 10-14 days after temperature rise, coinciding with optimal trap placement.
Frost-date calculations guide outdoor installation. Position traps three days before the last expected spring frost, ensuring protection during the vulnerable transplant phase. Fall crops require trap installation six weeks before the first frost, when aphid populations migrate from senescing summer annuals.
Phases

Sowing Phase
Insert one trap per 10-12 square feet of seed-starting area. Place traps at soil level, positioned 2-4 inches from seed trays. The low placement intercepts fungus gnats emerging from moist germination media. Anchor stakes 3 inches deep into bench tops or trays using floral foam blocks for stability.
Pro-Tip: Inoculate seed-starting mix with Steinernema feltiae nematodes at 50 million per 1,000 square feet. These biological control agents parasitize fungus gnat larvae while traps capture adults, reducing populations by 85-90% within three weeks.
Transplanting Phase
Elevate traps to canopy height as seedlings develop true leaves. Position traps 6-8 inches above growing points to intercept whiteflies and winged aphids without shading photosynthetic tissue. Space traps 15-20 feet apart in greenhouse rows, creating overlapping zones of attraction.
Secure traps to support stakes using adjustable clips. Maintain vertical orientation, perpendicular to prevailing air currents. Horizontal placement reduces effective surface area by 40%.
Pro-Tip: Apply mycorrhizal fungi (Rhizophagus irregularis) at transplant to enhance nutrient uptake through expanded cation exchange capacity. Healthier root systems produce fewer volatile organic compounds that attract pest insects.
Establishing Phase
Reposition traps weekly as plants mature. Adult plant canopies require trap placement at multiple heights: lower traps at 6 inches for soil-emerging pests, mid-canopy traps at 18-24 inches, and upper traps at 36-40 inches for mobile fliers. This stratified approach captures insects across all vertical zones.
Replace saturated traps when 60% of surface area shows insect coverage. Reduced adhesive exposure below this threshold decreases trapping efficiency by 50%.
Pro-Tip: Prune lower foliage at 45-degree angles to improve air circulation and reduce humidity gradients that favor fungus gnat breeding. Remove pruned material immediately to eliminate egg-laying sites.
Troubleshooting
Symptom: Low trap counts despite visible pest damage.
Solution: Verify trap color matches target pest. Blue traps catch 3x more thrips than yellow. Confirm placement within 12 inches of infested plants. Insects exhibit limited flight range, typically 6-18 inches per day.
Symptom: Traps capture beneficial insects (parasitic wasps, lacewings).
Solution: Reduce trap density to one per 25 square feet. Release beneficials after traps saturate, allowing predator establishment when pest populations decline.
Symptom: Adhesive degradation in high humidity.
Solution: Apply traps in 40-60% relative humidity. Use desiccant packets or improve ventilation. Adhesive failure occurs above 75% humidity.
Symptom: Traps dislodge during watering or ventilation.
Solution: Anchor stakes 4-6 inches deep. Use 14-gauge wire for overhead suspension, supporting 0.5 pounds per trap.
Symptom: Fungus gnats persist despite trapping.
Solution: Reduce irrigation frequency. Allow top 1-2 inches of growing media to dry between waterings. Larvae require saturated conditions to complete development.
Maintenance
Inspect traps every 3-4 days during peak growing season. Count and record insects using a handheld counter. Economic thresholds vary: 10 whiteflies per trap per week justifies biological control release, while 50 fungus gnats indicates immediate media sanitation.
Water plants from below using capillary mats or sub-irrigation to minimize surface moisture. Apply 0.5-0.75 inches of water per irrigation cycle for containerized plants, adjusted for cation exchange capacity of the growing media.
Rotate trap positions 90 degrees weekly to expose fresh adhesive to flight paths. Insects approach from variable angles based on air current patterns.
Clean trap stakes with isopropyl alcohol before reuse. Residual adhesive harbors pathogen spores that persist between growing cycles.
FAQ
How many traps per plant?
One trap per 4-6 containerized plants or one per 100-150 square feet in beds. Dense plantings require increased density to one per 75 square feet.
Do traps work outdoors?
Limited effectiveness. Wind dispersal exceeds trap attraction range. Use for monitoring only, deploying one trap per 500 square feet to track migration patterns.
When should I replace traps?
Every 60-90 days under normal conditions. Replace immediately if dust, pollen, or irrigation spray reduces adhesive function.
Can I make homemade traps?
Yes. Coat yellow cardstock with petroleum jelly or commercial Tanglefoot. Efficacy drops 20-30% compared to commercial formulations due to inconsistent adhesive coverage.
Do traps eliminate all pests?
No. Traps reduce populations 60-80% when combined with cultural controls. Integrate with beneficial insect releases and sanitation practices for complete management.