8 Airflow Steps for Treating Edema in Houseplants
The smell of damp earth signals a healthy rhizosphere, but when a leaf feels unnaturally swollen or displays corky protrusions, the plant is suffering from physiological distress. Edema occurs when the rate of water absorption exceeds the rate of transpiration; essentially, the roots take in more fluid than the stomata can release. This buildup of internal pressure causes cells to rupture and scar. Implementing effective steps for treating edema with better airflow is the primary method for stabilizing internal turgor pressure and restoring cellular integrity.
Professional growers recognize that air movement is not merely about cooling; it is the mechanical driver of the transpiration stream. Without a consistent atmospheric deficit, water stagnates in the vascular tissue. This guide provides the technical protocols for managing air movement and environmental variables to arrest the progression of edema.
Materials:

The substrate must facilitate rapid drainage to prevent waterlogging. An ideal mix is a **friable loam** consisting of 40 percent coarse perlite, 30 percent coconut coir, and 30 percent composted pine bark. This composition ensures high macroporosity, allowing oxygen to reach the roots even after saturation.
Maintain a soil pH between 6.2 and 6.8 to optimize nutrient availability. For plants prone to edema, avoid high-nitrogen fertilizers which can lead to soft, succulent growth that is more susceptible to cell rupture. Use a balanced NPK ratio of 10-10-10 or a formulation slightly higher in potassium, such as 5-10-15. Potassium is essential for regulating stomatal opening and closing, which directly impacts how the plant manages internal water pressure. High Cation Exchange Capacity (CEC) materials like zeolites can be added to the mix to buffer nutrient delivery and improve water distribution throughout the root zone.
Timing:
While houseplants are sheltered from outdoor frost, they remain tethered to the seasonal photoperiod. Edema is most prevalent during late autumn and winter when light levels drop and indoor humidity rises. During these periods, the plant's biological clock shifts into a slower metabolic state.
In Hardiness Zones 5 through 7, the transition from the vegetative stage to a semi-dormant state occurs as day lengths fall below 12 hours. This is the critical window for adjusting airflow. You must reduce irrigation frequency at least 14 days before the first frost date in your region, as the decrease in ambient temperature slows the evaporation rate from the foliage. Monitor the transition from vegetative growth to reproductive or dormant phases; plants in a reproductive state require higher transpiration rates to move calcium to new tissues.
Phases:

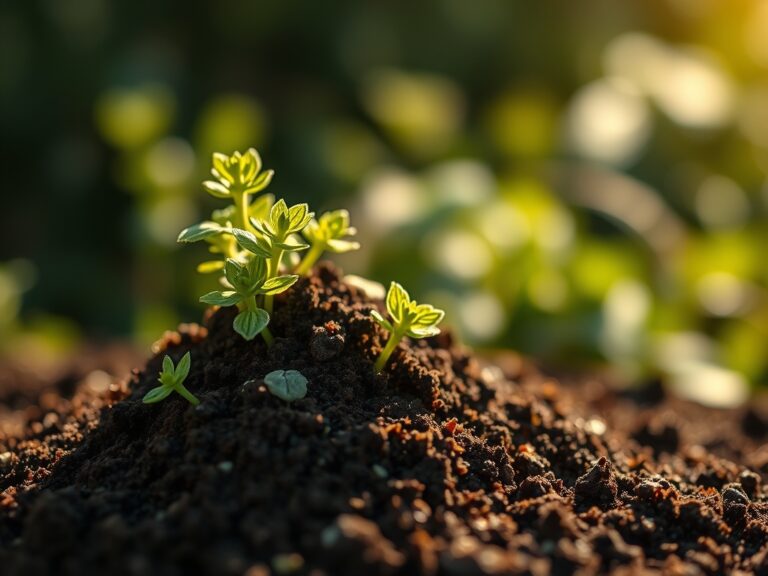
Sowing and Seedling Development
Start seeds in a sterile, well-aerated medium. Maintain a constant temperature of 70 to 75 degrees Fahrenheit to ensure rapid germination. Use an oscillating fan on its lowest setting to create a gentle breeze over the seed trays. This mechanical stress strengthens the cell walls of the emerging hypocotyl.
Pro-Tip: This mechanical stimulation, known as thigmomorphogenesis, triggers the plant to produce shorter, thicker stems. This structural reinforcement makes the plant more resilient to the internal pressures that cause edema later in life.
Transplanting and Root Establishment
When moving a plant to a larger vessel, ensure the new pot has multiple drainage holes. Use a hori-hori knife to gently loosen the root ball if it has become pot-bound. Position the plant so the crown sits slightly above the soil line to prevent crown rot. After transplanting, maintain a relative humidity of 50 to 60 percent.
Pro-Tip: Establishing a healthy population of mycorrhizal fungi during this phase improves the plant's ability to regulate water uptake. These symbiotic fungi extend the reach of the root system and help modulate the rate at which water enters the vascular bundle.
Establishing Atmospheric Equilibrium
The final phase involves fine-tuning the environment. Place the plant in a location where air can circulate around all sides of the foliage. Avoid placing pots directly against glass windows, as the cold surface creates a micro-climate of high humidity and low evaporation.
Pro-Tip: Maximize the "boundary layer" effect. By using fans to break the thin layer of still air surrounding the leaf surface, you increase the vapor pressure deficit. This forces the stomata to remain active, ensuring that excess water is transpired rather than trapped in the leaf cells.
The Clinic:
Identifying physiological disorders requires a systematic approach.
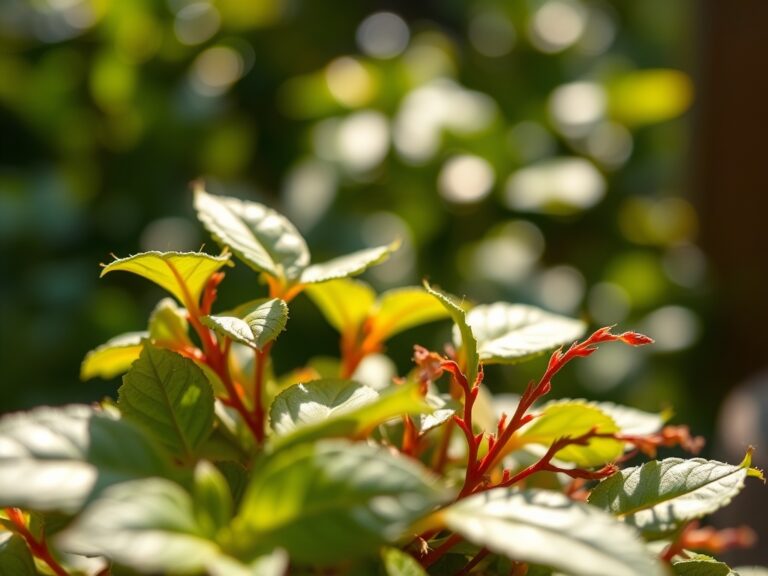
Symptom: Small, water-soaked blisters on the underside of leaves.
Solution: Immediately increase airflow and reduce watering. Ensure the pot is not sitting in a saucer of standing water.
Symptom: Interveinal chlorosis (yellowing between leaf veins).
Solution: This is often a Magnesium deficiency. Apply a solution of one tablespoon of Epsom salts per gallon of water to restore chlorophyll production.
Symptom: Tip burn on new growth.
Solution: This indicates a Calcium deficiency, often caused by poor transpiration. Even if Calcium is in the soil, the plant cannot move it to the tips without sufficient airflow to drive the transpiration stream.
Fix-It for Nitrogen Chlorosis: If older leaves are turning a uniform pale yellow, the plant lacks Nitrogen. Apply a liquid fertilizer with an NPK of 20-10-10 at half-strength to quickly boost vegetative vigor.
Maintenance:
Precision is the hallmark of professional maintenance. Use a soil moisture meter to verify that the top two inches of substrate are dry before adding water. For most medium-sized houseplants, aim for the equivalent of 1.5 inches of water per week, delivered directly to the soil surface at the drip line.
Keep your bypass pruners sharp and sanitized with 70 percent isopropyl alcohol. Remove any leaves that show more than 50 percent scarring from previous edema; these leaves are less efficient at photosynthesis and can harbor pathogens. Regularly wipe the leaves with a damp cloth to remove dust, which can clog stomata and impede the very transpiration you are trying to encourage. If you notice the air is stagnant, install a small computer fan or a dedicated circulation fan to run for at least 12 hours a day.
The Yield:
While primarily a concern for foliage plants, edema can ruin the aesthetic of ornamental flowers or the texture of edible greens. For herbs like basil or kale, harvest during the early morning when turgor pressure is at its highest. Use sharp shears to make clean cuts, preventing jagged wounds that lose moisture rapidly.
To maintain "day-one" freshness, immediately place the stems in cool water or a high-humidity crisper drawer. For ornamental flowers, removing the lower leaves ensures that the plant's energy is directed toward the bloom rather than maintaining damaged foliage.
FAQ:
Can edema scars be healed?
No; once the cell walls rupture and form corky scar tissue, the damage is permanent. Treatment focuses on preventing new lesions by improving airflow and managing irrigation to balance the plant's internal water pressure.
How does humidity affect edema?
High humidity reduces the vapor pressure deficit, meaning the air cannot hold more moisture. This stops transpiration, causing water to back up in the plant's tissues and leading to the cellular rupture characteristic of edema.
Is edema a contagious disease?
Edema is a physiological disorder, not a biotic disease. It is caused by environmental factors rather than fungi, bacteria, or viruses. It cannot spread from one plant to another, though similar conditions may affect multiple plants.
What is the best fan setting for plants?
Use a low, oscillating setting. The goal is a gentle rustle of the leaves, not a high-velocity blast. Constant, direct wind can cause excessive moisture loss and lead to windburn or mechanical damage to the foliage.