9 Palm-Frond Steps to Prepare a Large Indoor Palm Shelf
Large indoor palms require foundational shelf preparation that accounts for root architecture, moisture retention, and structural load. Learning how to prepare a plant shelf for palms transforms a decorative surface into a functional microclimate that supports species ranging from Chamaedorea to Rhapis excelsa. The substrate must balance drainage with cation exchange capacity while the shelf itself distributes weight across 40 to 80 pounds of saturated media per container.
Materials
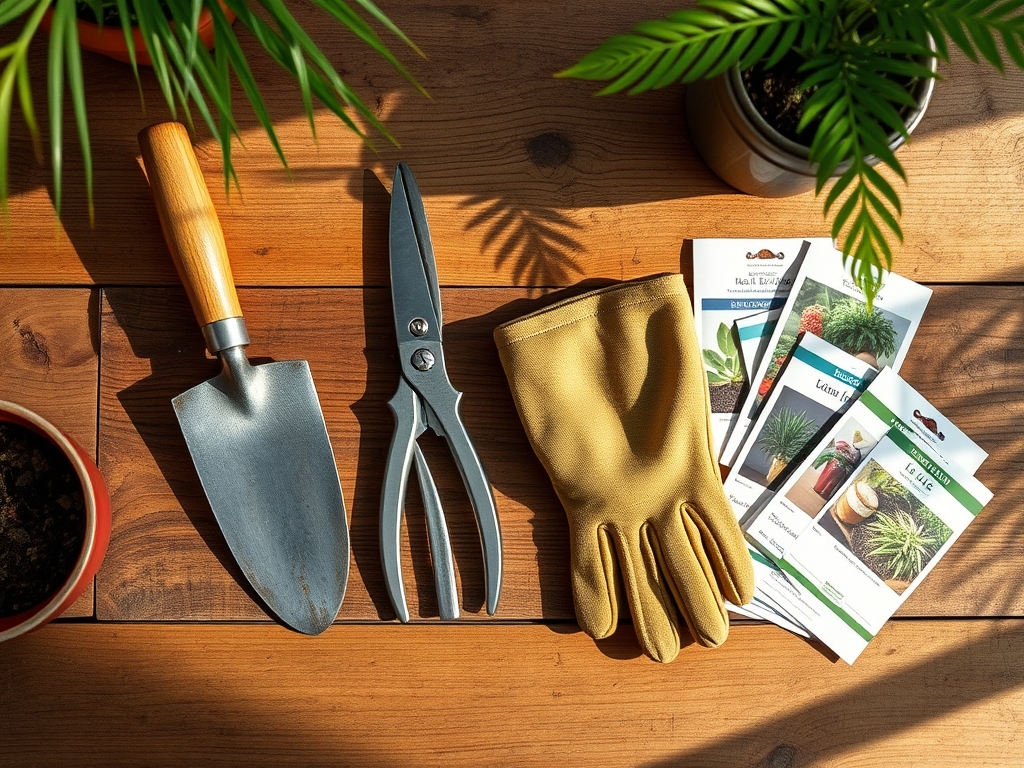
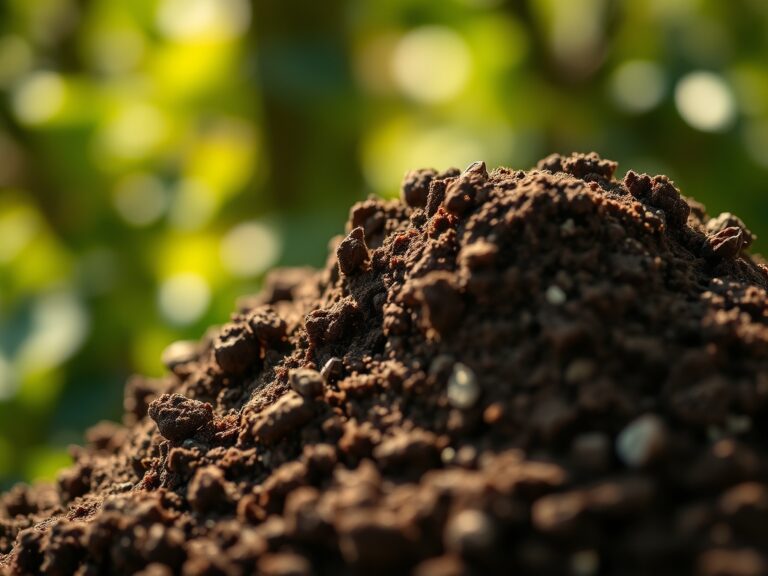
Substrate components begin with coco coir (pH 5.5–6.5) as the base, providing consistent moisture without waterlogging. Add perlite at a 3:1 ratio to coir for aeration. Organic palm fertilizer rated 4-4-4 supplies slow-release nitrogen, phosphorus, and potassium matched to monocot uptake patterns. Include composted pine bark fines (pH 4.5–5.5) at 20 percent volume to improve drainage and introduce beneficial tannins.
Mycorrhizal inoculant powder containing Glomus intraradices enhances phosphorus uptake through hyphal networks that colonize palm roots within 12 weeks. Dolomitic limestone adjusts pH upward by 0.5 units per tablespoon per gallon of mix if needed. Silica sand (not beach sand) stabilizes the substrate and prevents settling. Use containers with drainage holes measuring 0.5 inches in diameter, spaced every 4 inches along the base.
Shelf hardware requires steel L-brackets rated to 150 pounds each, spaced 16 inches on-center across wall studs. Marine-grade plywood (0.75 inches thick) resists moisture deformation better than particleboard. Apply two coats of zero-VOC polyurethane to all wood surfaces before assembly. Install a waterproof tray liner with 2-inch raised edges to contain overflow and protect flooring.
Timing
Hardiness Zones 9–11 permit year-round shelf preparation, though scheduling repotting during March through May aligns with the palm's natural growth surge as photoperiod lengthens. Zones 7–8 require indoor climate control; initiate shelf setup after the last frost date when supplemental heating is no longer necessary. Avoid November through February preparations in northern zones, as low light intensity (less than 200 foot-candles) limits root establishment even under ideal substrate conditions.
Juvenile palms (1–3 years from germination) establish best when moved to shelves during 70–80°F ambient temperatures. Mature specimens tolerate transplanting in a wider 65–85°F window. Monitor relative humidity; values below 40 percent for more than 5 consecutive days stress newly positioned palms and trigger leaflet browning.
Phases
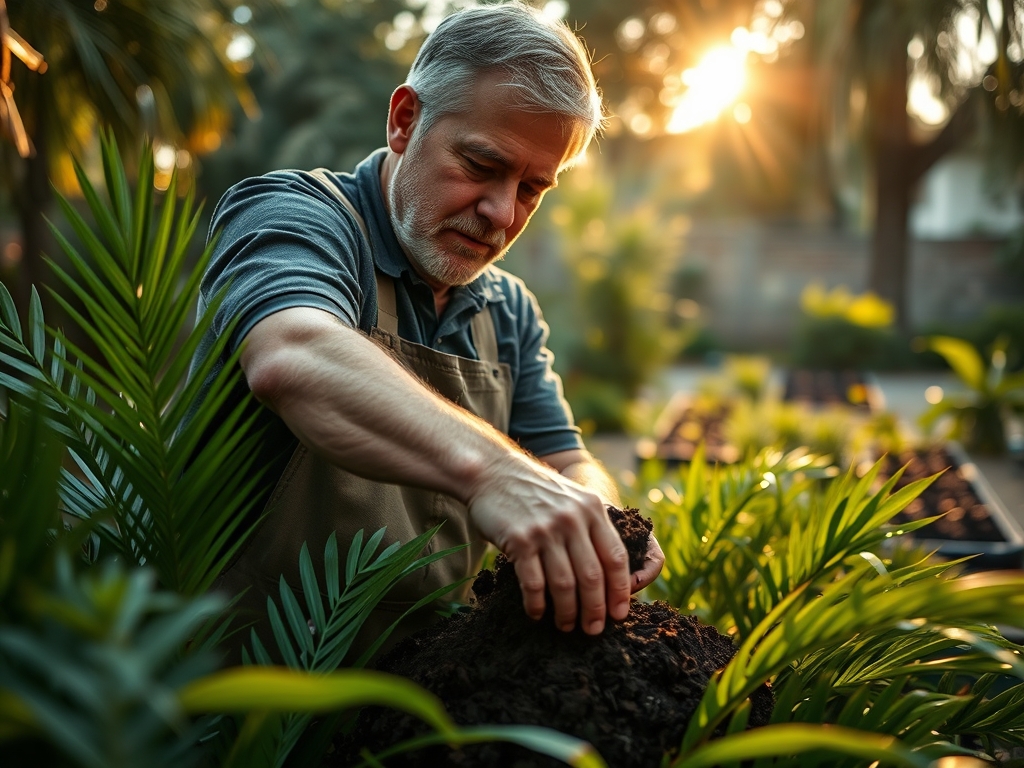
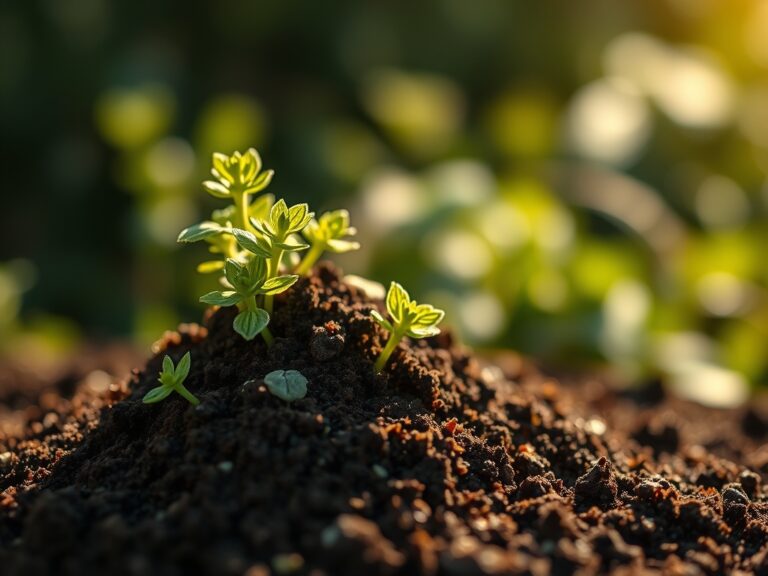
Sowing Phase: Construct the shelf framework first. Attach L-brackets to wall studs using 3-inch lag bolts. Level the plywood platform to within 1 degree of horizontal to prevent water pooling. Seal all seams with aquarium-safe silicone caulk. Fill containers with the prepared substrate mix, leaving 2 inches of headspace below the rim. Water the media until runoff appears, then allow 24 hours for initial settling before introducing plants.
Pro-Tip: Inoculate substrate with mycorrhizal powder at planting depth, placing 1 teaspoon directly against the root ball's exterior to maximize hyphal contact.
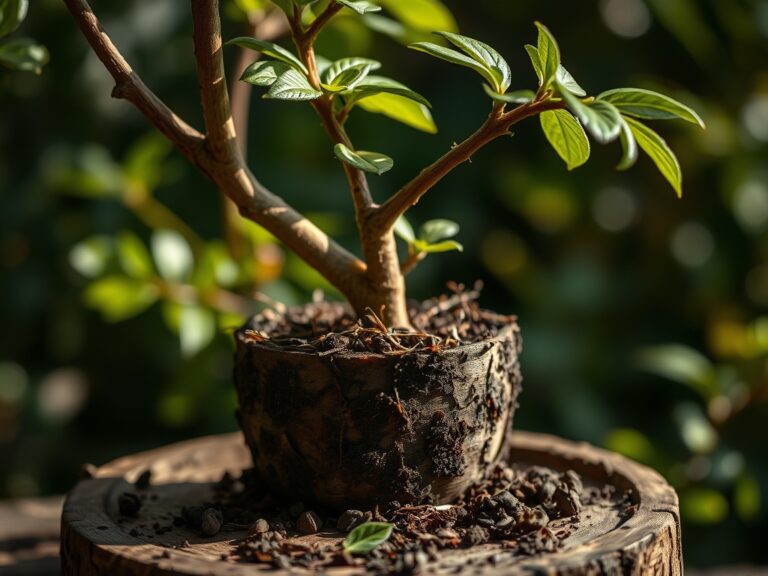
Transplanting Phase: Remove the palm from its nursery pot by inverting and tapping the base. Inspect roots for circling patterns; prune these at a 45-degree angle using sterilized shears to encourage lateral branching. Position the root ball so the original soil line matches the new container's surface. Backfill with prepared substrate, firming gently to eliminate air pockets without compacting. Avoid burying the apical meristem; keep it 0.5 inches above the media surface.
Pro-Tip: Apply rooting hormone containing 0.1 percent indole-3-butyric acid (IBA) to cut root ends to stimulate auxin distribution and accelerate establishment.
Establishing Phase: Maintain soil moisture at field capacity (the point after free drainage stops) for the first 4 weeks. Insert a moisture meter to 4 inches depth; readings should hold between 5 and 7 on a 10-point scale. Introduce half-strength liquid fertilizer (2-2-2 NPK) at week 3, applying 8 ounces per gallon of container volume. Monitor new frond emergence; one new leaf every 6–8 weeks indicates successful establishment.
Pro-Tip: Rotate containers 90 degrees weekly to equalize light exposure and prevent phototropic leaning that stresses the trunk.
Troubleshooting
Symptom: Yellowing lower fronds with brown necrotic tips. Solution: Magnesium deficiency common in palms. Apply Epsom salt (magnesium sulfate) at 1 tablespoon per gallon of water monthly. This corrects chlorophyll production within 3 weeks.
Symptom: White cottony masses at frond bases. Solution: Mealybugs (Planococcus citri). Dab colonies with 70 percent isopropyl alcohol on cotton swabs. Follow with neem oil spray (0.5 percent azadirachtin) applied every 7 days for 3 weeks.
Symptom: Fronds develop translucent patches that turn brown. Solution: Cold stress from temperatures below 50°F. Move shelf away from drafty windows. Maintain 60°F minimum. Damaged fronds will not recover; prune once new growth appears.
Symptom: Root tips turn black and mushy. Solution: Root rot from Phytophthora fungi due to overwatering. Reduce irrigation frequency by 50 percent. Drench substrate with phosphorus acid fungicide (Agri-Fos) at label rates. Improve drainage by adding 10 percent extra perlite at next repotting.
Symptom: Stunted new fronds with distorted leaflets. Solution: Boron deficiency. Apply soluble trace mineral mix containing 0.02 percent boron. Symptoms reverse in newly emerging fronds within 8 weeks.
Maintenance
Water when the top 2 inches of substrate feel dry to touch, typically every 5–7 days in standard indoor conditions. Apply 1 inch of water per container (measured by volume: 0.6 gallons per 12-inch pot). Leach salts every third watering by running water until 20 percent drains from the bottom.
Feed monthly during April through September using granular 8-2-10 palm fertilizer with micronutrients. Apply at 2 tablespoons per 12-inch container, scratching into the top inch of substrate. Withhold fertilizer October through March when growth slows.
Prune only completely brown fronds by cutting 2 inches from the trunk. Never remove green tissue; palms translocate nutrients from older fronds during senescence. Wipe leaves monthly with a damp cloth to remove dust that blocks stomata and reduces photosynthetic efficiency by 15 percent.
Check structural integrity of shelf brackets quarterly. Tighten bolts if any play develops. Replace substrate every 24 months to refresh cation exchange capacity and prevent compaction that reduces oxygen availability to roots.
FAQ
How much weight can a palm shelf support?
A properly installed shelf with brackets every 16 inches on wall studs holds 150 pounds per linear foot. Account for 8–12 pounds per gallon of saturated substrate.
Which palm species adapt best to shelf culture?
Chamaedorea elegans (parlor palm), Rhapis excelsa (lady palm), and Dypsis lutescens (areca palm) tolerate confined root zones and moderate light (100–300 foot-candles).
Can I use garden soil instead of specialty mix?
No. Garden soil compacts in containers, reducing oxygen to roots and promoting anaerobic conditions that kill palms within 6 months.
How do I increase humidity around shelf palms?
Place containers on trays filled with pebbles and water, keeping the pot base above waterline. This raises local humidity by 10–15 percent through evaporation.
What light intensity do indoor palms require?
Minimum 100 foot-candles for survival; 200–400 foot-candles for active growth. Measure with a light meter at frond height. Supplement with full-spectrum LEDs if natural light falls short.