9 Stability Steps for Repotting a Dragon Tree
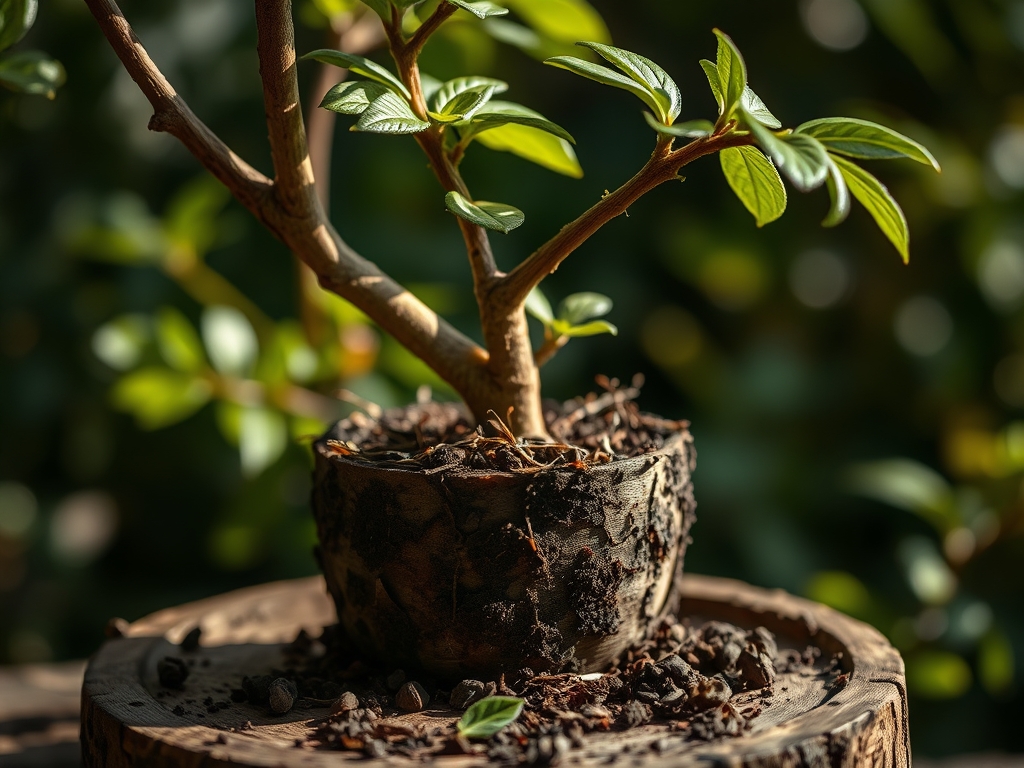
The smell of damp peat and the metallic tang of perlite signal the start of a necessary physiological reset. A healthy Dracaena marginata maintains high turgor pressure in its sword-like foliage; however, when the root mass begins to coil against the inner walls of its container, growth stalls and nutrient uptake diminishes. Executing the correct steps for repotting a dragon tree ensures the plant avoids the slow decline of senescence caused by root strangulation. You must observe the root structure in the step-by-step photos below to identify when the rhizosphere has reached maximum capacity within its current vessel. This process is not merely a change of scenery; it is a critical intervention to restore the Cation Exchange Capacity (CEC) of the growing medium. Without fresh substrate, the dragon tree suffers from salt accumulation and compacted pores, leading to anaerobic conditions that invite pathogens. A successful transplant requires surgical precision and an understanding of the plant's metabolic demands during the recovery phase.
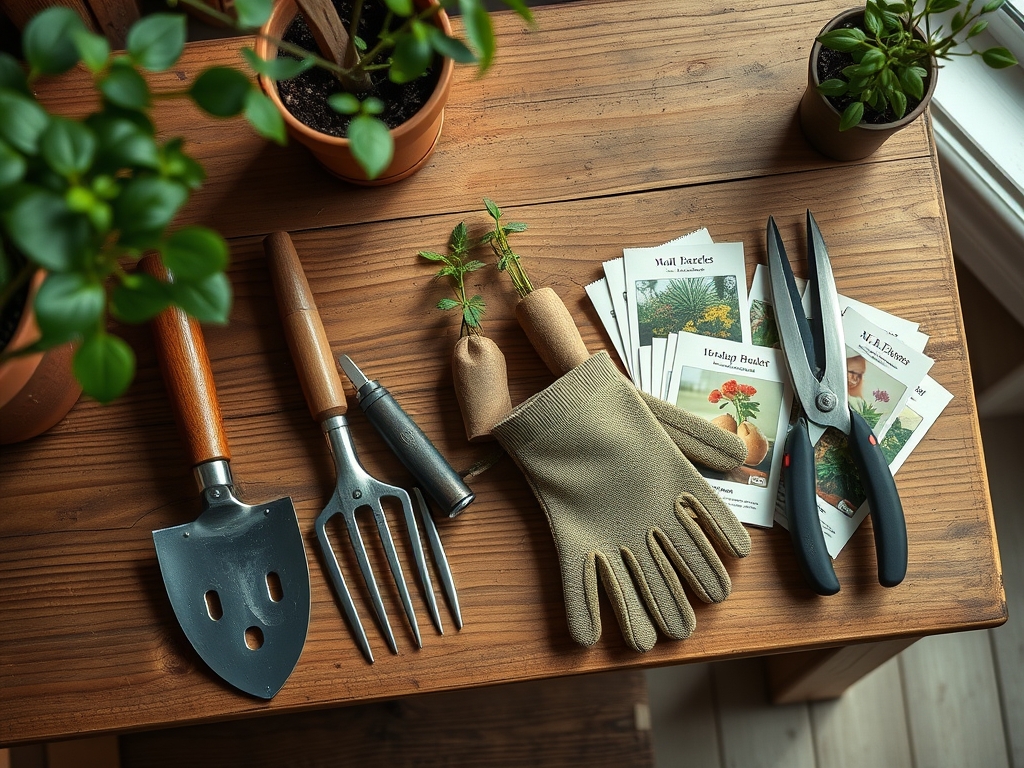
Materials:
Substrate selection determines the long-term health of the Dracaena. Use a friable loam with a **pH range of 6.0 to 6.5**. The ideal mix consists of **40 percent peat moss or coconut coir, 30 percent perlite, and 30 percent pine bark**. This configuration ensures high porosity for gas exchange.
For nutrition, incorporate a slow-release fertilizer with an NPK ratio of 3-1-2. Dragon trees are sensitive to fluoride and boron; therefore, avoid using perlite that has been pre-treated with high concentrations of these elements. The physical texture must be gritty enough to prevent water logging while maintaining enough organic matter to facilitate ion exchange. Ensure the new container is only 2 inches wider in diameter than the previous one to prevent "perched water tables," where excess soil remains saturated because the roots cannot reach the moisture.
Timing:
The biological clock of the Dracaena marginata is dictated by light intensity and ambient temperature. While these plants are hardy in USDA Zones 10 through 12, they are primarily kept as indoor specimens in cooler climates. The optimal window for repotting is during the transition from late winter to early spring, specifically 14 to 21 days before the spring equinox.
This timing aligns with the plant's shift from a semi-dormant state to active vegetative growth. During this period, the production of auxins (growth hormones) increases at the apical meristems, which stimulates rapid root regeneration. Avoid repotting during the heat of mid-summer or the low-light periods of late autumn. In these stages, the plant's metabolic rate is too low to quickly repair the micro-fractures in the root system caused by handling, increasing the risk of secondary infections.
Phases:

Preparation and Extraction
Begin by withholding water for 48 to 72 hours prior to the procedure. Slightly dry soil is less heavy and more likely to pull away from the root ball without causing mechanical damage to the fine root hairs. Use a hori-hori knife to circle the inner perimeter of the pot, severing any roots that have adhered to the clay or plastic surface. Gently slide the plant out while supporting the main trunk at the base.
Pro-Tip: Minimizing root disturbance preserves the existing mycorrhizal symbiosis. These fungal networks extend the reach of the root system and are critical for phosphorus absorption.
Root Pruning and Positioning
Inspect the root mass for "circling roots." If the roots are tightly bound, use bypass pruners to make three to four vertical shallow cuts into the root ball. This interrupts the circular growth pattern and encourages lateral branching into the new substrate. Place a layer of the prepared mix at the bottom of the new pot so that the top of the root ball sits 1 inch below the rim.
Pro-Tip: Cutting the roots triggers a wound response that stimulates the production of lateral root primordia. This process is driven by the redistribution of auxins toward the site of the injury.
Establishing and Settling
Fill the voids with fresh substrate, tamping down lightly with your fingers to eliminate large air pockets. Do not pack the soil tightly; doing so collapses the macropores required for oxygen diffusion. Water the plant thoroughly until liquid drains from the bottom. This initial irrigation "sets" the soil, ensuring direct contact between the roots and the new medium.
Pro-Tip: Immediate hydration after repotting restores turgor pressure and prevents the plant from entering a state of physiological drought while it adjusts to the new volume of soil.
The Clinic:
Physiological disorders often manifest shortly after a transplant if the environment is not optimized.
- Symptom: Yellowing of lower leaves (Chlorosis).
- Solution: This typically indicates a Nitrogen deficiency. Apply a liquid fertilizer at half-strength once new growth appears.
- Symptom: Brown, crispy leaf tips.
- Solution: This is often caused by fluoride toxicity or low humidity. Use distilled or rainwater and maintain humidity above 40 percent.
- Symptom: Soft, mushy base of the stem.
- Solution: This indicates root rot (Phytophthora) from overwatering. Remove the plant, prune away necrotic (black) roots, and repot in a drier, well-draining mix.
- Fix-It for Nutrient Lockout: If the soil pH rises above 7.0, iron and manganese become unavailable. Use a sulfur-based soil acidifier to lower the pH to the 6.0 to 6.5 range.
Maintenance:
Post-repotting care requires a disciplined approach to moisture management. Use a soil moisture meter to monitor the substrate; do not water until the top 2 inches of soil are dry. Under typical indoor conditions, this equates to roughly 1.5 inches of water every 7 to 10 days.
Position the tree in a location with a light intensity of 150 to 400 foot-candles. Avoid direct afternoon sun, which can lead to solarization of the leaf tissues. Every 90 days, flush the soil with a volume of water equal to twice the pot's capacity to leach out accumulated fertilizer salts. Use bypass pruners to remove any spent foliage at the base of the crown to maintain airflow and prevent the harbor of pests.
The Yield:
While the Dracaena marginata is not an edible crop, its "yield" is measured in biomass and leaf density. To maximize the aesthetic and structural integrity of the plant, maintain a consistent photoperiod of 12 to 14 hours of light. If the plant becomes "leggy," you may perform a trunk chop. New growth buds will emerge just below the cut within 21 to 30 days. This technique allows you to control the height and encourage a multi-stemmed architecture.
FAQ:
How do I know when to repot?
Visible roots emerging from drainage holes or a significant decrease in water absorption indicate the plant is root-bound. If the plant requires water more than twice a week, the root-to-soil ratio is likely too high.
What is the best soil for a dragon tree?
A well-draining, peat-based mix with a pH of 6.0 to 6.5 is ideal. Use a blend of 40% organic matter and 60% inorganic aggregates like perlite or bark to ensure proper aeration and drainage.
Can I use tap water after repotting?
Dragon trees are sensitive to fluoride and chlorine found in municipal water. Use distilled, filtered, or rainwater to prevent leaf tip necrosis. If using tap water, let it sit for 24 hours to dissipate chlorine.
Why are the leaves drooping after a move?
Transplant shock is common. The plant is re-establishing its hydraulic connection with the soil. Maintain high humidity and avoid direct sunlight for 14 days. Ensure the soil is moist but not saturated to encourage new root growth.