8 Best Wire Brushes for Rust
Damp earth carries a metallic scent after a heavy rain; this is the smell of iron oxidation and mineral release within the rhizosphere. When high humidity levels exceed 70 percent, garden tools and structural supports begin the inevitable process of chemical degradation. Rust, or iron oxide, compromises the structural integrity of your equipment and can introduce unwanted particulates into the soil profile. To maintain a sterile and efficient growing environment, selecting the best wire brushes for rust is a fundamental requirement for any serious horticulturist. Successful cultivation depends on the turgor of a healthy leaf and the precision of the tools used to manage the plant. If your bypass pruners or trellis stakes are pitted with oxidation, you risk jagged cuts that invite fungal pathogens like Botrytis cinerea. A clean, brushed surface ensures that every mechanical interaction with the plant is surgical and controlled. We prioritize the removal of rust to prevent the leaching of concentrated oxides into the growing medium, which can interfere with the delicate balance of micronutrients.
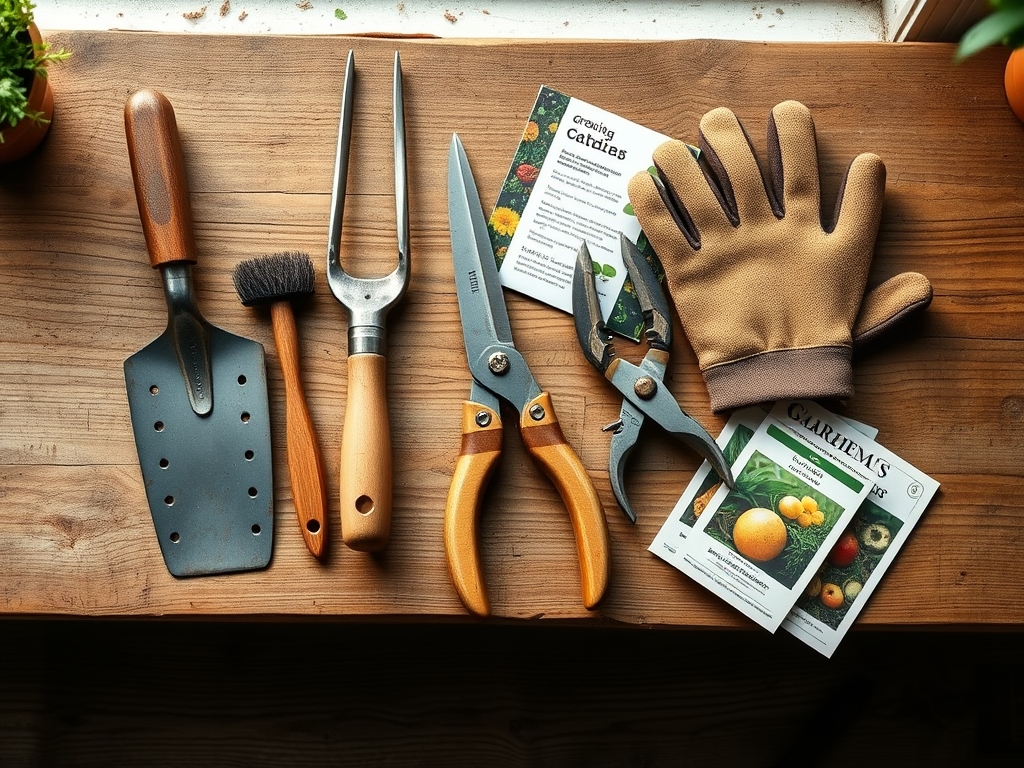
Materials:
The ideal substrate for high-yield gardening is a **friable loam** with a Cation Exchange Capacity (CEC) between **15 and 25 meq/100g**. This soil structure allows for optimal gas exchange and water retention. To maintain this environment, your tools must be free of contaminants. When selecting the best wire brushes for rust, consider the hardness of the wire material relative to the tool. Stainless steel bristles are preferred for carbon steel tools to prevent cross-contamination.
Soil chemistry dictates the health of the plant. For most vegetable crops, a pH of 6.2 to 6.8 is the target range. Nutrient management requires specific NPK ratios depending on the growth stage. During the vegetative phase, a ratio of 3-1-2 (Nitrogen-Phosphorus-Potassium) supports leafy development. As the plant transitions to the reproductive phase, shift to a 1-3-2 ratio to encourage flower and fruit set. Proper tool maintenance ensures these nutrients are delivered via clean irrigation lines and precisely pruned stems.
Timing:
Timing is dictated by the USDA Hardiness Zones and the local frost-free window. In Zones 5 through 7, the primary growing season spans from late April to October. Understanding the "Biological Clock" of your cultivars is essential for maximizing yield. This clock is governed by the photoperiod; the number of hours of light a plant receives in a 24-hour cycle.
The transition from vegetative to reproductive stages is often triggered by a shift in light duration or a specific accumulation of Growing Degree Days (GDD). For example, determinate tomatoes will begin senescence after a fixed period, regardless of environmental inputs. You must synchronize your rust removal and tool sharpening with the dormant season; typically January through March; to ensure readiness for the spring surge. Maintaining a rust-free inventory during the peak of the growing season prevents the introduction of pathogens during high-frequency pruning tasks.
Phases:
Sowing
Begin with sterile seed-starting mix and ensure all mechanical seeders are scrubbed with the best wire brushes for rust to remove debris. Seeds require a consistent temperature of 70 to 75 degrees Fahrenheit for optimal germination.
Pro-Tip: Maintain high humidity to ensure seed coat softening. The Biological Why involves imbibition; the physical absorption of water causes the seed to swell and ruptures the testa, activating metabolic enzymes.
Transplanting
Move seedlings when they have developed at least two sets of true leaves. Dig the receiving hole twice as wide as the root ball. Use a hori-hori knife to score the roots if they have become pot-bound.
Pro-Tip: Water the transplant immediately with a diluted seaweed extract. The Biological Why is to mitigate transplant shock by providing cytokinins that encourage rapid cell division in the root apical meristem.
Establishing
During the first 14 to 21 days, the plant focuses on root expansion. Ensure the soil remains moist but not saturated to prevent anaerobic conditions in the root zone.
Pro-Tip: Avoid heavy nitrogen fertilization during this window. The Biological Why is to prevent auxin suppression; high nitrogen can lead to excessive succulent top growth at the expense of a robust root system.
The Clinic:
Physiological disorders often mimic infectious diseases. Accurate diagnosis is required before intervention.
- Symptom: Interveinal chlorosis on young leaves.
Solution: This indicates an Iron (Fe) deficiency, often caused by a pH above 7.0. Lower the pH using elemental sulfur or chelated iron foliar sprays. - Symptom: Blossom End Rot in Solanaceous crops.
Solution: This is a Calcium (Ca) transport issue. Maintain consistent soil moisture at 1.5 inches per week to ensure steady calcium uptake via the xylem. - Symptom: Purpling of older foliage.
Solution: Phosphorus (P) deficiency. Check soil temperatures; phosphorus becomes immobile below 55 degrees Fahrenheit.
Fix-It Section: For Nitrogen chlorosis (general yellowing of older leaves), apply a high-nitrogen organic fertilizer like blood meal. Ensure the soil Cation Exchange Capacity is sufficient to hold the ions; otherwise, leaching will occur during irrigation.
Maintenance:
Precision maintenance extends the life of the plant and the tool. Apply 1.5 inches of water per week at the drip line rather than the stem to encourage outward root growth. Use a soil moisture meter to verify hydration levels at a depth of 6 inches.
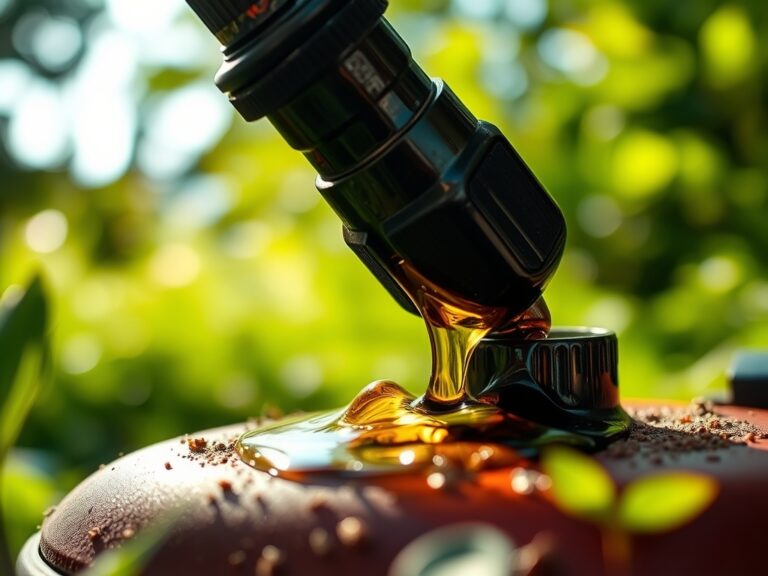
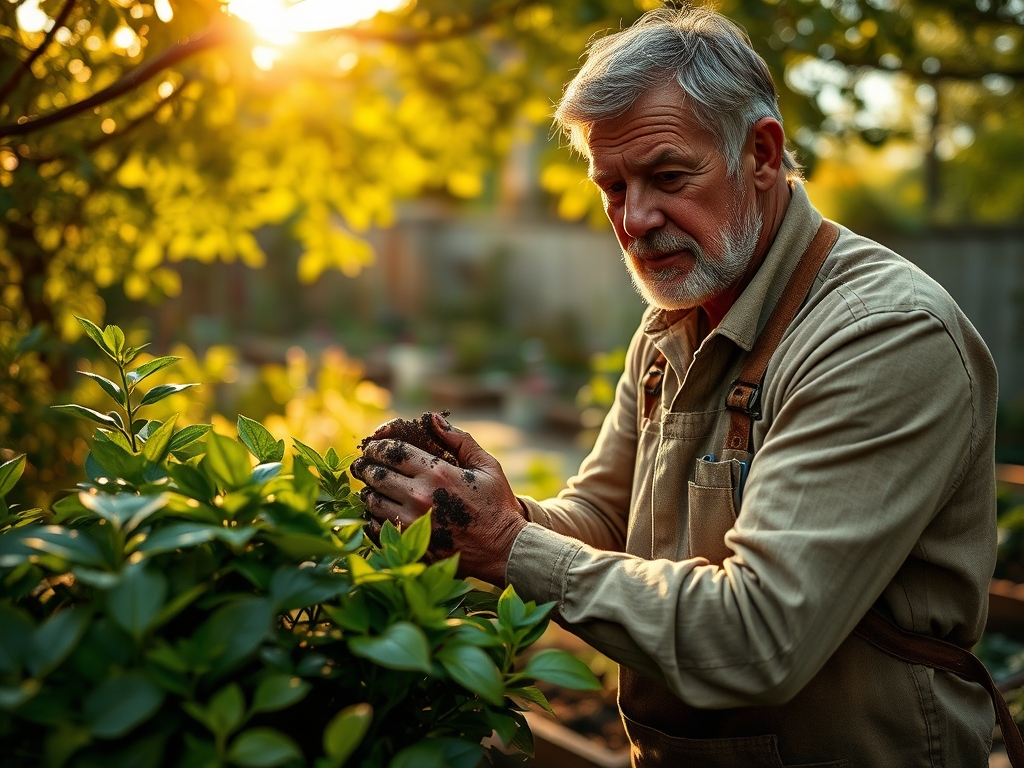
When pruning, use bypass pruners for live tissue and anvil pruners for dead wood. Every cut should be made at a 45-degree angle just above a node to facilitate rapid callousing. If rust appears on your blades, use the best wire brushes for rust immediately followed by a wipe-down with mineral oil. This prevents the oxidation from spreading and ensures the blade maintains its edge for clean, non-crushing cuts.
The Yield:
Harvesting should occur during the "cool of the day," typically between 6:00 AM and 9:00 AM. This is when turgor pressure is at its peak, ensuring the produce is crisp and hydrated. For leafy greens, use a sharp blade to avoid tearing the cell walls.
Post-harvest handling is critical for "day-one" freshness. Immediately submerge harvested crops in 40-degree Fahrenheit water to remove field heat. This process slows down the respiration rate and delays senescence, extending the shelf life of the produce. Store in a high-humidity environment to prevent wilting through transpiration.
FAQ:
How do I choose the best wire brushes for rust?
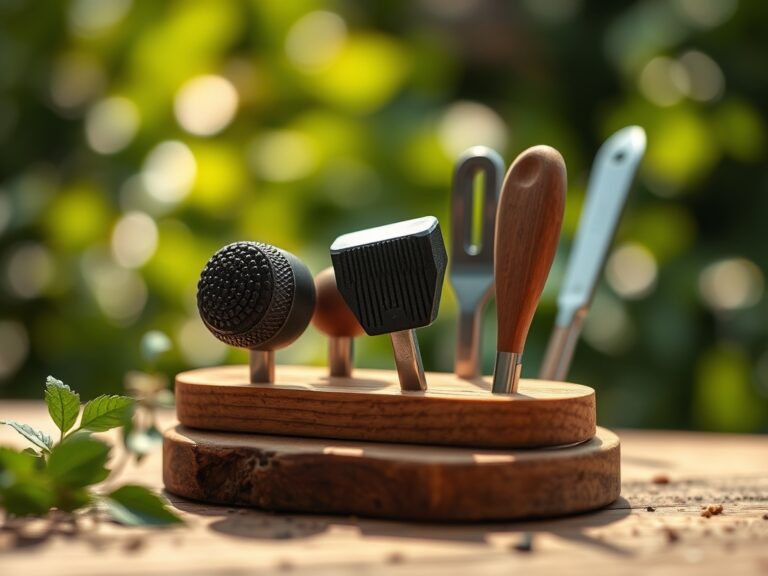
Select brushes based on bristle density and material. Stainless steel is best for garden tools as it does not leave carbon deposits that promote further rusting. Use a narrow profile for reaching into bypass pruner joints.
When is the best time to clean rust off tools?
Perform a deep clean during the winter dormancy period. However, spot-cleaning should occur immediately if you notice oxidation. Keeping tools clean prevents the transfer of pathogens and ensures precise, healthy cuts on your plants.
Can rust on tools hurt my plants?
While iron oxide itself is not toxic in small amounts, rusted surfaces harbor bacteria and fungal spores. Rough, rusted blades create jagged wounds that take longer to heal, increasing the risk of systemic infection in the plant.
Does soil pH affect tool rust?
Yes. Highly acidic soils (pH below 5.0) or alkaline soils with high salt content accelerate the oxidation process. Always rinse and dry tools after they come into contact with soil to prevent chemical reactions on the metal surface.