6 Best Magnetic Tool Holders
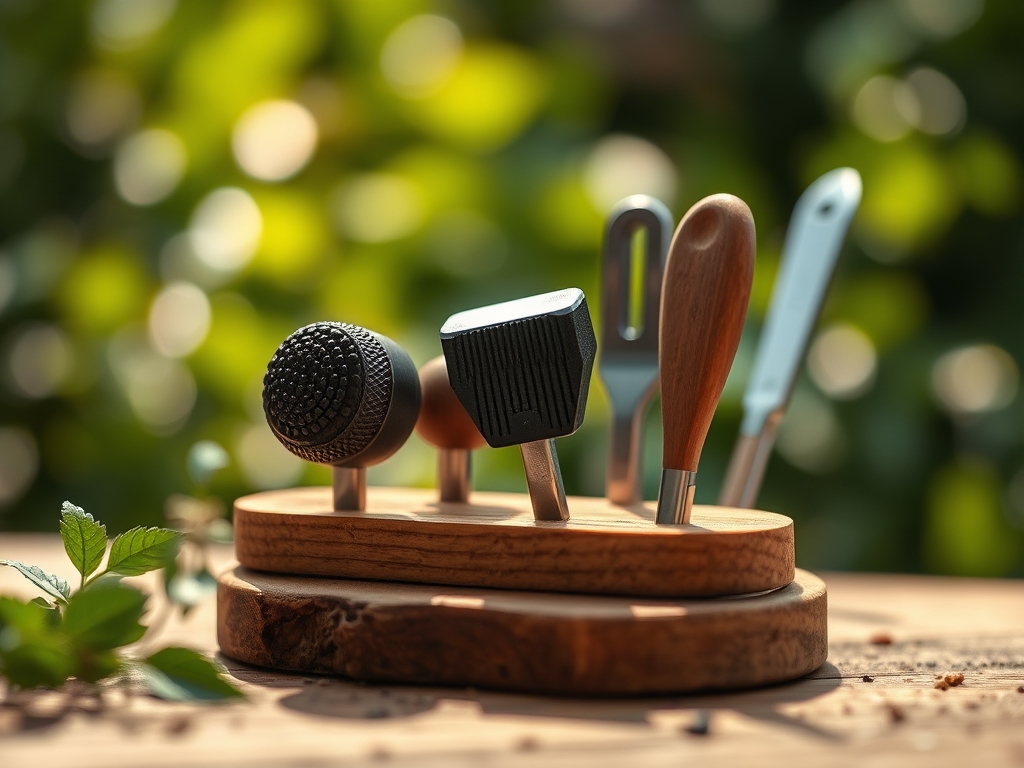
The scent of anaerobic decomposition in waterlogged soil signals a failure of gas exchange within the rhizosphere. Healthy gardening requires precision; a leaf with high turgor pressure feels crisp and resists wilting because the central vacuole is fully hydrated. To maintain this level of botanical health, organization in the potting shed is mandatory. The best magnetic tool holders allow a gardener to transition from pruning to soil testing without contaminating sterile surfaces. By mounting carbon steel trowels and bypass pruners on a high-strength neodymium strip, you prevent the accumulation of moisture that leads to oxidation and tool degradation. A wall-mounted system keeps sharp edges away from delicate plant tissue and ensures that specialized equipment, such as a hori-hori knife, remains within reach for immediate root surgery. Efficiency in the tool shed translates directly to efficiency in the field. When tools are organized, the timing of fertilization and irrigation becomes a streamlined mechanical process rather than a frantic search. Order is the foundation of a high-yield garden.
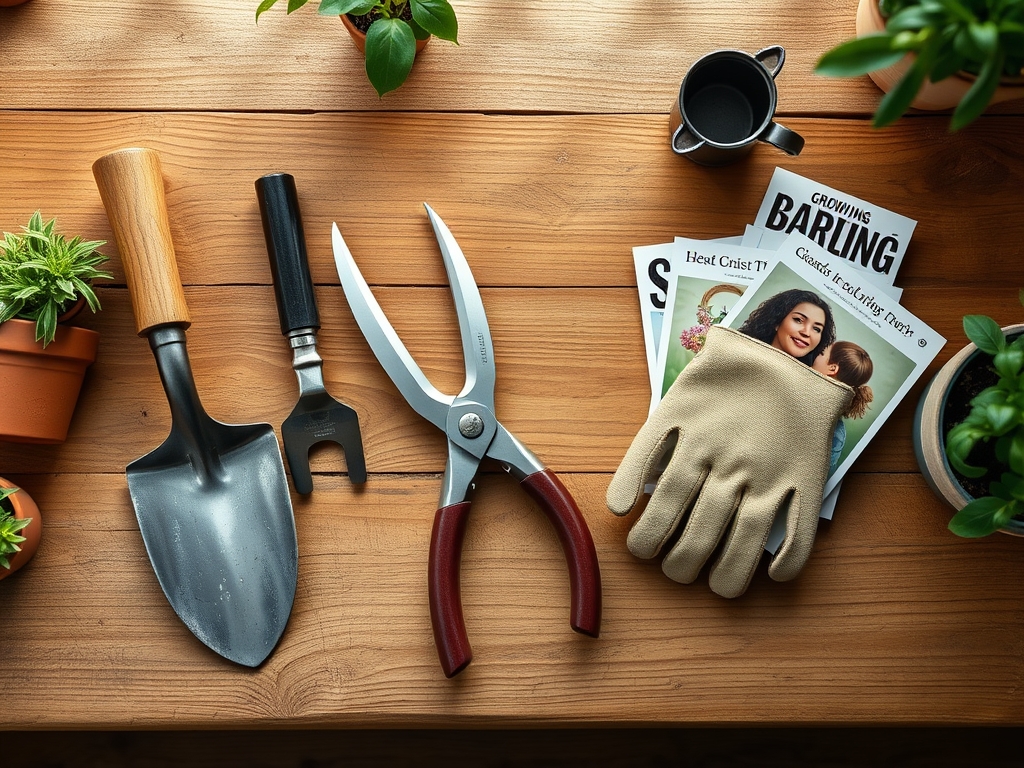
Materials:
The success of any planting begins with a friable loam. This substrate must possess a high Cation Exchange Capacity (CEC) to hold essential nutrients like ammonium and potassium. For heavy feeders, the ideal soil pH sits between **6.2 and 6.8**. You must amend the substrate based on specific NPK requirements. A standard **10-10-10** ratio provides balanced nutrition, but flowering perennials often require a **5-10-10** blend to prioritize phosphorus for root and bud development over excessive nitrogen-driven foliage.
The physical texture should be granular enough to allow for 20 percent macropore space, ensuring oxygen reaches the root hairs. If the soil is too silty, it will compact, leading to root suffocation. Incorporate organic matter to increase the water-holding capacity without sacrificing drainage. When installing the best magnetic tool holders in your workspace, ensure the mounting surface can support the weight of heavy-duty tools used for soil aeration and amendment mixing.
Timing:
Hardiness Zones dictate the biological calendar. In Zones 5 through 7, the spring frost-date window typically closes between late April and mid-May. You must track the "Biological Clock" of your species, which is the transition from the vegetative stage to the reproductive stage. This shift is often triggered by the photoperiod; as daylight hours increase, the plant redirects energy from leaf production to flower initiation.
Monitor soil temperatures using a probe. Most temperate seeds require a minimum soil temperature of 55 degrees Fahrenheit for germination. Planting too early into cold, wet soil induces seed rot and prevents the uptake of phosphorus, even if the nutrient is present in the substrate. Use the best magnetic tool holders to keep your soil thermometers and moisture meters calibrated and accessible during these critical seasonal transitions.
Phases:
Sowing
Place seeds at a depth approximately three times their diameter. This ensures the hypocotyl has enough energy to reach the surface before the seed's endosperm is exhausted. Maintain a consistent moisture level to trigger imbibition.
Pro-Tip: Proper seed depth prevents premature exposure to light, which can inhibit germination in species that require darkness to break dormancy. This is a biological response to ensure the seedling emerges in a stable environment.
Transplanting
Move seedlings when they have developed at least two sets of true leaves. Dig a hole twice the width of the root ball to encourage lateral root expansion into the surrounding soil.
Pro-Tip: Minimize root disturbance to prevent transplant shock. When roots are damaged, the plant's ability to maintain turgor pressure drops, leading to a temporary halt in growth as the plant prioritizes root repair over apical dominance.
Establishing
During the first 14 to 21 days, the plant focuses on mycorrhizal symbiosis. This is the relationship where fungi assist the roots in absorbing phosphorus in exchange for carbohydrates.
Pro-Tip: Avoid high-nitrogen fertilizers during the establishment phase. Excessive nitrogen can lead to auxin suppression in the roots, causing the plant to grow tall and spindly rather than developing a robust, anchoring root system.
The Clinic:
Physiological disorders often mimic infectious diseases but are rooted in environmental stress.
Symptom: Interveinal chlorosis on young leaves.
Solution: This indicates an Iron deficiency. Check the soil pH; if it is above 7.5, the iron becomes chemically locked and unavailable to the plant. Lower the pH using elemental sulfur.
Symptom: Blossom end rot on fruit.
Solution: This is caused by a Calcium deficiency, often triggered by inconsistent irrigation. Ensure the plant receives steady water to facilitate the transport of calcium through the xylem.
Symptom: Purpling of older foliage.
Solution: This is a classic sign of Phosphorus deficiency. It often occurs in cold soils where microbial activity is low. Apply a water-soluble P-heavy fertilizer once temperatures rise.
Fix-It: Nitrogen Chlorosis
If the entire leaf turns a pale yellow starting from the bottom of the plant, the specimen is suffering from Nitrogen deficiency. Apply a high-nitrogen organic meal, such as blood meal, to restore chlorophyll production.
Maintenance:
Precision maintenance requires the right equipment. Deliver 1.5 inches of water per week directly at the drip line to ensure deep root penetration. Use a soil moisture meter to verify that the moisture has reached a depth of 6 inches.
Keep your bypass pruners sharp to make clean cuts that heal quickly; jagged tears are entry points for pathogens. Use a hori-hori knife for weeding to ensure the entire taproot is removed without disrupting the root systems of neighboring plants. Store these metal instruments on the best magnetic tool holders to prevent the blades from dulling against other tools in a drawer. Regularly sanitize your blades with a 70 percent isopropyl alcohol solution to prevent the cross-contamination of viral pathogens between specimens.
The Yield:
Harvesting is a race against senescence. For leafy greens, harvest in the early morning when turgor pressure is at its peak. This ensures the cell walls are fully distended, providing the best texture. For fruiting bodies, look for "ground spots" or specific color changes that indicate sugar accumulation.
Handle the harvest with care to avoid bruising, which triggers the release of ethylene gas and accelerates spoilage. To maintain "day-one" freshness, hydro-cool the produce by submerging it in 40-degree Fahrenheit water to remove field heat immediately. This slows the plant's metabolic rate and preserves the integrity of the cellular structure.
FAQ:
What is the best way to mount a magnetic tool holder?
Secure the strip into wall studs using two-inch wood screws. Ensure the rail is level to prevent tools from sliding. For masonry walls, use plastic anchors or Tapcon screws to provide a stable base for heavy steel tools.
How do I prevent my gardening tools from rusting?
Clean all soil and organic matter from the metal surfaces after use. Apply a thin coat of mineral oil or linseed oil to the blades. Store them on a magnetic rack to ensure airflow and prevent moisture entrapment.
Can magnetic holders damage electronic garden sensors?
Keep digital pH meters and electronic moisture sensors at least 12 inches away from high-strength neodymium magnets. Strong magnetic fields can interfere with the internal calibration and circuitry of sensitive electronic components used for soil analysis.
How much weight can a standard magnetic tool strip hold?
Most professional-grade magnetic strips are rated for 20 to 30 pounds per linear foot. Always distribute the weight evenly across the bar. Place the heaviest items, like trenching spades or heavy loppers, near the mounting screws for maximum support.