9 Pro Tips How to Maintain Battery Tools
The smell of damp earth and the high turgor of a healthy leaf define a successful morning in the field. When the soil is at its peak; usually between 55 and 65 degrees Fahrenheit; your equipment must perform without hesitation. Knowing how to maintain battery tools ensures that your shears and trimmers do not fail when the sap is flowing. Proper lithium-ion management prevents the frustration of a dead cell during critical pruning windows.
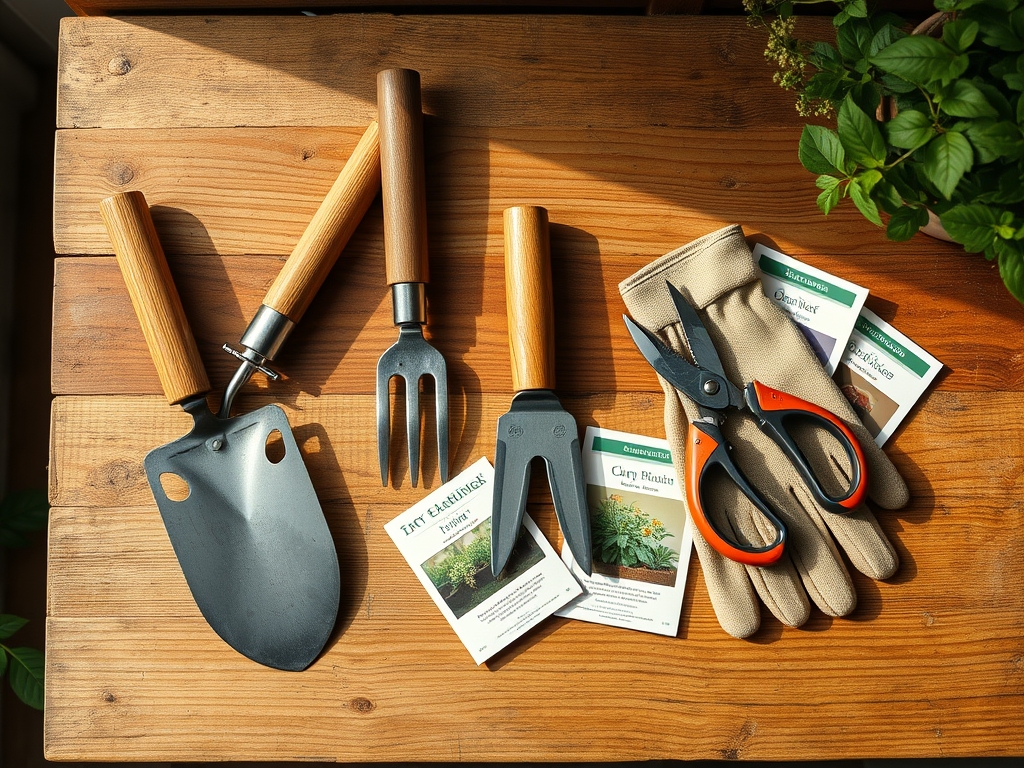
Materials:
Cultivating a robust landscape requires a substrate with a **Cation Exchange Capacity (CEC) above 15**. The ideal medium is a friable loam with a **pH between 6.2 and 6.8**, ensuring maximum bioavailability of essential macronutrients. To support vigorous growth, maintain an **NPK ratio of 10-10-10** for general maintenance or **5-10-10** for root development in phosphorus-hungry cultivars. The physical texture should allow for rapid drainage while retaining enough moisture to prevent permanent wilting point stress.
Timing:
Successful horticulture depends on strict adherence to USDA Hardiness Zones. In Zones 5 through 7, the transition from the vegetative stage to the reproductive stage is triggered by the photoperiod. Monitor the "Biological Clock" of your plants; as day length shortens, the plant shifts energy from foliage to root storage or seed production. Battery maintenance is most critical during the spring surge when growth rates are highest and the demand for precise cuts is constant. Ensure all cells are conditioned before the first frost date, typically between October 15 and November 15 in temperate regions.
Phases:

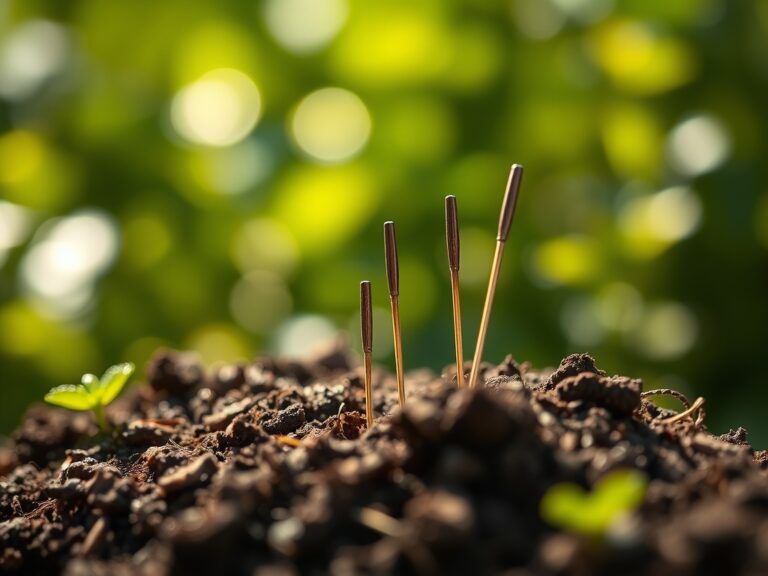
Sowing and Germination
During the initial phase, seeds require a consistent temperature of 70 degrees Fahrenheit to break dormancy. Use a sterile seed-starting mix to prevent damping-off caused by fungal pathogens.
Pro-Tip: Maintain high humidity to support turgor pressure in emerging radicles. This prevents the delicate cell walls from collapsing before the vascular system is fully established.
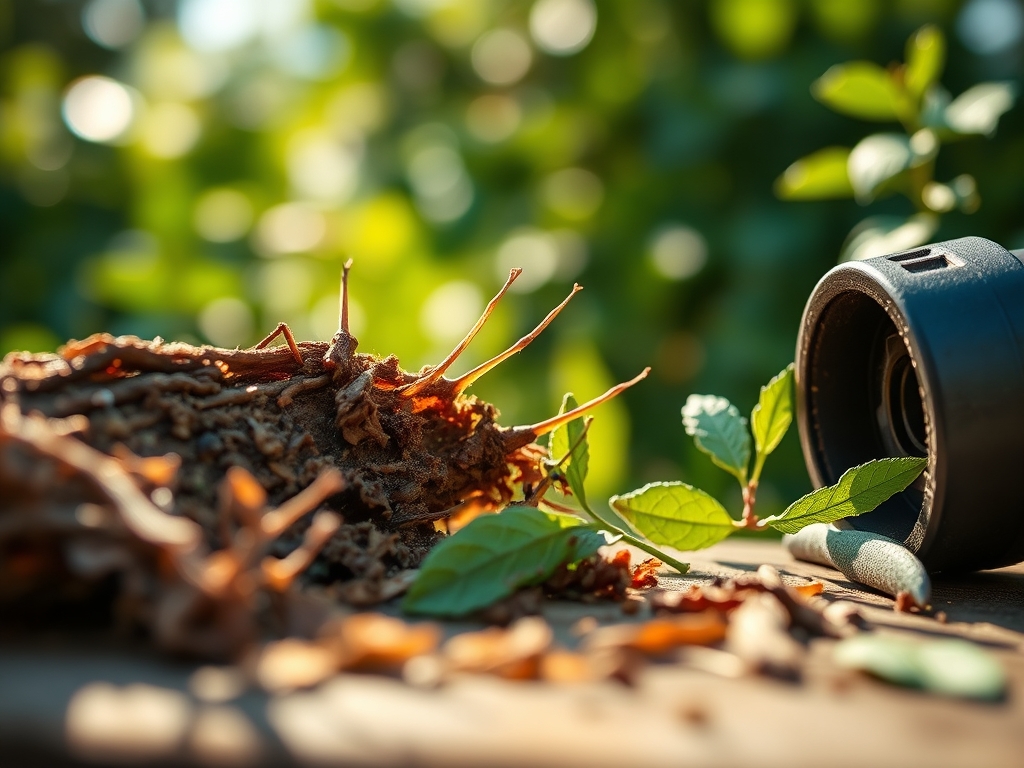
Transplanting to the Field
Move seedlings when they have developed at least two sets of true leaves. Dig a hole twice the width of the root ball to encourage lateral root expansion into the surrounding rhizosphere.
Pro-Tip: Apply a mycorrhizal inoculant to the root zone. This symbiotic relationship increases the surface area for nutrient uptake by a factor of ten, allowing the plant to access deep-seated phosphorus.
Establishing the Canopy
As the plant enters the vegetative peak, focus on structural integrity. Use a hori-hori knife to clear competing weeds within a 12-inch radius of the main stem.
Pro-Tip: Practice apical bud suppression by pinching back terminal shoots. This redirects auxins to lateral buds, creating a bushier habit and increasing the potential for reproductive sites.
The Clinic:
Physiological disorders often mimic pathogen attacks but result from environmental stress.
Symptom: Interveinal chlorosis on young leaves.
Solution: This indicates an Iron deficiency, often caused by a pH above 7.0. Lower the pH using elemental sulfur to unlock micronutrients.
Symptom: Blossom end rot in fruiting crops.
Solution: This is a Calcium transport issue. Ensure consistent soil moisture at 1.5 inches per week to facilitate the movement of calcium through the xylem.
Symptom: Marginal leaf burn on older foliage.
Solution: Potassium deficiency. Apply a high-potash fertilizer to regulate stomatal opening and closing, which improves drought resistance.
Fix-It for Nitrogen Chlorosis: If the entire leaf turns pale yellow, apply a quick-release nitrogen source with a ratio of 21-0-0. This restores chlorophyll production and increases photosynthetic efficiency within 48 to 72 hours.
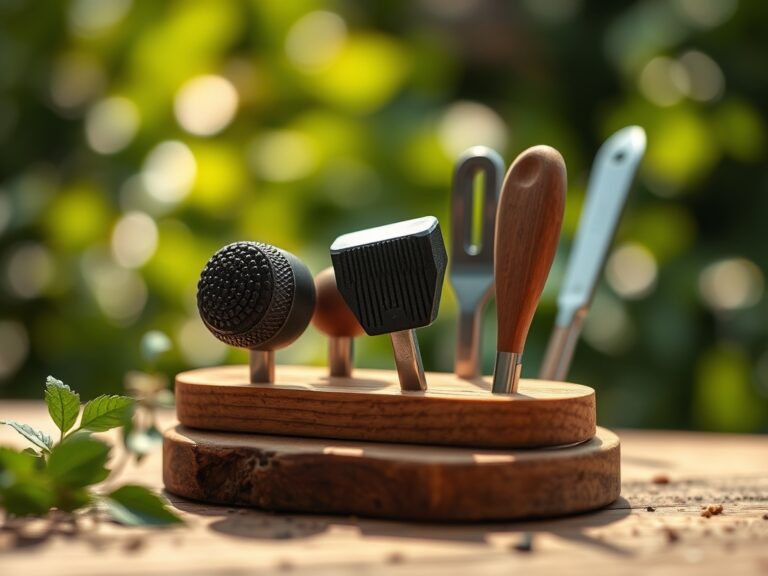
Maintenance:
Precision in the garden requires calibrated instruments. Use a soil moisture meter daily to ensure the root zone remains at 60 percent field capacity. Deliver water at the drip line; never the foliage; to prevent the spread of water-borne spores. Clean your bypass pruners with 70 percent isopropyl alcohol after every ten cuts to prevent cross-contamination of vascular pathogens.
To address how to maintain battery tools, never store lithium-ion packs in temperatures exceeding 100 degrees Fahrenheit or below 32 degrees Fahrenheit. Heat accelerates chemical degradation within the cells, leading to a permanent loss of capacity. Store batteries at a 40 to 60 percent state of charge during the off-season to minimize stress on the internal chemistry. Wipe contacts with a dry cloth to prevent oxidation, which increases electrical resistance and reduces tool torque.
The Yield:
Harvesting should occur during the "cool of the day," typically before 9:00 AM, when plant turgidity is at its maximum. For woody perennials, use a sharp blade to create a 45-degree angle cut, minimizing the surface area exposed to the air. This technique preserves the integrity of the vascular bundles. Post-harvest, submerge stems in 40-degree Fahrenheit water to remove field heat and slow the rate of senescence. This process preserves the sugars and essential oils within the tissue for maximum shelf life.
FAQ:
How do I store batteries for winter?
Remove batteries from the tool and charger. Store them in a climate-controlled environment between 50 and 70 degrees Fahrenheit. Maintain a charge level of approximately 50 percent to prevent cell deep-discharge and permanent chemical damage.
Why is my tool losing power quickly?
Check the battery contacts for debris or oxidation. Use a cotton swab with rubbing alcohol to clean the terminals. Ensure the tool's moving parts are lubricated; high friction forces the motor to draw more current, depleting the cell rapidly.
Can I leave batteries on the charger?
Modern smart chargers prevent overcharging, but long-term storage on a charger is not recommended. Once the green light indicates a full charge, remove the pack. Constant "trickle" charging can lead to heat buildup and reduced overall cycle life.
What is the best way to clean battery tools?
Use a stiff brush or compressed air to remove sawdust and soil from vents. Never submerge the tool in water or use high-pressure hoses. For the casing, a damp cloth is sufficient to remove sap and organic residues.