7 Vital Steps to Lay a Cobble Border
Damp earth releases a sharp, geosmin-heavy scent as the spade slices through the root zone. High turgor pressure in surrounding perennials ensures stems remain rigid against the disturbance. Establishing a clean perimeter requires precision and physical stamina. To master the steps to lay a cobble border, you must understand the interaction between mineral substrates and the rhizosphere. This structural addition prevents grass stolons from infiltrating ornamental beds while managing surface water runoff.
Success depends on mechanical stability and soil health. A poorly installed border collapses under the freeze-thaw cycle; a well-executed one lasts decades. You are not just placing stones; you are engineering a drainage solution that protects the delicate microbial life within the topsoil.
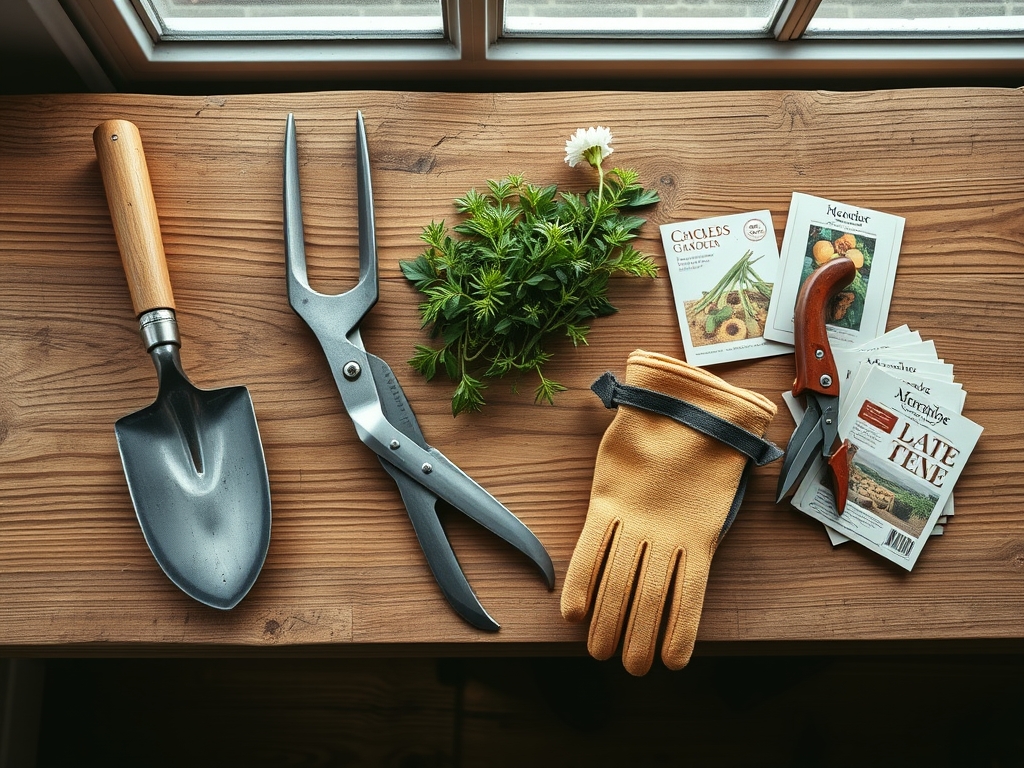
Materials:
The foundation of any hardscape must respect the existing soil chemistry. For a border that supports high-demand ornamentals, the surrounding soil should be a friable loam with a pH between 6.2 and 6.8. This range ensures maximum bioavailability of macronutrients.
Before laying stones, analyze the Cation Exchange Capacity (CEC) of your site. High-clay soils require a thicker sub-base of 0.75-inch crushed limestone to prevent heaving. For the planting pocket directly behind the cobbles, incorporate a slow-release organic fertilizer with an NPK ratio of 5-10-5. This phosphorus-heavy blend encourages robust root development without triggering excessive, weak vegetative growth. The ideal substrate texture should be crumbly; if a squeezed handful of soil forms a hard ball that does not shatter when poked, the bulk density is too high for healthy gas exchange.
Timing:
Timing the installation is critical for plant health. In Hardiness Zones 4 through 7, the ideal window opens after the last spring frost but before the summer solstice. This period aligns with the vegetative stage of the biological clock, where plants prioritize leaf and stem expansion.
Avoid installation during the reproductive stage (flowering), as the physical stress of border construction can trigger premature senescence or bud drop. In Zones 8 and 9, autumn is the superior choice. Lower ambient temperatures reduce the transpiration rate, allowing existing root systems to recover from the localized soil compaction that occurs during stone placement. Always monitor the soil moisture meter; never work in saturated ground, as this destroys the soil structure and leads to anaerobic conditions.
Phases:
Sowing the Foundation
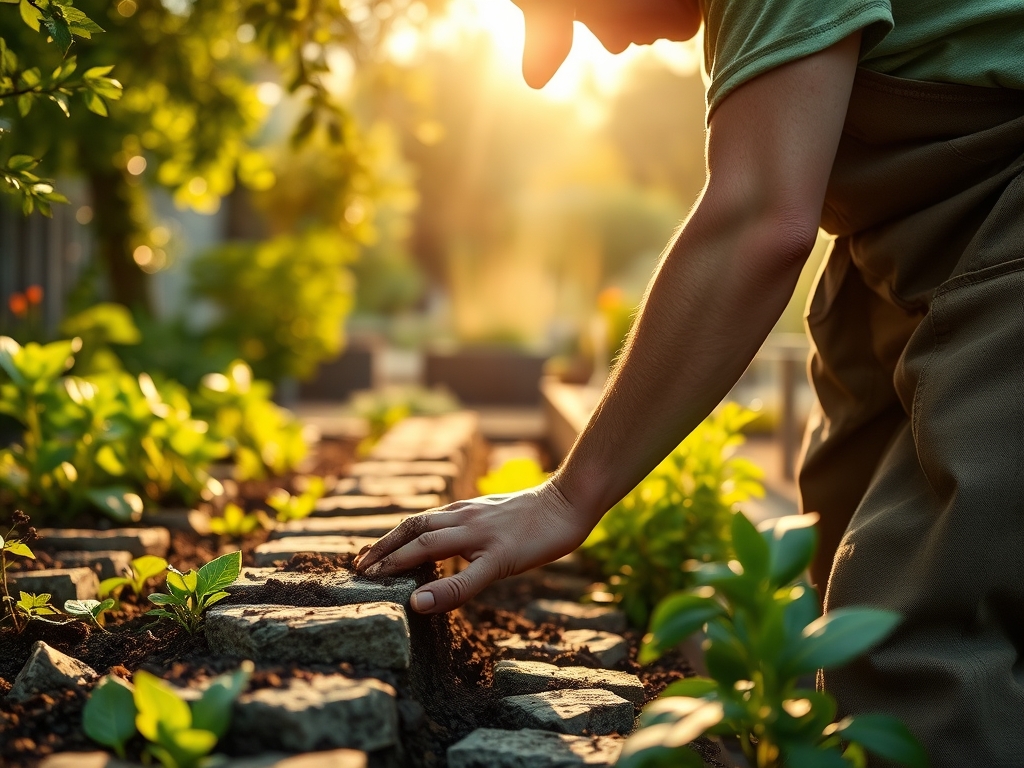
Excavate a trench 8 inches wide and 6 inches deep. Remove all organic debris and large aggregates. Use a hand tamper to achieve a compaction rate of 95 percent. This density prevents the stones from sinking into the soft A-horizon of the soil profile.
Pro-Tip: Apply a thin layer of coarse sand over the compacted base. This facilitates mycorrhizal symbiosis in the adjacent planting bed by ensuring that excess water drains away from the stone-soil interface, preventing the root rot that inhibits fungal colonization.
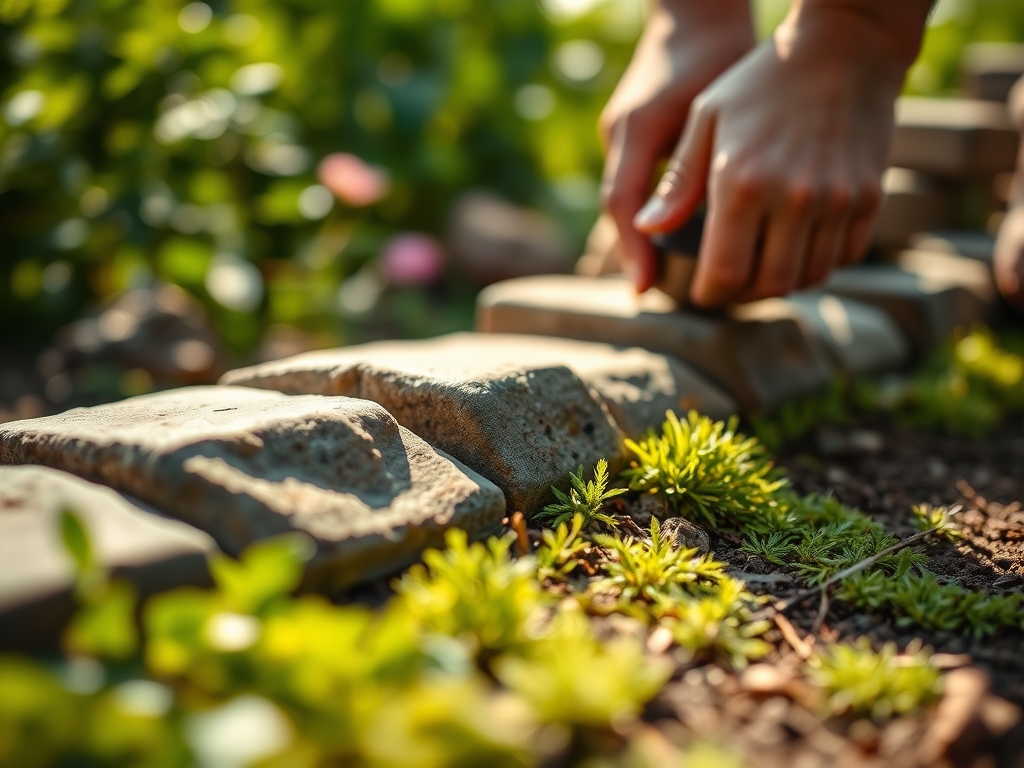
Transplanting and Alignment
Place the cobbles into the trench, leaving a 0.25-inch gap between each unit for thermal expansion. Use a rubber mallet to seat each stone. Ensure the top of the cobble sits 0.5 inches above the grass line to prevent mower blade damage while maintaining a clean edge.
Pro-Tip: If moving existing plants to accommodate the border, maintain the original soil line on the stem. This prevents the suppression of auxin, a hormone critical for root initiation. Burying the crown too deep can lead to stem rot and systemic vascular failure.
Establishing the Edge
Backfill the exterior side with native soil and the interior side with the 5-10-5 enriched loam. Water the area immediately to settle the particles and eliminate air pockets around the roots of nearby plants.
Pro-Tip: Use a hori-hori knife to slice through any circling roots of adjacent perennials during the backfill process. This practice, known as root pruning, stimulates the production of new lateral roots through a process of wound-induced hormonal signaling, improving the plant's ability to uptake water and nutrients.
The Clinic:
Physiological disorders often manifest shortly after hardscape installation due to root disturbance or altered drainage patterns.
Symptom: Interveinal chlorosis (yellow leaves with green veins) in nearby shrubs.
Solution: This indicates a micronutrient deficiency, likely iron or manganese, often caused by a localized pH spike if using fresh concrete or limestone.
Fix-It: Apply a chelated iron supplement and mulch with pine bark to lower the pH back to 6.5.
Symptom: Marginal leaf scorch or wilting despite wet soil.
Solution: This is a sign of root suffocation or mechanical damage. The plant cannot maintain turgor pressure.
Fix-It: Use a soil probe to check for compaction. If the soil is too tight, use a garden fork to aerate the rhizosphere without overturning the soil.
Symptom: Stunted growth and purple-tinted lower leaves.
Solution: Phosphorus deficiency, often occurring when cold soil temperatures (below 55 degrees Fahrenheit) inhibit nutrient uptake.
Fix-It: Apply a water-soluble high-phosphorus starter fertilizer to bypass the slow microbial mineralization process.
Maintenance:
A cobble border requires active management to remain functional. Monitor the moisture levels at the drip line of adjacent plants. Most established perennials require 1.5 inches of water per week. Use a soil moisture meter to verify that the water is penetrating at least 6 inches deep.
Prune any overhanging foliage with bypass pruners to maintain airflow. High humidity trapped against the stones can foster fungal pathogens. Every spring, check the alignment of the stones. If frost heave has shifted a cobble, lift it, add a small amount of leveling sand, and re-seat it. This prevents the "zipper effect" where one displaced stone causes the entire line to fail.
The Yield:
If your border frames a cutting garden or edible crop, timing the harvest is as scientific as the installation. For flowers like Zinnias or Peonies, harvest when the buds are in the "marshmallow" stage (soft but not fully open). This ensures maximum vase life and "day-one" freshness.
For herbs or leafy greens, harvest in the early morning when turgor pressure is at its peak. Use a sharp hori-hori knife to make clean cuts, which heal faster and reduce the risk of pathogen entry. Immediately submerge the stems in 40-degree Fahrenheit water to remove field heat and slow the rate of respiration.
FAQ:
What is the best base material for cobbles?
Use a 4-inch layer of compacted crushed stone followed by 1 inch of coarse sand. This ensures proper drainage and prevents the stones from shifting during the freeze-thaw cycles of winter.
How do I prevent weeds between stones?
Fill the gaps with polymeric sand or a lean mortar mix. This creates a physical barrier that prevents seeds from reaching the mineral soil while allowing for slight thermal expansion of the cobbles.
Can I lay cobbles directly on soil?
No. Placing stones on raw soil leads to uneven settling and rapid colonization by weeds. The lack of a stable base results in a structural failure within one growing season.
How do I calculate how many stones I need?
Measure the total linear feet of the border. Divide this by the average width of one cobble, then add 10 percent to account for breakage and irregular shapes found in natural stone batches.