6 Vital Steps to Apply Copper Fungicide
The morning you discover powdery white fuzz creeping across tomato leaves or black spot stippling rose foliage, you realize chemical intervention has arrived. Understanding the steps to apply copper fungicide correctly separates orchards that thrive from those that limp through harvest with half their yield rotting on the branch. Copper-based treatments have anchored disease management for over a century, yet misapplication burns foliage, contaminates soil cation exchange capacity, and breeds resistant pathogen strains. Precision matters.
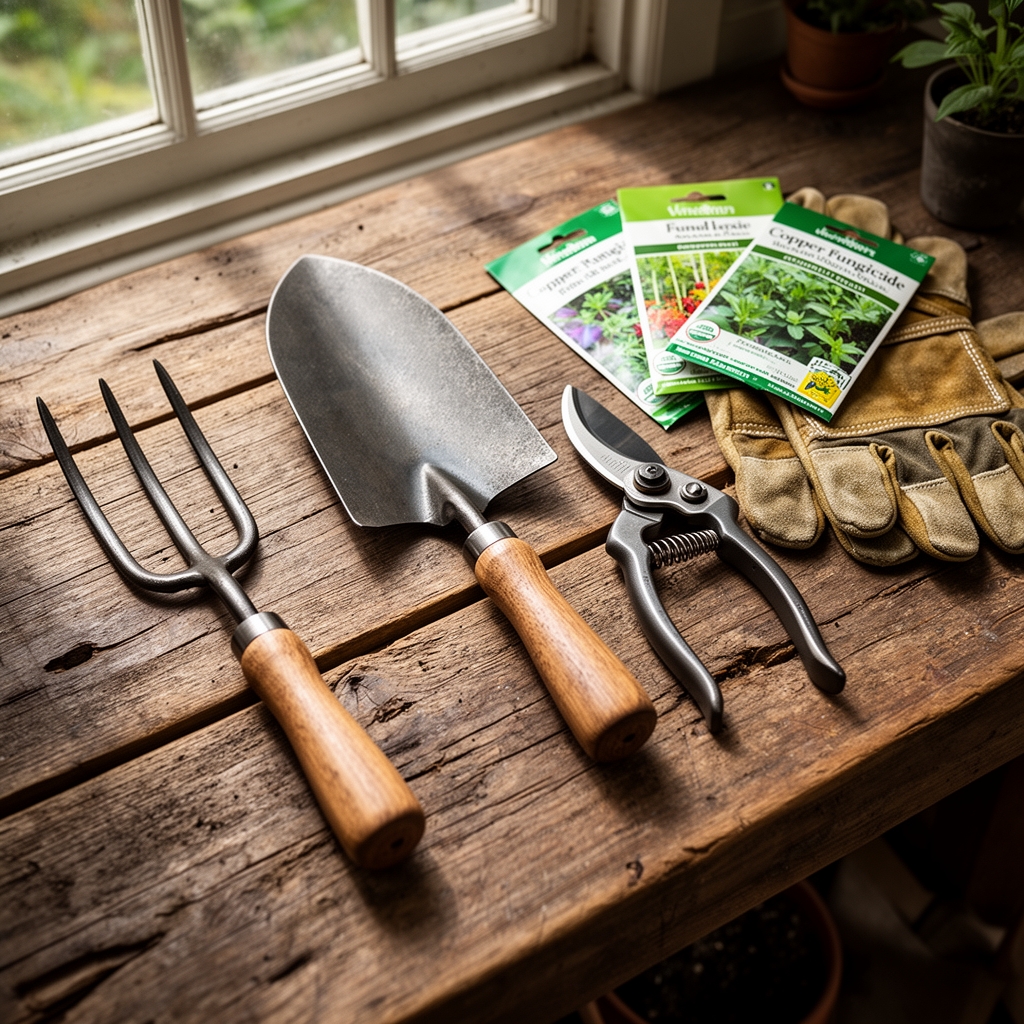
Materials
Copper fungicide formulations vary by active ingredient concentration and carrier type. Fixed copper products contain copper hydroxide, copper oxychloride, or basic copper sulfate, typically at 50-77% metallic copper equivalent. These remain on leaf surfaces longer than soluble formulations. Bordeaux mixture, the historic standard, combines copper sulfate pentahydrate with hydrated lime at a 10-10-100 ratio (copper-lime-water by weight). Modern formulations include wettable powders, suspensions, and water-dispersible granules.
Select organic-approved products when managing edible crops in certified systems. Check the Organic Materials Review Institute (OMRI) listing for compliance. Pair applications with kelp extract (typical NPK of 1-0-2) to buffer potential phytotoxicity. Acidic soils below pH 6.0 increase copper ion availability, which can reach toxic levels; test soil annually and amend with dolomitic limestone to raise pH above 6.2 if needed. Alkaline soils above pH 7.5 reduce copper efficacy, requiring pH adjustment downward using elemental sulfur at 1-2 pounds per 100 square feet.
Protective equipment includes nitrile gloves, safety goggles, and a respirator rated N95 or higher for dust formulations. A calibrated backpack sprayer with a brass adjustable nozzle delivers uniform coverage. A plastic measuring cup dedicated solely to pesticide mixing prevents cross-contamination.
Timing
Apply copper fungicide during dormancy or at bud swell for stone fruits and pome fruits. In USDA Hardiness Zones 5-7, this window opens mid-March to early April, when daytime temperatures stabilize above 45°F but before green tissue emerges. Spray deciduous trees 2-4 weeks before the average last spring frost date to target overwintering fungal spores without damaging tender growth.
For vegetable crops, begin applications after transplanting but before disease pressure mounts. Tomatoes and peppers in Zone 8 transplant late March; initiate copper spray programs within 7 days of field establishment. In Zone 10, where frost-free periods extend year-round, time applications to precede humid monsoon seasons that favor late blight and bacterial spot.
Avoid spraying during bloom. Copper residues harm pollinators and disrupt auxin distribution in developing fruit. Resume applications 10 days post-petal fall. Rain within 24 hours of application washes copper off foliage; consult seven-day forecasts and target three consecutive dry days. Wind speeds exceeding 10 mph cause drift; apply only in calm morning hours between 6 a.m. and 10 a.m. when relative humidity exceeds 60%.
Phases

Sowing Phase: Prepare copper-treated seed by dusting with fixed copper powder at 0.5 ounces per pound of seed for cucurbits susceptible to damping-off. This method protects germinating radicles from Pythium and Rhizoctonia without systemic absorption. Sow treated seed within 48 hours; extended storage degrades the copper coating.
Pro-Tip: Inoculate legume seeds with Rhizobium bacteria before copper treatment, not after. Copper ions inhibit nitrogen-fixing bacterial colonies if applied directly to inoculant.
Transplanting Phase: Drench transplant root zones with a copper hydroxide solution at 1.5-2.0 tablespoons per gallon of water. Pour 4 ounces of solution directly onto the root ball immediately after setting plants in the ground. This establishes a protective barrier against soilborne pathogens during the vulnerable establishment period.
Pro-Tip: Mix copper drench with mycorrhizal fungi inoculants containing Glomus species at least one hour apart. Copper at concentrations above 2.0 tablespoons per gallon damages fungal hyphae, negating symbiotic benefits.
Establishing Phase: Foliar applications begin 14 days post-transplant. Mix copper fungicide at label rates, typically 1-3 tablespoons per gallon depending on formulation strength. Spray until runoff coats all leaf surfaces, including undersides where stomata concentrate. Repeat every 7-10 days during periods of active growth or when conditions favor disease: temperatures between 60-80°F combined with leaf wetness exceeding six hours.
Pro-Tip: Add a non-ionic surfactant at 0.25% concentration (1 teaspoon per gallon) to improve coverage on waxy brassica leaves. Prune lower branches at 45-degree angles to increase air circulation, reducing the humidity that activates dormant spores.
Troubleshooting
Symptom: Leaf margins turn brown and crisp within 48 hours of application. Solution: Phytotoxicity from overapplication or high temperatures. Copper accumulates when applied above 85°F. Dilute future applications by 25% and spray only in early morning when leaf surfaces are dry but ambient temperature remains below 75°F.
Symptom: Disease progression continues despite regular copper spray. Solution: Resistant pathogen strains develop after 3-4 consecutive seasons of sole copper reliance. Rotate to Bacillus subtilis biological controls or sulfur-based fungicides for two application cycles, then return to copper.
Symptom: Fruit exhibits russet scarring or stippling. Solution: Copper spray contacted developing fruit during cell expansion. Maintain a 30-day interval between last application and harvest for pome fruits, 14 days for tomatoes.
Symptom: Soil tests reveal copper levels exceeding 150 ppm. Solution: Excessive applications accumulate as copper binds tightly to organic matter. Discontinue use for one growing season. Plant Brassica juncea (Indian mustard) as a bioremediation cover crop; it hyperaccumulates copper in shoots, which are then removed.
Maintenance
Reapply copper fungicide every 7 days during active disease pressure or after any rain event exceeding 0.5 inches. Most formulations provide 7-14 days of protection under dry conditions but require renewal after heavy dew or irrigation. Drip irrigation minimizes foliar wetness and extends copper residue longevity compared to overhead sprinklers.
Water plants with 1 inch per week measured at root depth, not canopy level. Use a rain gauge to track natural precipitation; supplement only when weekly totals fall short. Mulch with 3 inches of aged wood chips to buffer soil moisture and reduce splash dispersal of soilborne spores onto lower leaves.
Prune infected tissue immediately upon detection. Sterilize pruners between cuts by dipping in 10% bleach solution for 30 seconds. Destroy infected material by burning or sealed disposal, never composting.
FAQ
When should I stop applying copper fungicide before harvest? Stone fruits require a 30-day pre-harvest interval, tomatoes 14 days, and leafy greens 24 hours. Consult product labels for crop-specific restrictions.
Can I mix copper fungicide with insecticides? Some combinations cause flocculation or reduced efficacy. Perform a jar test: mix small quantities in a clear container and observe for 30 minutes. Separation or clumping indicates incompatibility.
Does rain wash off copper immediately? Copper binds to leaf cuticles within 2-4 hours post-application. Light rain after this window causes minimal loss, but storms exceeding 1 inch within 24 hours necessitate reapplication.
How much copper per acre for orchard application? Standard rates range from 1-4 pounds metallic copper equivalent per acre per application. High-density plantings may require upper range dosing; consult extension guidelines for your region and crop.
Will copper harm beneficial insects? Copper shows low toxicity to adult bees but can affect larval development. Avoid bloom-period applications and spray after 6 p.m. when pollinators return to hives.