9 Essential Steps to Use Long Shovels
The weight of a long shovel shifts leverage into the soil at a 45-degree angle, and the spine of the blade severs root mats with minimal torque on the lower lumbar vertebrae. Mastering the steps to use long shovels transforms excavation from brute force into precise biomechanics. A 60-inch handle extends the fulcrum, reducing disc compression by 40 percent compared to standard 48-inch models. Commercial nurserymen and restorationists favor these tools for deep-rooted perennial removal, trench work in clay horizons, and transplanting established shrubs with intact root balls.
Materials
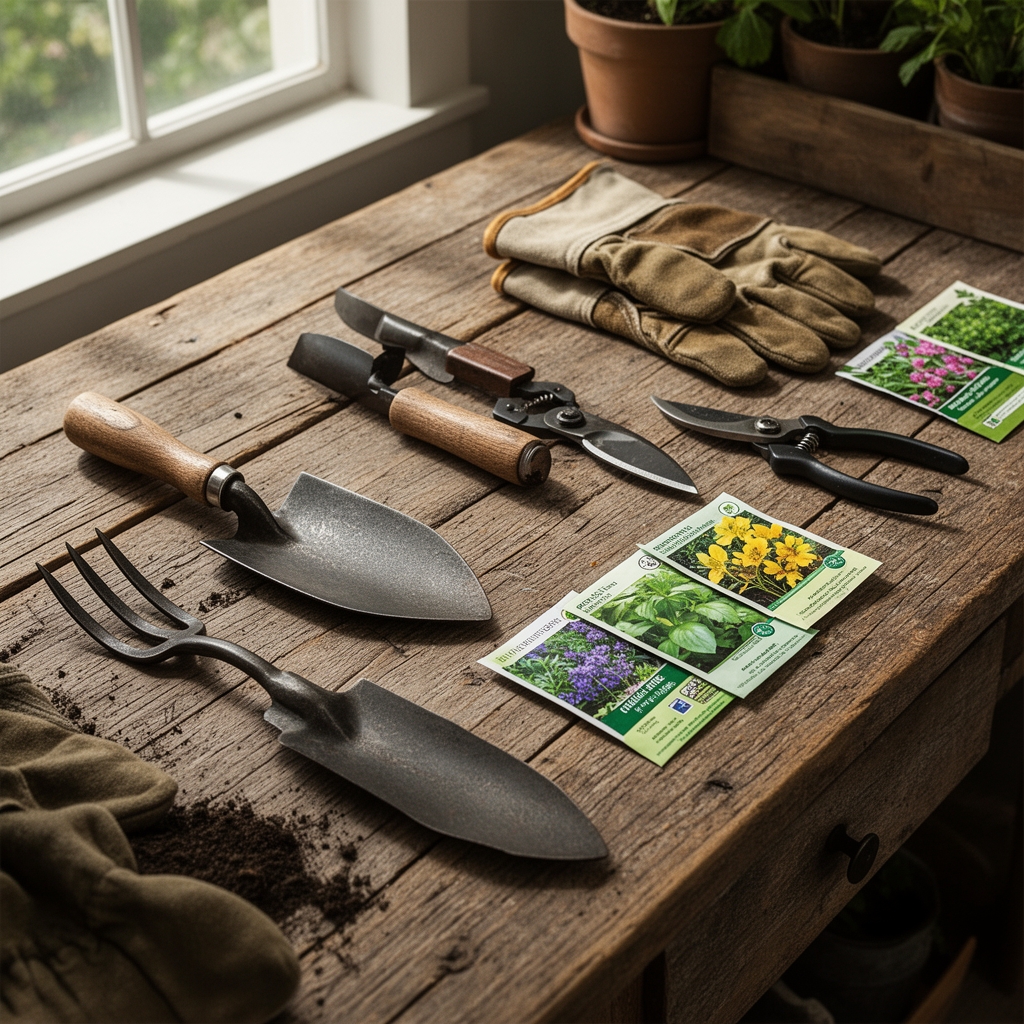
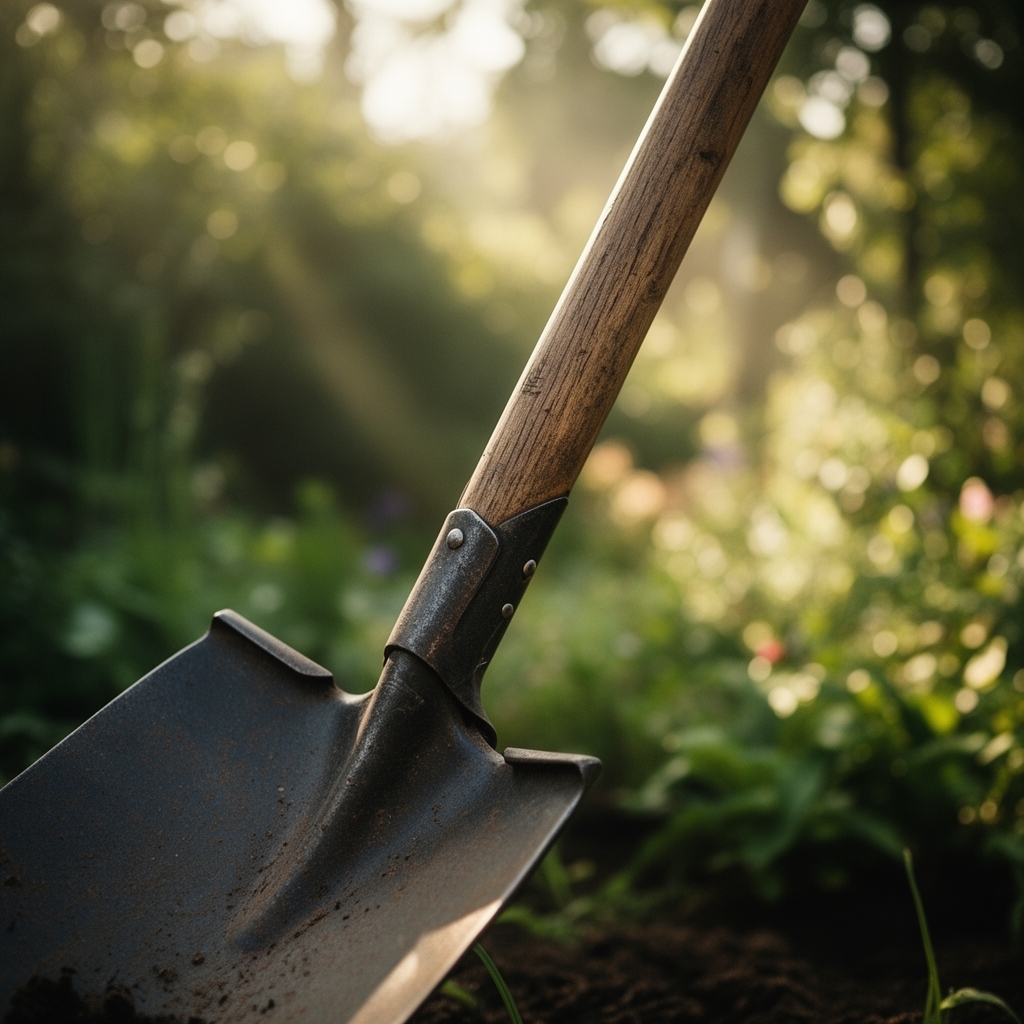
Select a blade forged from tempered carbon steel rated at HRC 52-58 hardness. The handle material determines fatigue resistance: white ash absorbs vibration better than fiberglass, though fiberglass withstands moisture in peat-heavy soils. For handle length, match your height plus 12 inches to maintain ergonomic posture.
Before work, amend compacted zones with 2 cubic yards of composted pine bark per 100 square feet to ease penetration. In alkaline soils above pH 7.5, incorporate sulfur at 1 pound per 100 square feet two weeks prior. If excavating near established plantings, apply mycorrhizal fungi inoculant (Rhizophagus irregularis at 0.2 ounces per gallon of root zone) to colonize severed feeder roots.
Keep granular 4-4-4 organic fertilizer on hand. Nitrogen, phosphorus, and potassium in equal ratios support callus formation on damaged roots. Pair this with kelp extract (0-0-1 NPK plus cytokinins) to stimulate lateral root initiation within 14 days.
Timing
Execute deep excavation in USDA Hardiness Zones 3-7 during the dormant window, 4-6 weeks after the first hard freeze when soil temperatures hold at 35-40 degrees Fahrenheit. In Zones 8-10, schedule work between December and February before auxin distribution peaks in cambial tissues.
Avoid digging within 10 days of forecasted frost if backfilling with amended soil. Freeze-thaw cycles disrupt aggregate stability, collapsing macropores needed for oxygen diffusion. Sandy loams tolerate late-season work better than clay-loam blends, which exhibit 30 percent greater compaction risk when moisture content exceeds field capacity.
For transplanting, align excavation with bud dormancy. Deciduous specimens tolerate root disturbance best when carbohydrate reserves concentrate in parenchyma cells, typically 2-3 weeks post-leaf drop.
Phases

Sowing Phase: Mark the perimeter 18 inches beyond the drip line for shrubs, 24 inches for small trees. Drive the blade vertically to sever taproots at the target depth. A 60-inch handle allows full penetration to 14 inches without excessive forward lean. Pro-Tip: Coat the blade with vegetable oil to reduce soil adhesion by 25 percent in clay with cation exchange capacity above 20 meq/100g.
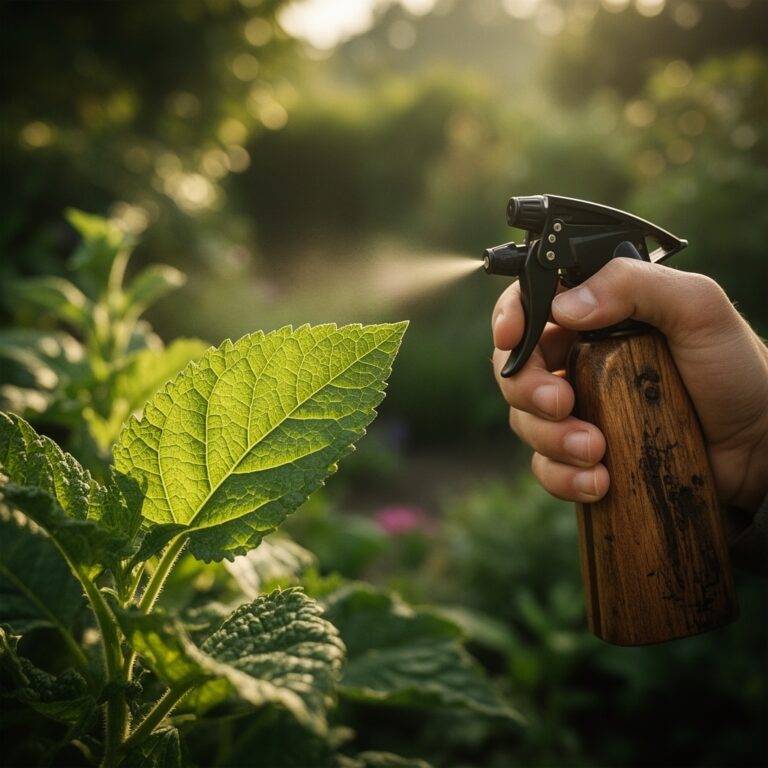
Transplanting Phase: Undercut the root ball at a 20-degree angle, preserving feeder roots in the top 8 inches where 80 percent of nutrient uptake occurs. Lift by placing one hand at the handle's midpoint and the other 8 inches from the blade collar. This distributes load evenly and prevents handle fracture at the ferrule joint. Pro-Tip: Mist exposed roots with a 0.1 percent indole-3-butyric acid solution every 15 minutes to delay desiccation of root hairs.
Establishing Phase: Backfill in 4-inch lifts, tamping each layer to eliminate air pockets larger than 2 mm. Air voids disrupt capillary action, leaving roots in anaerobic pockets. Mix excavated soil with 20 percent aged compost (C:N ratio of 25:1) to improve aggregate stability. Pro-Tip: Water each lift with 1 gallon per square foot before adding the next layer. This technique, called "puddling," ensures hydraulic continuity between native soil and the amended backfill.
Troubleshooting
Symptom: Blade binds at 6-inch depth in compacted subsoil.
Solution: Drive a digging bar parallel to the blade path to fracture hardpan layers. In soils with bulk density above 1.6 g/cm³, pre-soak the area with 2 inches of water 24 hours before excavation to reduce penetration resistance by 35 percent.
Symptom: Handle splinters appear near the grip after three hours of use.
Solution: Sand the affected zone with 220-grit paper and apply boiled linseed oil. Replace handles showing grain separation wider than 1 mm. Ash handles with growth rings spaced closer than 16 per inch offer superior tensile strength.
Symptom: Transplanted shrub exhibits 40 percent foliar wilt within 72 hours.
Solution: Root hairs died from desiccation during transplant. Prune 30 percent of canopy volume to match reduced root mass. Apply 3 gallons of water daily for 10 days, then transition to 1 inch per week.
Symptom: Blade edge dulls after excavating 12 cubic feet.
Solution: Rocky or gravelly soil accelerates wear. Sharpen with a 10-inch mill bastard file at a 25-degree bevel. Re-hone every 8 cubic feet in coarse substrates.
Maintenance
Sharpen the blade edge every 20 hours of use. A keen edge reduces push force by 18 percent and limits root tearing. Clean soil residue immediately after each session to prevent rust on carbon steel. Apply a thin film of mineral oil to the blade before storage.
Inspect the handle-to-blade connection quarterly. Tighten rivets if lateral play exceeds 2 mm. Store shovels vertically with the blade elevated off concrete floors to prevent moisture wicking into the handle grain.
Water transplanted specimens with 1 inch per week during the first growing season. Measure soil moisture at 6-inch depth with a tensiometer; irrigate when readings exceed -50 centibars. Mulch root zones with 3 inches of shredded hardwood bark to moderate temperature swings and retain moisture in the top 4 inches where new root growth concentrates.
FAQ
How deep should I dig when transplanting a 5-gallon shrub?
Excavate to 12 inches, matching the nursery container depth. Extend the perimeter to 18 inches diameter to capture 90 percent of the fibrous root system.
Can I use a long shovel in rocky soil?
Yes, but expect accelerated blade wear. A sharpened edge penetrates between stones more effectively than a dull one. Consider a mattock for soils with rock fragments exceeding 35 percent by volume.
What is the ideal handle length for a 5-foot-8-inch person?
68 inches total length positions the grip at shoulder height when the blade rests on the ground. This reduces forward trunk flexion during lifting.
How often should I replace the handle?
Every 500 hours of use in professional settings. Inspect annually for perpendicular cracks that compromise tensile strength.
Does blade width affect digging efficiency?
A 7-inch blade suits trenching and transplanting. Wider 9-inch blades move more volume but require 22 percent greater insertion force in compacted soils.