6 Vertical Steps to Prepare a Simple DIY Plant Hanger
The smell of damp peat moss mixed with the sharp, metallic scent of a clean bypass pruner signals the start of a controlled growing environment. When a leaf maintains high turgor pressure, its cells are fully hydrated and rigid; this is the physiological baseline required before elevating any specimen. Learning how to prepare a DIY plant hanger is not merely an aesthetic choice but a strategic move to optimize vertical airflow and light interception. By moving a plant from the floor to the air, you manipulate the microclimate and reduce the risk of soil-borne pathogens. Successful suspension requires a deep understanding of structural integrity and the metabolic needs of the specific cultivar. You are building a life-support system that must account for gravitational pull on the root ball and the shifting center of gravity as the plant enters its peak vegetative state. Precise execution ensures that the rhizosphere remains undisturbed while the foliage expands into the available three-dimensional space.
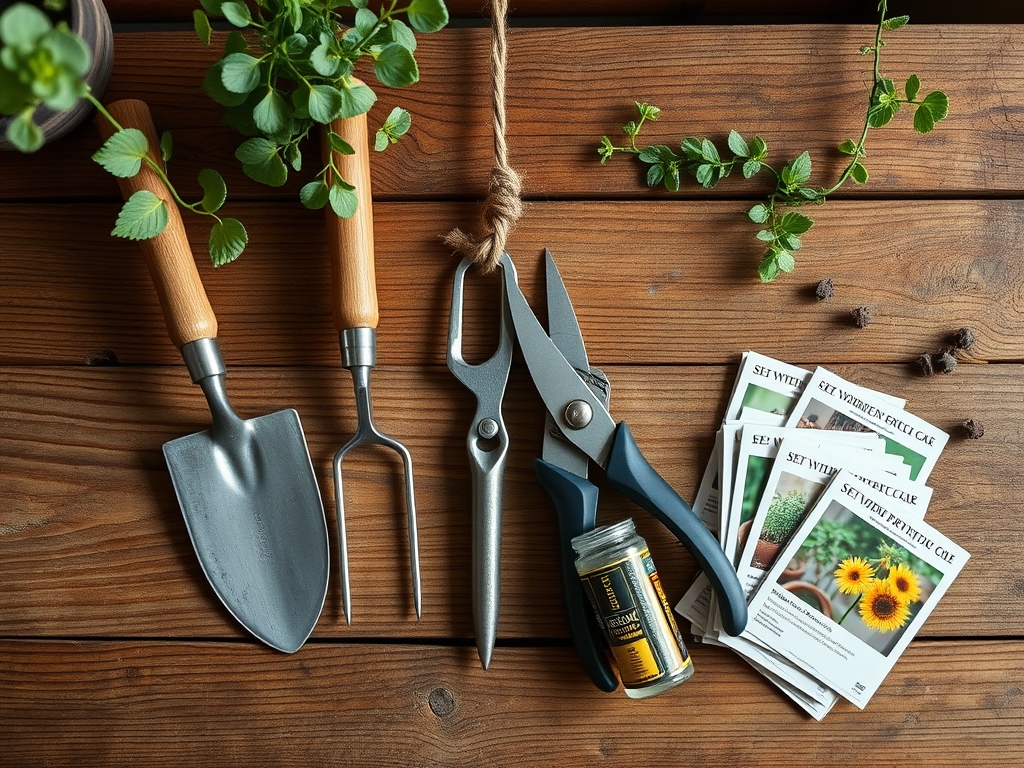
Materials:
The foundation of a suspended system is the substrate. For most tropical epiphytes or hanging perennials, you require a **friable loam** with a high **Cation Exchange Capacity (CEC)** to ensure nutrient retention. The ideal soil pH should sit between **5.8 and 6.5** to maximize the bioavailability of micronutrients like iron and manganese.
Prepare a potting mix with an NPK ratio of 10-10-10 for general maintenance or 5-10-5 if you are encouraging root development over foliage. The physical texture must be porous; use a ratio of 40 percent coco coir, 30 percent perlite, and 30 percent composted organic matter. This composition prevents anaerobic conditions at the bottom of the vessel. You will also need 3-strand twisted cotton cord (4mm thickness), a heavy-duty galvanized steel S-hook, and a ceramic or terracotta pot with a minimum of one drainage hole.
Timing:
In USDA Hardiness Zones 8 through 11, vertical installation can occur year-round provided the ambient temperature remains above 55 degrees Fahrenheit. For those in Zones 3 through 7, the ideal window is the transition from late spring to early summer, specifically 14 days after the last predicted frost. This timing aligns with the plant's biological clock as it moves from winter dormancy into a rapid vegetative stage. During this period, the photoperiod increases, triggering the production of auxins at the apical meristems. Suspending the plant during this metabolic surge allows it to adapt its cellular structure to the new light orientation quickly. Avoid transplanting or hanging during the reproductive (flowering) stage, as the plant redirects energy toward gamete production, making it less resilient to the mechanical stress of being moved.
Phases:
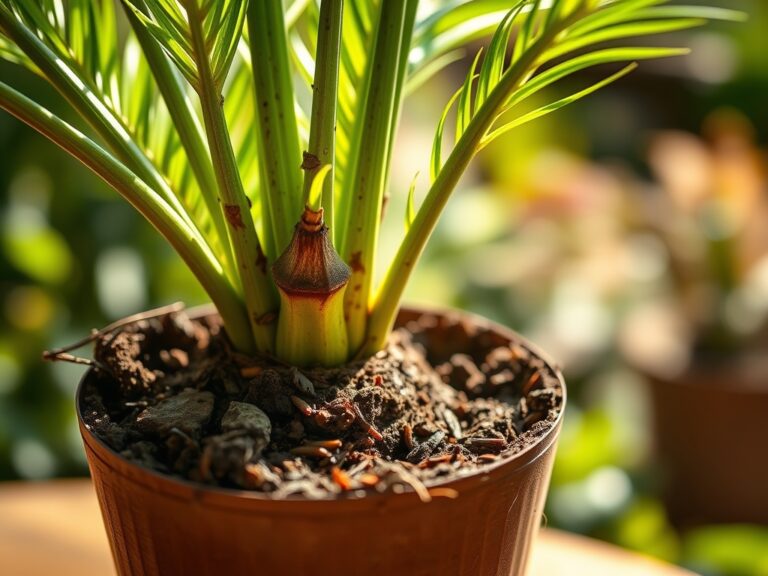
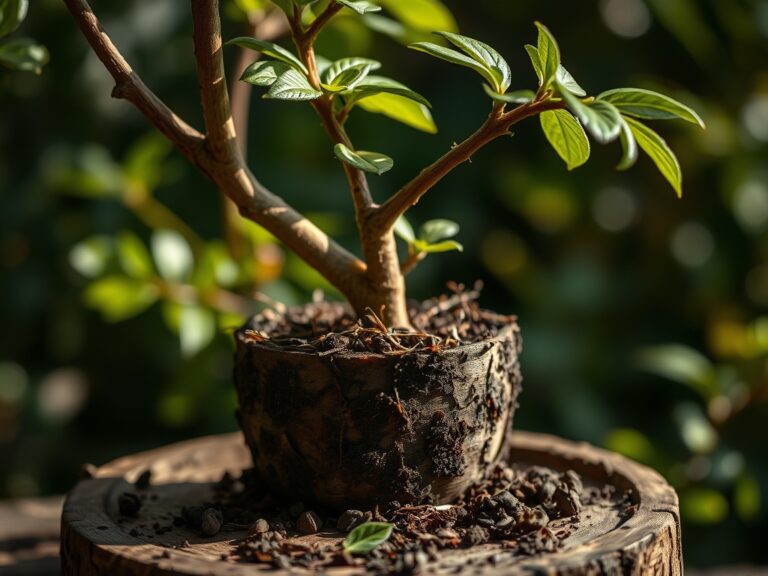
Sowing and Substrate Preparation
Before the plant meets the hanger, the root environment must be stabilized. Moisten your substrate until it reaches field capacity; it should hold its shape when squeezed but not drip water. Fill the container to within one inch of the rim to allow for localized irrigation. If starting from seed, sow at a depth exactly three times the diameter of the seed.
Pro-Tip: Maintaining consistent moisture during this phase encourages mycorrhizal symbiosis. These beneficial fungi extend the root system's reach, increasing the surface area for water absorption by up to 1,000 percent.
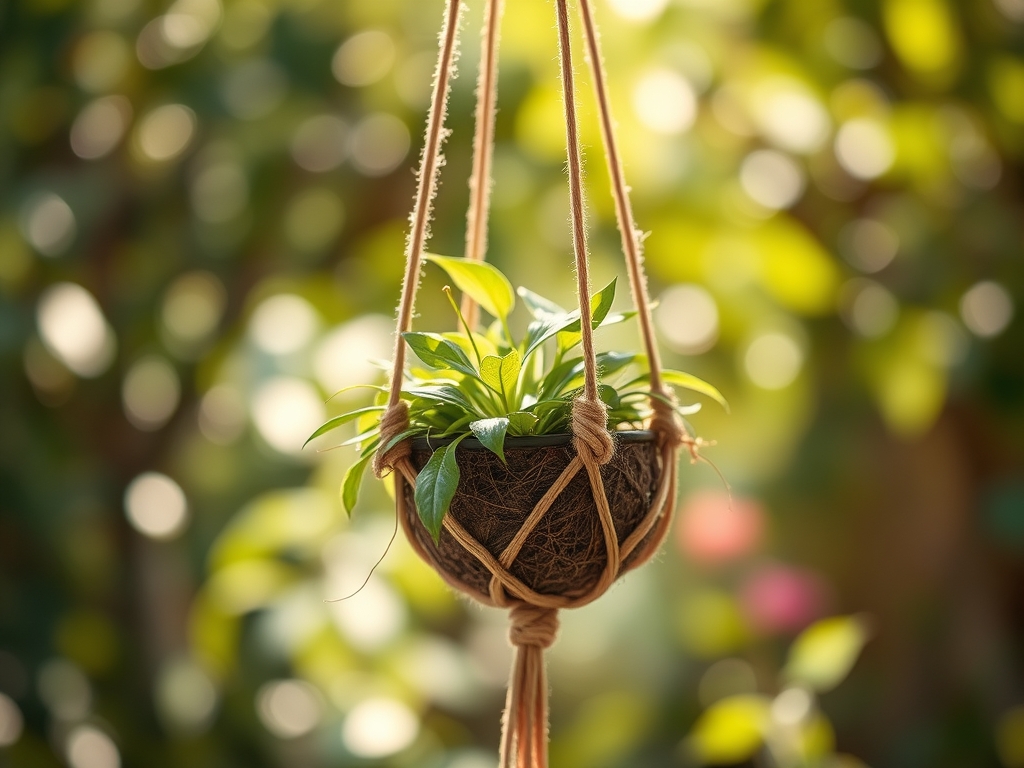
Transplanting into the Hanger
Measure four lengths of cord, each five feet long. Secure them with a crown knot at the base. Place the potted specimen in the center of the cords. Use a square knot at four equidistant points around the circumference of the pot, roughly two inches above the base. Repeat this knotting pattern four inches higher to create a secure mesh cradle. Ensure the pot is level to prevent uneven water distribution within the soil profile.
Pro-Tip: When handling the plant, avoid touching the stem. Use a hori-hori knife to loosen the root ball if it is pot-bound. This mechanical stimulation triggers a wound response that releases ethylene, actually encouraging new, more vigorous root branching.
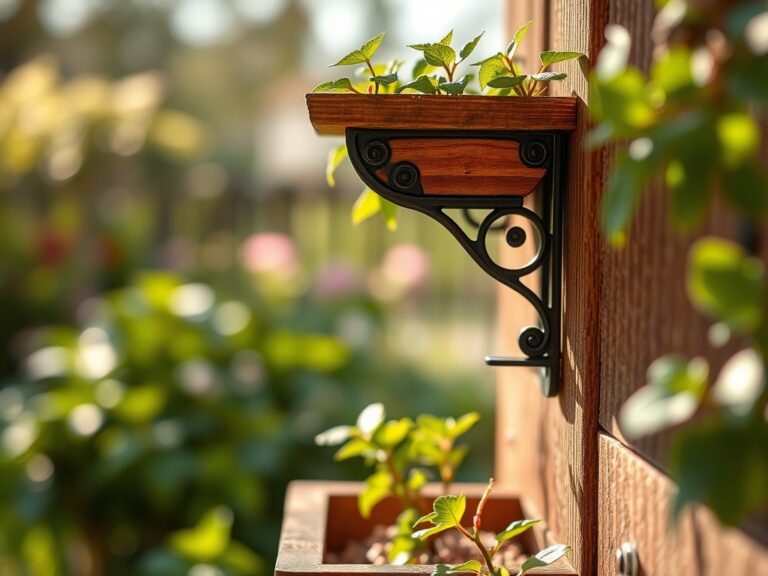
Establishing the Vertical Position
Hang the assembly in a location that matches the species' light requirements. Use a soil moisture meter to calibrate your initial watering schedule. Because air circulates around the entire pot, evaporation rates will be 15 to 25 percent higher than floor-bound pots. Monitor the plant for phototropism, where the stem bends toward the light source. Rotate the hanger 90 degrees every seven days to ensure uniform canopy development.
Pro-Tip: Regular rotation prevents auxin suppression on the shaded side of the plant. By normalizing light exposure, you maintain a balanced distribution of growth hormones, preventing the plant from becoming "leggy" or structurally weak on one side.
The Clinic:
Physiological disorders in hanging plants often stem from the altered evaporation rates and light exposure.
- Symptom: Interveinal chlorosis (yellowing between leaf veins) on new growth.
- Solution: This indicates an Iron (Fe) deficiency, often caused by a pH drift above 7.0. Flush the substrate with acidified water to lower the pH to 6.0.
- Symptom: Marginal leaf burn or necrosis on older leaves.
- Solution: This suggests Potassium (K) deficiency or salt accumulation. Increase the leaching fraction by watering until 20 percent of the volume exits the drainage hole.
- Symptom: Abscission (dropping) of lower leaves despite moist soil.
- Solution: Likely Nitrogen (N) deficiency. Apply a water-soluble fertilizer with a high N rating (such as 20-10-10) at half strength to restore chlorophyll production.
- Symptom: Wilting despite heavy mass in the pot.
- Solution: Root rot caused by anaerobic conditions. Use a hori-hori knife to aerate the soil or repot into a mix with higher perlite content.
Maintenance:
Precision maintenance is the difference between survival and thriving. Provide 1.5 inches of water per week, delivered directly to the soil surface rather than the foliage to prevent fungal spores from germinating. Use bypass pruners to remove any yellowing or senescing leaves; make cuts at a 45-degree angle exactly one-quarter inch above a node. This technique directs the plant's energy toward new axillary buds. Every 90 days, check the tension of the cotton cords. Natural fibers can degrade under UV exposure and moisture. If the cord feels brittle, replace it immediately to prevent structural failure. Use a soil moisture meter daily for the first three weeks to establish a baseline for your specific microclimate.
The Yield:
If your DIY plant hanger houses herbs or edible flowers, harvest timing is critical for essential oil concentration. Harvest in the early morning, just after the dew has evaporated but before the sun reaches its zenith. This is when turgor pressure is highest and volatile compounds are most concentrated. Use sharp snips to take no more than 30 percent of the total biomass at one time. For post-harvest longevity, place the stems in a glass of water at 40 degrees Fahrenheit immediately. This rapid cooling slows the rate of respiration and preserves the cellular structure for "day-one" freshness.
FAQ:
What is the best cord for a DIY plant hanger?
Use 4mm cotton or jute cord. Natural fibers provide better friction against the pot surface than synthetic nylon. Ensure the cord is rated for at least ten times the weight of the saturated pot to account for structural degradation.
How often should I water a hanging plant?
Hanging plants dry out faster due to increased airflow. Check the soil daily with a moisture meter. Generally, provide water when the top one inch of substrate feels dry. This typically occurs two to three times per week.
Can I hang a pot without a drainage hole?
Avoid this practice. Without drainage, salts accumulate and the rhizosphere becomes anaerobic, leading to root rot. If using a decorative "cachepot" without holes, keep the plant in a plastic nursery liner that can be removed for irrigation.
How do I prevent my hanging plant from leaning?
Rotate the hanger 90 degrees every week. This counteracts phototropism, the biological tendency of plants to grow toward light. Regular rotation ensures even distribution of auxins and a symmetrical canopy.