7 Daily-Care Steps to Prepare a DIY Humidity Plant Mister
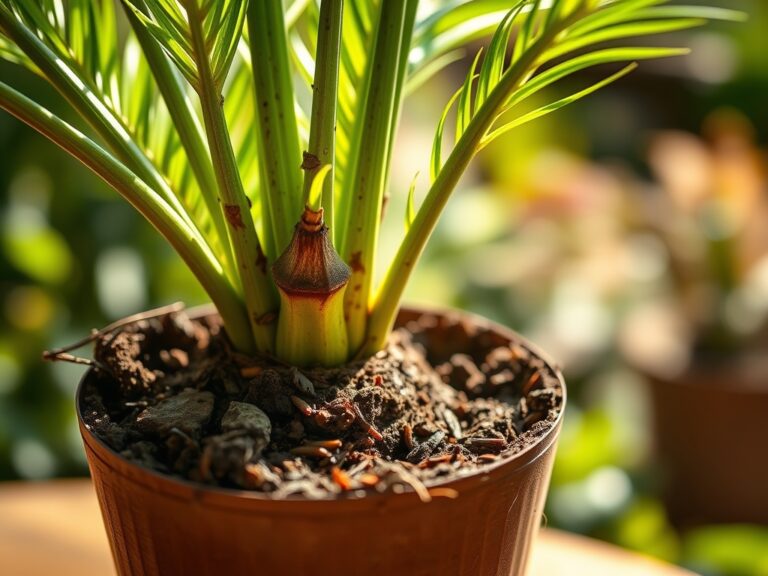
Turgor pressure dictates the structural integrity of a botanical specimen. When the internal water pressure against the cell wall drops, the plant enters a state of flaccidity; the leaves droop and the metabolic rate slows. Maintaining a high relative humidity environment prevents excessive transpiration through the stomata. Learning how to prepare a DIY plant mister ensures that the boundary layer of air surrounding the foliage remains saturated. This microclimate management is essential for tropical understory species that thrive in 60 to 80 percent humidity. Proper misting technique provides the mechanical hydration necessary to prevent tip necrosis and leaf scorch. High-quality hydration starts with understanding the chemical composition of the water and the delivery mechanism of the aerosolized droplets.
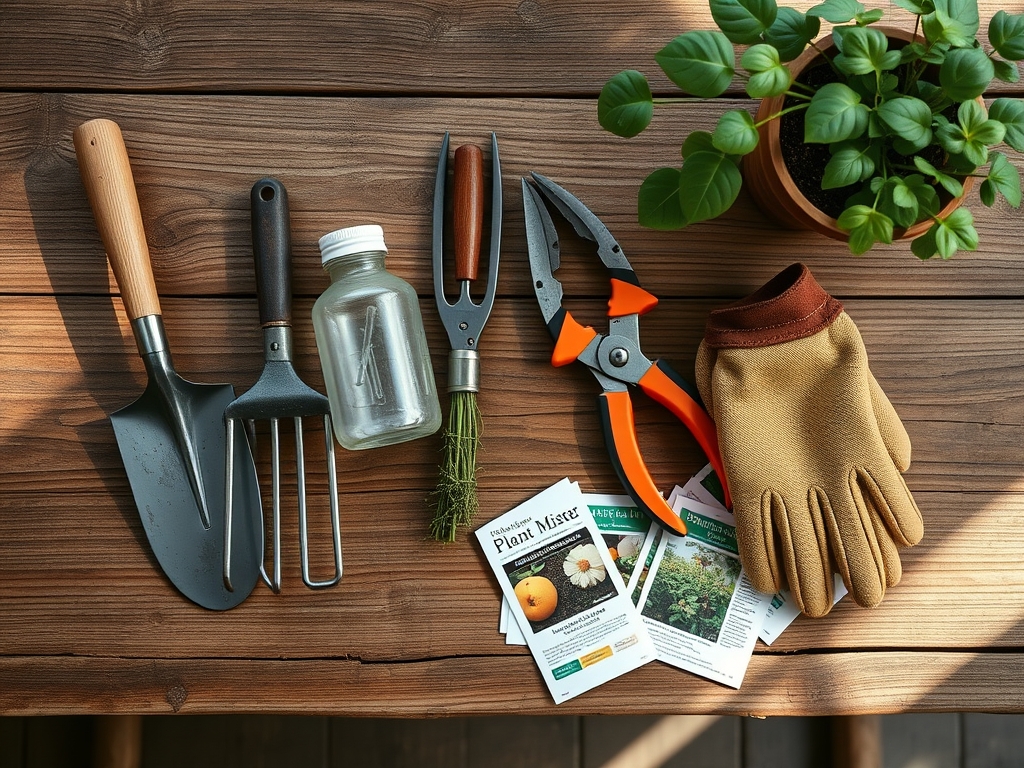
Materials:
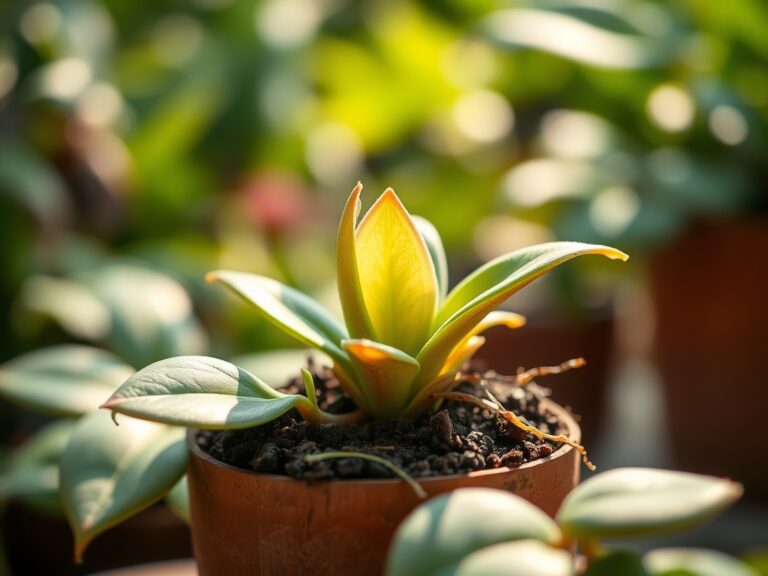
The foundation of a successful misting regimen is the substrate and the solution. For containerized plants requiring high humidity, the soil must be a **friable loam** with a high **Cation Exchange Capacity (CEC)** to hold nutrients while allowing for rapid drainage. Aim for a soil pH between **5.8 and 6.5** for most tropicals. If you are incorporating foliar feeding into your misting routine, the NPK ratio should be highly diluted, such as a **1-1-1 or 0.5-0.5-0.5** water-soluble formulation.
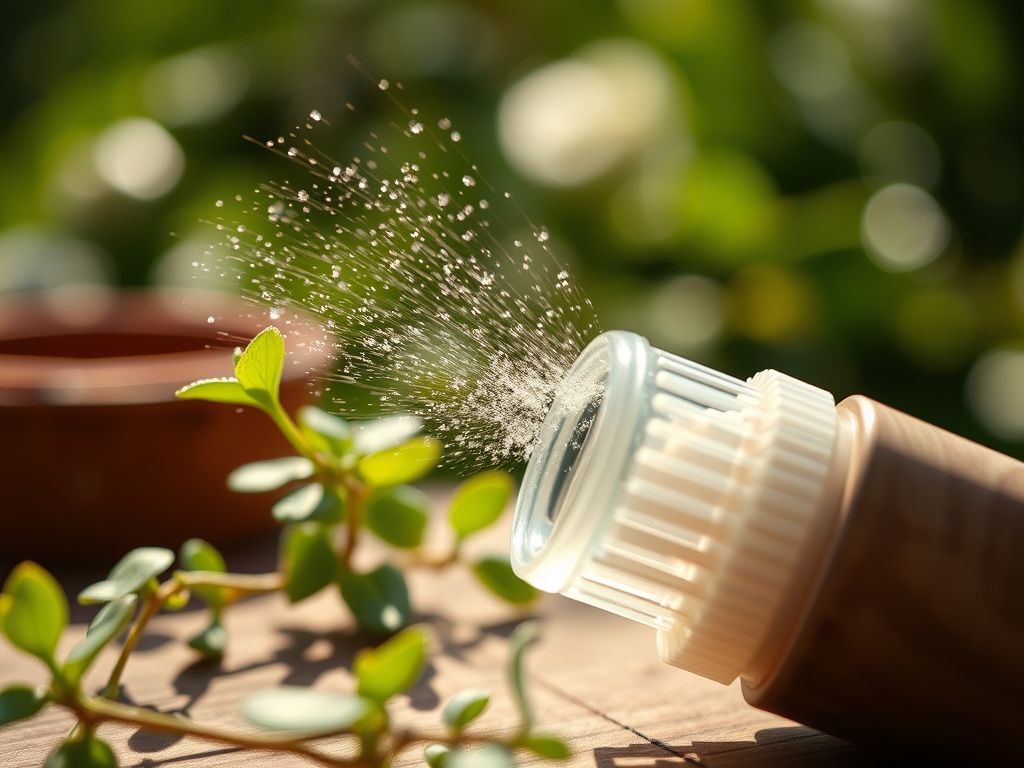
Essential hardware includes a high-density polyethylene (HDPE) spray bottle with an adjustable nozzle capable of producing a fine mist (50 to 100 microns). Use distilled or reverse-osmosis water to prevent the buildup of calcium carbonate and magnesium salts on the leaf surface. These mineral deposits can clog stomata and interfere with gas exchange.
Timing:
Hardiness zones 9 through 11 often require less supplemental misting due to ambient humidity, whereas zones 3 through 7 require aggressive intervention during winter months when indoor heating drops humidity levels below 20 percent. The "Biological Clock" of the plant dictates when misting is most effective. Perform misting during the early morning hours, between 6:00 AM and 8:00 AM, as the plant transitions from its nocturnal state to active photosynthesis.
Misting during the vegetative stage supports leaf expansion and prevents the desiccation of new apical buds. Avoid heavy misting during the reproductive stage (flowering) as excessive moisture on petals can induce fungal pathogens like Botrytis cinerea. Monitor the photoperiod; never mist in the evening as standing water on foliage overnight creates a breeding ground for bacterial leaf spot.
Phases:

Sowing and Seedling Hydration
During the germination phase, the radical requires constant moisture without the mechanical stress of heavy watering. Use the DIY mister to keep the top 0.25 inches of the seed-starting mix damp.
Pro-Tip: Maintaining high surface moisture triggers hydrotropism, where the emerging root system senses the water gradient and grows downward more efficiently. This establishes a robust root-to-shoot ratio early in the lifecycle.
Transplanting and Acclimation
When moving a plant to a new container or location, it experiences transplant shock. Misting the foliage twice daily for the first 10 days reduces the transpiration load on the compromised root system.
Pro-Tip: High humidity during this phase prevents auxin suppression. When a plant is stressed by water loss, auxin flow is interrupted, which can lead to stunted growth or the premature shedding of lower leaves.
Establishing the Microclimate
Once the plant is established, the mister serves as a tool for consistent environmental maintenance. Focus the spray on the underside of the leaves where the highest concentration of stomata resides.
Pro-Tip: This method facilitates mycorrhizal symbiosis in the upper layers of the substrate. While the mister primarily targets foliage, the incidental runoff maintains the moisture film required for beneficial fungi to transport phosphorus to the roots.
The Clinic:
Physiological disorders often manifest as physical deformities. Identifying these early is critical for plant survival.
- Symptom: Interveinal Chlorosis. The leaf veins remain green while the tissue between them turns yellow.
- Solution: This indicates a Magnesium or Iron deficiency. Check the soil pH; if it is above 7.0, the plant cannot uptake these micronutrients. Add a chelated iron supplement to your mister at a 0.1% concentration.
- Symptom: Tip Burn (Necrosis). The edges of the leaves turn brown and crispy.
- Solution: This is a sign of low humidity or salt accumulation. Increase misting frequency to three times daily and flush the soil with distilled water to lower the electrical conductivity (EC).
- Symptom: Edema. Small, corky bumps appear on the underside of the leaves.
- Solution: This occurs when the plant takes up water faster than it can transpire. Reduce misting and improve air circulation.
- Fix-It for Nitrogen Chlorosis: If the entire leaf is pale green or yellow, apply a foliar spray with a high-nitrogen (20-0-0) urea-free solution diluted to 1/4 strength.
Maintenance:
Precision is the hallmark of a master horticulturist. Use a soil moisture meter to ensure the root zone remains at a consistent 40 to 60 percent moisture level. For larger specimens, provide 1.5 inches of water per week delivered at the drip line.
Keep your tools in peak condition. Clean your bypass pruners with 70 percent isopropyl alcohol after every use to prevent cross-contamination of pathogens. If you notice dead or senescing wood, use a hori-hori knife to cleanly excise the tissue at the branch collar. Regularly calibrate your DIY mister by checking the nozzle for mineral clogs; soak the nozzle in a 50/50 vinegar and water solution for 30 minutes if the spray pattern becomes irregular.
The Yield:
For those growing humidity-loving herbs or edible flowers, harvest timing is essential for maintaining essential oil concentration. Harvest at dawn, immediately after the morning misting when turgor pressure is at its peak. This ensures the cell walls are fully hydrated, providing a crisp texture.
Use sharp snips to make a clean cut at a 45-degree angle. Place the harvested material immediately into a chilled environment (approximately 40 degrees Fahrenheit). For "day-one" freshness, wrap the stems in a damp paper towel to maintain a localized humidity of 95 percent during transport or storage.
FAQ:
What is the best water for a DIY plant mister?
Use distilled, deionized, or reverse-osmosis water. Tap water contains chlorine and fluoride which can cause leaf tip burn. Hard water also leaves mineral deposits that block the stomata, hindering the plant's ability to breathe and photosynthesize.
How often should I mist my indoor plants?
Most tropical plants require misting two to three times per week. However, in dry winter conditions or desert climates, daily misting is required to maintain a relative humidity above 50 percent. Always monitor the leaf tips for signs of desiccation.
Can I add fertilizer to my DIY mister?
Yes, this is known as foliar feeding. Use a highly diluted, water-soluble fertilizer at 25 percent of the recommended strength. Ensure the NPK ratio matches the plant's growth stage and only apply during the early morning hours.
Does misting replace regular watering of the soil?
No. Misting only manages the boundary layer humidity and prevents excessive transpiration. It does not provide sufficient moisture to the rhizosphere. You must still provide deep watering to the soil to satisfy the plant's primary metabolic requirements.