8 Aeration Steps for Repotting a Parlor Palm
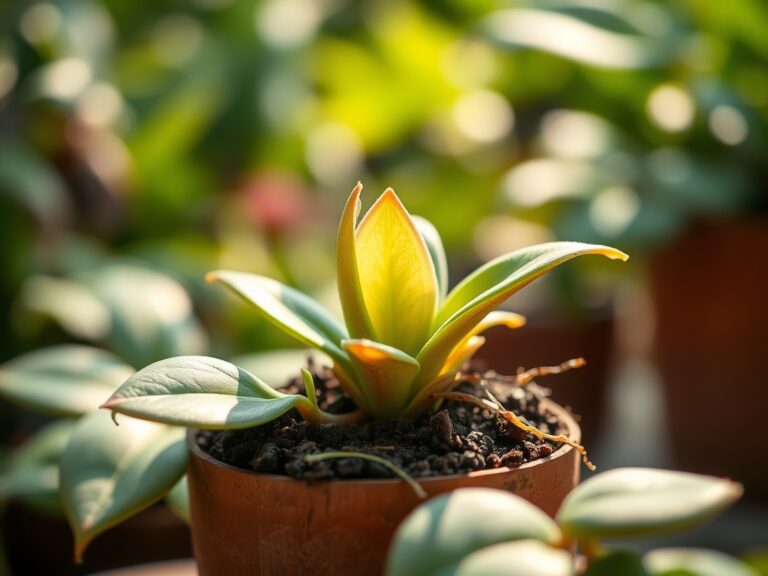
The smell of damp, oxygenated earth signals a successful transition for Chamaedorea elegans. When you handle a healthy specimen, the turgor pressure in the fronds should feel firm and resilient. If the foliage appears limp or the substrate smells of anaerobic decay, the root system is suffocating. Mastering the steps for repotting a parlor palm requires a precise understanding of the rhizosphere. This slow growing species often remains in the same container for years, leading to compacted media that inhibits gas exchange. By following a systematic aeration protocol, you ensure the roots have access to the oxygen necessary for cellular respiration. Proper repotting is not merely about a larger vessel; it is a tactical intervention to reset the soil physics and chemistry. You must act when the root mass begins to displace the soil, usually every two to three years. Ignoring this biological necessity leads to stunted growth and leaf senescence. A successful repotting event balances mechanical handling with chemical precision to maintain the plant's physiological equilibrium.
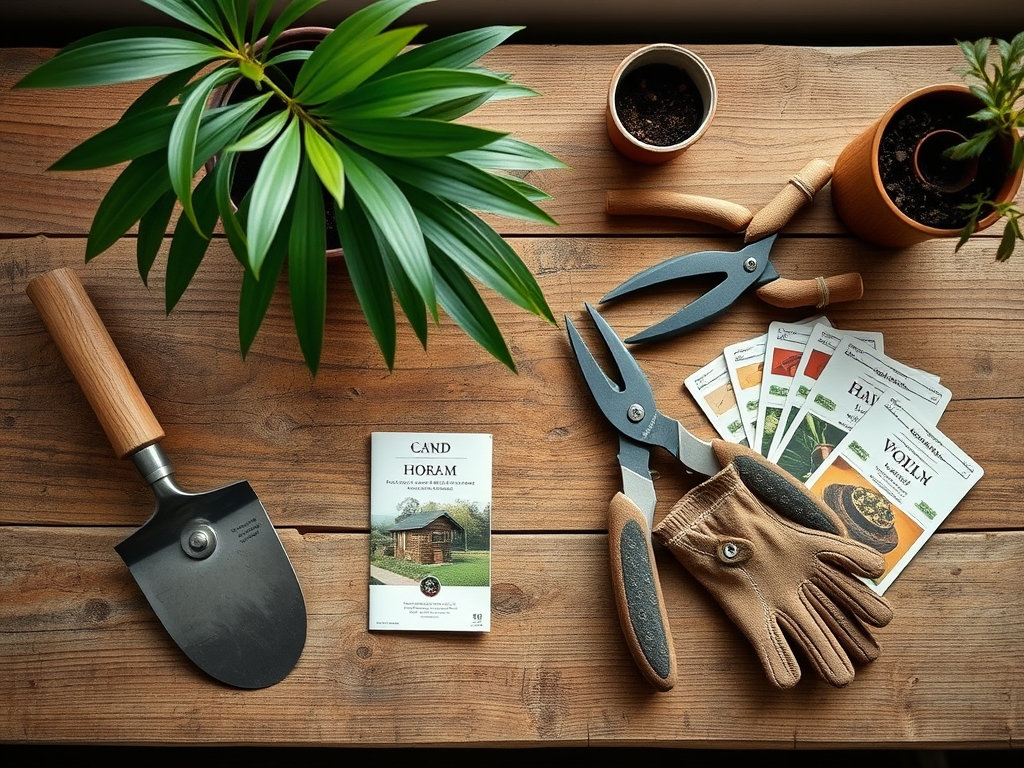
Materials:
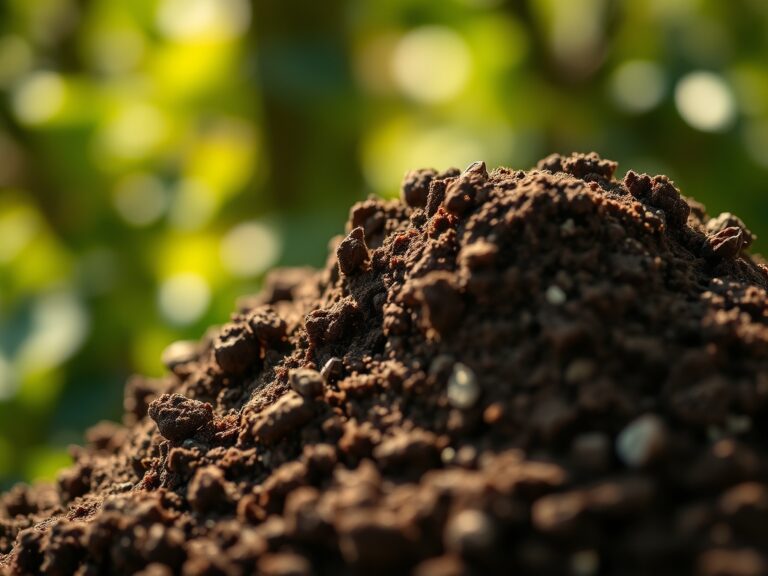
The substrate must be a friable loam with high porosity to prevent waterlogging. Parlor palms thrive in a soil pH range of 5.5 to 7.0. To achieve this, mix two parts peat moss or coconut coir, one part pine bark fines, and one part coarse perlite. This combination ensures a high Cation Exchange Capacity (CEC), allowing the roots to efficiently absorb positively charged nutrients like potassium and magnesium.
For nutrition, integrate a slow release fertilizer with an NPK ratio of 3-1-2 or 12-4-8. High nitrogen levels are essential for chlorophyll production in the fronds, while the lower phosphorus ratio prevents the accumulation of salts that can burn sensitive root tips. Avoid using standard garden soil, as its bulk density is too high for containerized palms. The ideal media should have a dry weight of approximately 30 to 40 pounds per cubic foot to allow for adequate capillary action without sacrificing aeration.
Timing:
Parlor palms are primarily kept indoors, but their biological clock remains tethered to the solar cycle. The optimal window for repotting is late spring or early summer, specifically between May and June. This aligns with the transition from the slow winter metabolic state to the active vegetative growth phase. In terms of Hardiness Zones, this species is rated for USDA Zones 10 through 12. If you are moving plants outdoors in these regions, ensure the final frost date has passed by at least 21 days.
During the spring equinox, the increasing photoperiod triggers the production of auxins, the hormones responsible for root elongation. Repotting during this surge in metabolic activity allows the palm to colonize the new substrate rapidly. If you repot during the winter dormancy period, the roots may sit in cold, wet soil without the energy to expand, significantly increasing the risk of fungal pathogens.
Phases:
Sowing the Foundation
Before the palm leaves its current container, hydrate the root ball thoroughly 24 hours in advance. This increases the turgor pressure within the cells, making the roots less brittle and prone to snapping. Prepare the new pot, which should be no more than 2 inches wider in diameter than the previous one. Ensure the drainage holes are unobstructed.
Pro-Tip: Proper hydration before transplanting prevents "transplant shock" by ensuring the plant has a reservoir of water to draw from while the root hairs re-establish contact with the new soil. This maintains the hydrostatic pressure required for structural integrity.
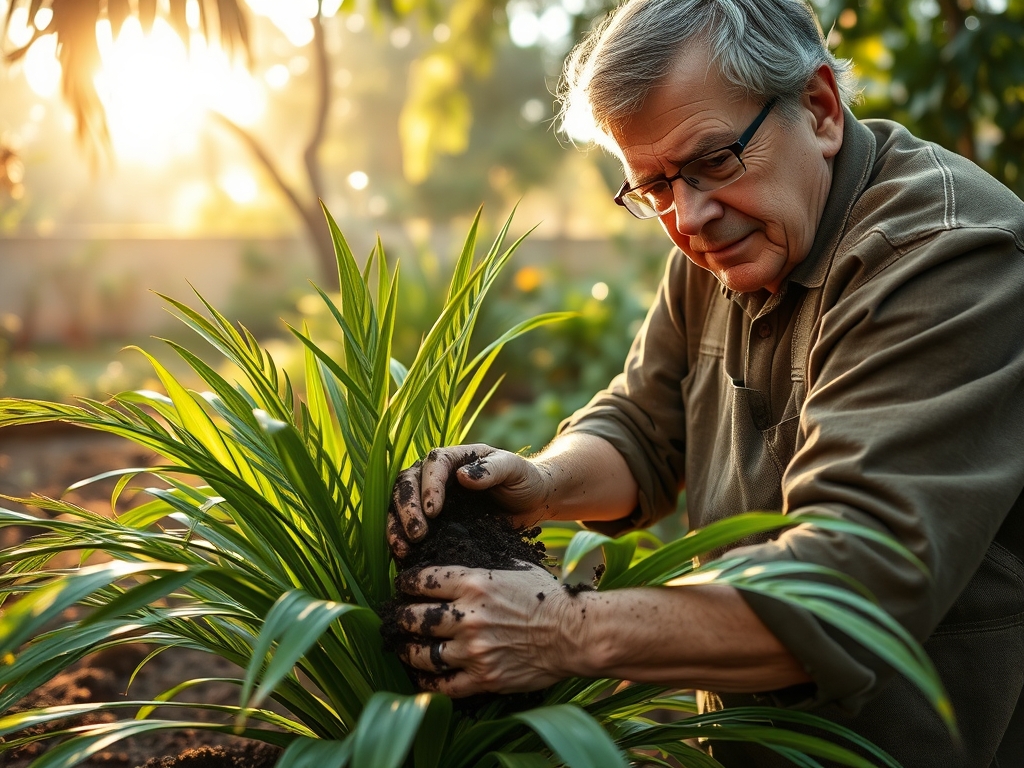
Transplanting and Aeration
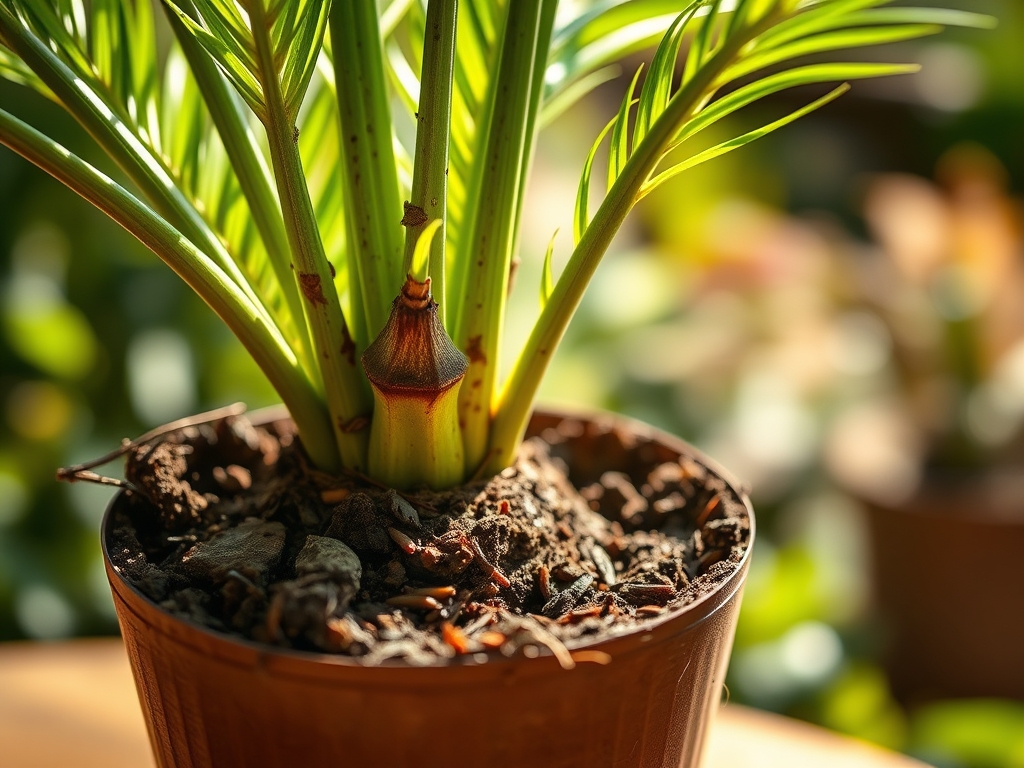
Carefully remove the palm by inverting the pot and supporting the base of the stems. Use a hori-hori knife to gently tease the outer roots if they have begun to circle the root ball. This mechanical disruption breaks apical dominance in the roots, encouraging lateral branching. Place the palm in the new container at the same depth it was previously growing. Burying the stem too deep can lead to adventitious rot at the crown.
Pro-Tip: Teasing the roots stimulates the production of cytokinins, plant hormones that promote cell division. This encourages the palm to grow a more robust and expansive root system in the fresh, aerated media.
Establishing and Settling
Fill the gaps with your prepared substrate, tapping the sides of the pot to settle the soil rather than pressing down firmly with your hands. Hard packing destroys the macropores needed for oxygen movement. Water the plant until liquid flows freely from the drainage holes to eliminate large air pockets that can desiccate roots.
Pro-Tip: Eliminating air pockets through watering rather than compression preserves the soil structure. This allows for better mycorrhizal symbiosis, where beneficial fungi assist the roots in nutrient uptake.
The Clinic:
Symptom: Tip Burn (Necrosis)
Solution: This is often caused by fluoride toxicity or salt accumulation from tap water. Use distilled or rainwater and ensure the soil is flushed monthly.
Fix-It: Increase the leaching fraction by applying 20% more water than the pot can hold to wash out excess solutes.
Symptom: Yellowing Lower Leaves (Chlorosis)
Solution: This typically indicates a Nitrogen deficiency or overwatering. Check the soil moisture levels at a depth of 3 inches.
Fix-It: Apply a liquid fertilizer with an NPK of 3-1-2 at half strength to restore nitrogen levels and improve chlorophyll synthesis.
Symptom: Stunted New Growth
Solution: This may result from a low Cation Exchange Capacity or improper pH, locking out essential micronutrients like Iron or Manganese.
Fix-It: Test the soil pH. If it is above 7.0, add a small amount of elemental sulfur to lower the pH and increase nutrient availability.
Maintenance:
Precision is the hallmark of professional palm care. Use a soil moisture meter to ensure the substrate is consistently moist but never saturated. Generally, the palm requires 1.5 inches of water per week, delivered evenly across the surface of the soil. During the active growing season, use bypass pruners to remove any spent fronds at the very base of the stem. Do not pull them off, as this can damage the trunk tissue.
Monitor the light intensity using a light meter; parlor palms prefer 150 to 250 foot-candles. If the light levels are too high, the leaves will exhibit solar scorched spots. Maintain an ambient temperature between 65 and 80 degrees Fahrenheit. If temperatures drop below 50 degrees, the plant's metabolic processes will stall, leading to potential root collapse.
The Yield:
While parlor palms are not grown for consumption, the "yield" is measured in the production of healthy, deep green foliage and the eventual appearance of small, yellow flower clusters. To maintain "day-one" freshness of the foliage, wipe the fronds with a damp cloth every 30 days. This removes dust that can clog stomata and reduce the efficiency of photosynthesis. If you harvest fronds for floral arrangements, cut them with a sharp knife and immediately submerge the cut ends in 110-degree Fahrenheit water to prevent air embolisms in the xylem.
FAQ:
How do I know when to repot my parlor palm?
Repot when roots emerge from drainage holes or the plant requires watering more than twice a week. Usually, this occurs every 24 to 36 months. Observe if the palm is being pushed upward by root mass.
What is the best soil for a parlor palm?
Use a well-draining mix with a pH of 5.5 to 7.0. A blend of peat, pine bark, and perlite provides the necessary aeration and Cation Exchange Capacity for optimal nutrient uptake and root respiration.
Can I use a much larger pot for my palm?
No. A pot that is too large holds excess moisture, leading to anaerobic conditions and root rot. Only increase the pot size by 1 to 2 inches in diameter to maintain a healthy soil-to-root ratio.
Why are the tips of my parlor palm turning brown?
Brown tips often indicate low humidity or salt buildup. Ensure the plant is not in a draft and flush the soil with distilled water to remove excess minerals that interfere with osmotic pressure in the leaves.