6 Simple Steps to Grow Houseplants Indoors
The smell of damp peat and the crisp snap of a leaf with high turgor pressure define a successful indoor grow space. Mastering the steps to grow houseplants indoors requires more than a casual interest; it demands a rigorous understanding of plant physiology and environmental control. You must manage the rhizosphere to ensure roots can access mineral ions while maintaining a gas exchange balance. Success is measured by cellular expansion and consistent metabolic activity throughout the photoperiod.
Materials:
The foundation of indoor cultivation is the substrate. Avoid generic “potting soil” which often lacks the structural integrity for long term gas exchange. Aim for a **friable loam** composed of 40 percent peat moss or coconut coir, 30 percent perlite for aeration, and 30 percent composted organic matter. This mixture should provide a **Cation Exchange Capacity (CEC)** high enough to retain essential nutrients like ammonium and potassium.
Target a soil pH between 5.8 and 6.5 for most tropical species. At this acidity level, micronutrients such as iron and manganese remain soluble and available for root uptake. For fertilization, maintain a strict NPK ratio based on the growth stage. During active vegetative growth, use a 10-5-5 NPK formula to support chlorophyll production. If the plant is a flowering variety, transition to a 5-10-10 NPK ratio to provide the phosphorus and potassium necessary for reproductive development and vascular strength.
Timing:
Indoor environments are shielded from the extremes of Hardiness Zones 1 through 13, yet plants still respond to seasonal shifts in light quality and duration. The "Biological Clock" of a houseplant is governed by the photoperiod. Most tropical indoor plants enter a state of reduced metabolic activity during winter months when daylight drops below 10 hours.
Initiate major repotting or propagation during the spring equinox. This timing aligns with the plant's natural surge in auxin production, which stimulates root initiation and apical dominance. Avoid heavy fertilization during the winter dormancy period; adding high-nitrogen salts when the plant is not actively transpiring can lead to osmotic stress and root burn. Monitor the ambient temperature to ensure it remains between 65 and 80 degrees Fahrenheit to optimize enzyme activity within the cells.
Phases:
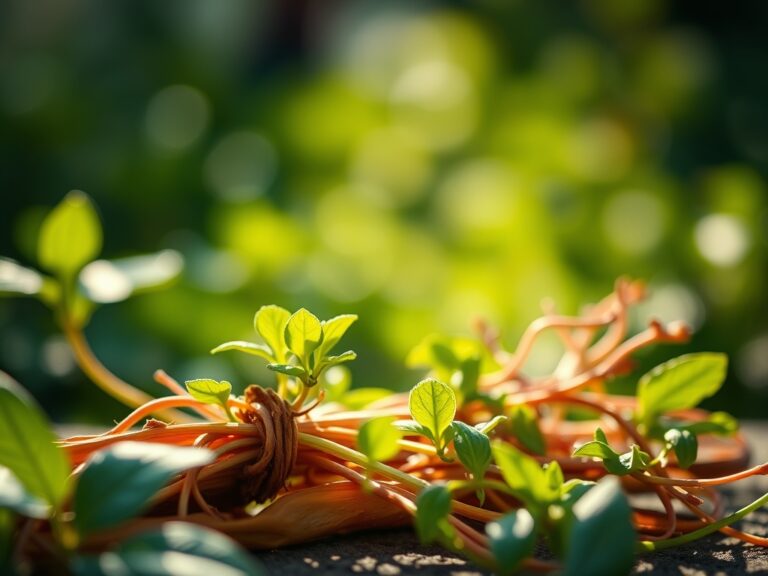
Sowing and Propagation
Start seeds or cuttings in a sterile medium to prevent "damping off" caused by fungal pathogens. For cuttings, ensure at least two nodes are submerged or in contact with the substrate. Maintain a consistent humidity level of 70 to 80 percent using a humidity dome to reduce the transpiration rate until the vascular system can support itself.
Pro-Tip: Use a rooting hormone containing Indole-3-butyric acid. This synthetic auxin triggers the differentiation of parenchyma cells into adventitious roots; this is the biological mechanism that allows a stem to pivot from foliage production to root development.
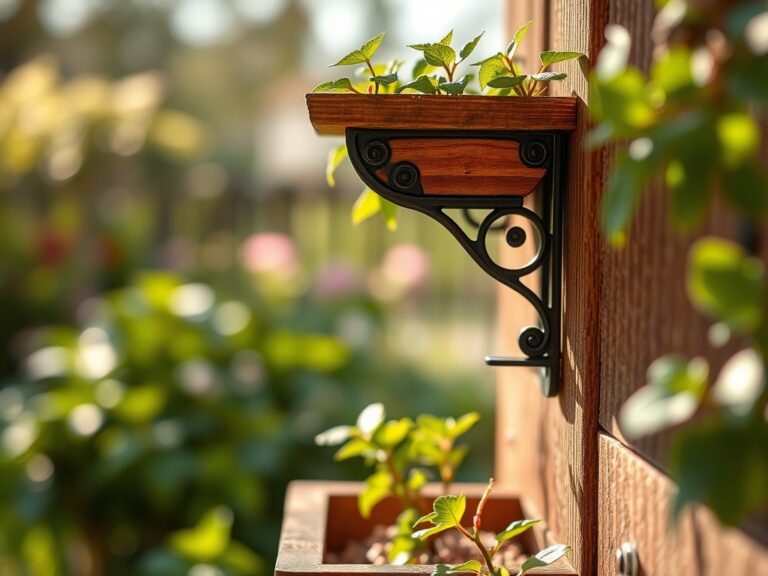
Transplanting
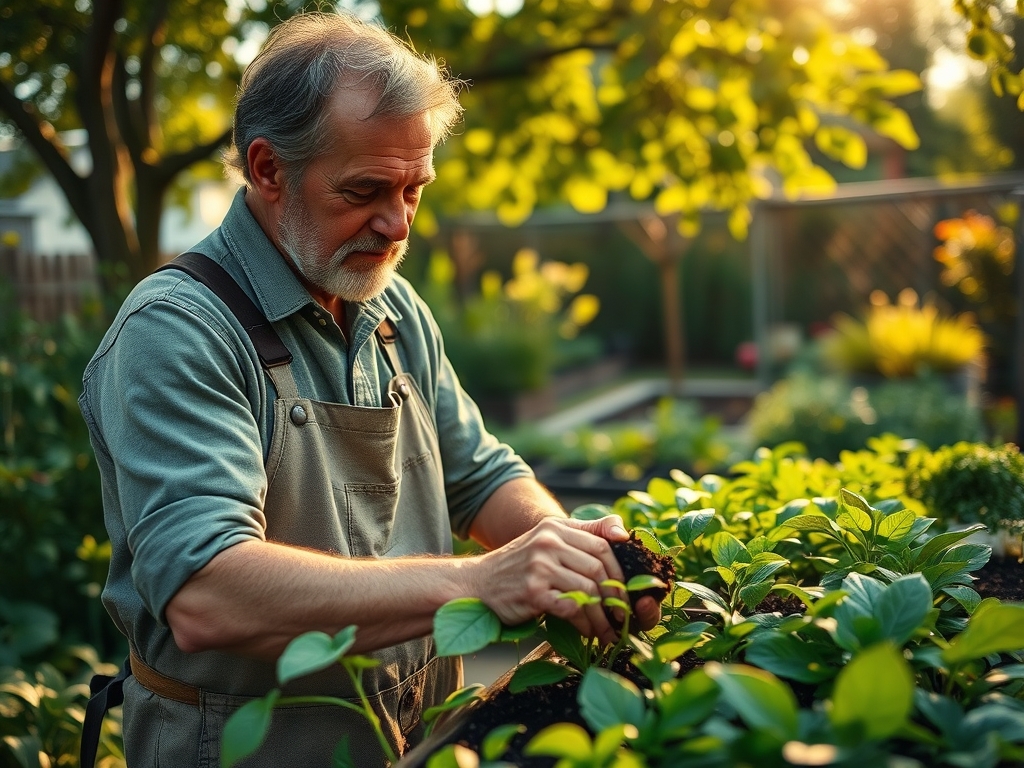
Move the specimen when roots begin to circle the interior of the pot, a condition known as being "pot-bound." Select a new container only 2 inches wider than the current one. Excessive soil volume leads to "perched water tables," where the bottom of the pot remains anaerobic, suffocating the root system.
Pro-Tip: Gently scarify the root ball before planting. This mechanical disruption breaks apical dominance in the roots and encourages lateral branching through the release of cytokinins; this ensures the plant explores the new substrate volume efficiently.
Establishing
Once transplanted, place the plant in a location with stable light intensity. Do not apply fertilizer for at least 14 days. The plant must first re-establish mycorrhizal symbiosis and repair microscopic root hairs damaged during the move.
Pro-Tip: Monitor for phototropism, where the plant leans toward the light source. Rotate the container 90 degrees every week to ensure even distribution of light; this prevents the lopsided accumulation of auxins on the shaded side of the stem, which causes elongated, weak growth.
The Clinic:
Physiological disorders often mimic infectious diseases. Accurate diagnosis is required before intervention.
- Symptom: Interveinal Chlorosis. The leaf veins remain green while the tissue between them turns yellow.
- Solution: This indicates a magnesium deficiency or a pH imbalance. Flush the soil with distilled water and apply a 0.5 percent Epsom salt solution to restore magnesium levels.
- Symptom: Leaf Tip Burn. Necrosis at the very tips of the oldest leaves.
- Solution: This is typically caused by "salt "accumulation" from tap water or over-fertilization. Leach the substrate by running water through the pot for five minutes to dissolve accumulated mineral salts.
- Symptom: Epinasty. Leaves curling downward and stems appearing twisted despite adequate water.
- Solution: This is often a reaction to ethylene gas or extreme heat stress. Improve ventilation and ensure the plant is not near a gas stove or heating vent.
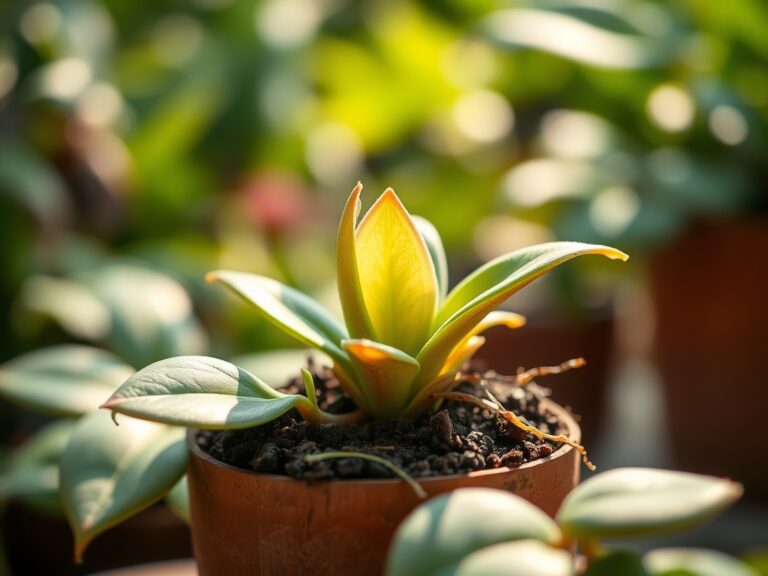
Fix-It: Nitrogen Chlorosis. If the entire plant turns a pale lime green, starting with the oldest leaves, it is mobilizing nitrogen to support new growth. Apply a liquid fertilizer with a high Nitrate-Nitrogen content to immediately boost chlorophyll synthesis.
Maintenance:
Precision is the difference between a surviving plant and a thriving one. Use a soil moisture meter to verify the volumetric water content before irrigating. Most houseplants require the top 1 to 2 inches of soil to dry out between waterings to allow oxygen to penetrate the rhizosphere.
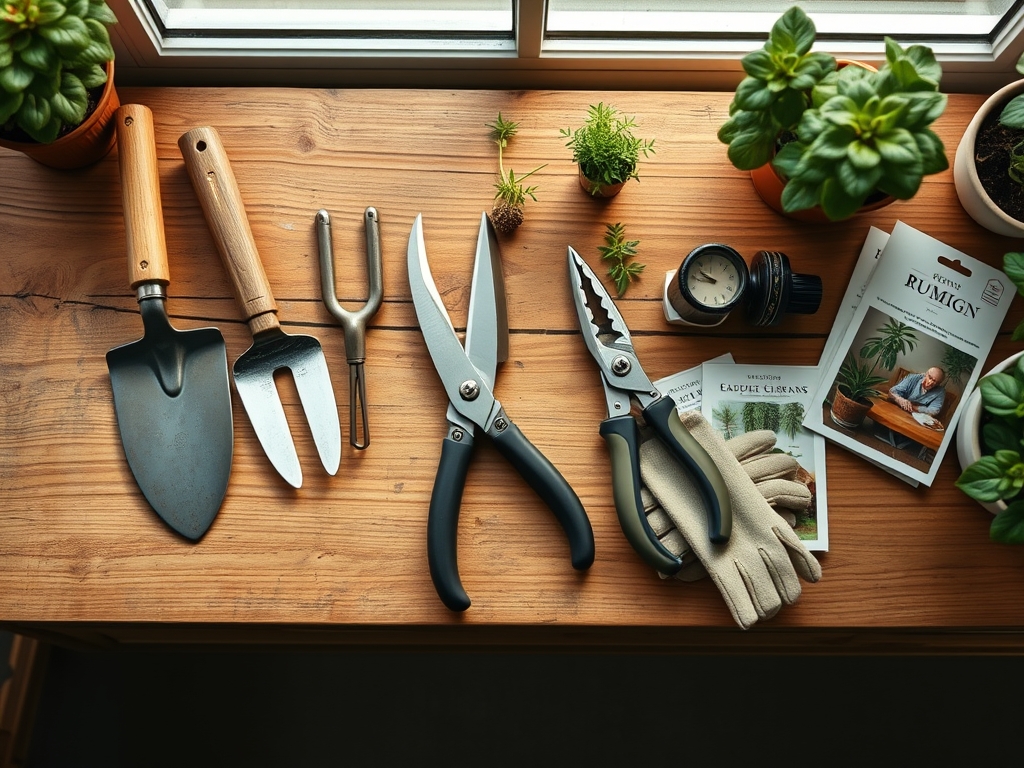
When pruning, use sterilized bypass pruners to make clean cuts at a 45-degree angle just above a node. This angle prevents water from pooling on the wound, which reduces the risk of pathogens entering the vascular system. For heavy-duty tasks or dividing root-bound perennials, a hori-hori knife is the professional standard for slicing through dense root mats without crushing the delicate tissues. Clean the leaves monthly with a damp cloth to remove dust; dust blocks stomata and reduces the rate of photosynthesis by up to 30 percent.
The Yield:
For those growing indoor herbs or flowering species like Jasmine, harvest timing is critical. Collect foliage or flowers in the early morning when turgor pressure is at its peak. This ensures the cells are fully hydrated, extending the shelf life of the harvest.
Use a sharp blade to avoid tearing the phloem and xylem. Post-harvest, immediately place the stems in water chilled to 40 degrees Fahrenheit. This "hydro-cooling" slows down the rate of senescence (cellular aging) and preserves the volatile oils responsible for fragrance and flavor. For flowering plants, "deadheading" or removing spent blooms prevents the plant from diverting energy into seed production, effectively extending the vegetative and flowering cycles.
FAQ:
How do I know when to water?
Insert your finger or a soil moisture meter into the substrate. If the top 2 inches feel dry or the meter reads below 30 percent, apply water until it exits the drainage holes. This ensures deep root hydration.
Why are my plant's leaves falling off?
Sudden leaf drop is often a "stress response" to rapid environmental changes. Check for drastic temperature fluctuations or light level shifts. Ensure the plant is not in a drafty area, as this disrupts the boundary layer of humidity.
Does my plant need a larger pot?
Check the drainage holes. If roots are protruding or if the plant requires watering more than twice a week, it is likely pot-bound. Transition to a pot 2 inches larger in diameter to provide fresh substrate and room for expansion.
What is the best light for indoor plants?
Most tropical houseplants thrive in bright, indirect light measuring between 1,000 and 2,500 foot-candles. If using artificial lights, ensure a "full-spectrum LED" is used to provide both blue wavelengths for foliage and red wavelengths for structural strength.