9 Secure Steps to Install a Flag Pole
Damp earth releases a sharp, metallic scent as the spade breaks through the O-horizon. The soil must possess high turgor pressure to maintain structural integrity during excavation. When you execute the steps to install a flag pole, you are not merely placing a metal shaft into the ground; you are engineering a permanent fixture that must withstand lateral wind loads and soil heave. This process requires the same precision as establishing a specimen tree. You must account for the local water table and the specific density of the substrate to ensure the pole remains plumb through seasonal freeze-thaw cycles. A standard twenty foot pole requires a foundation depth of at least thirty inches. Neglecting the physics of soil compaction leads to structural failure. This guide provides the technical framework to secure a flagpole with the rigor of a professional land manager.
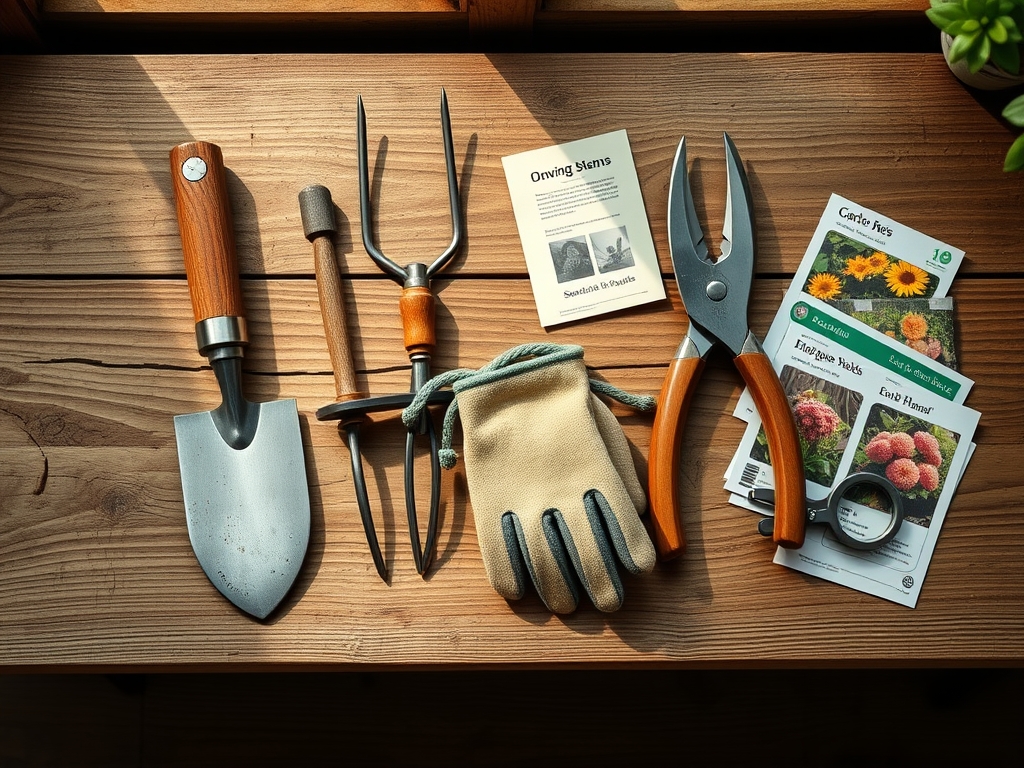
Materials:
The success of any subterranean installation depends on the chemical and physical properties of the site. The ideal substrate is a friable loam with a pH between 6.0 and 7.0. High acidity (pH below 5.5) accelerates the oxidation of galvanized steel and aluminum. You must assess the Cation Exchange Capacity (CEC) of the surrounding soil; a higher CEC indicates a greater ability to hold onto structural minerals and resist leaching.
For the concrete base, use a mix designed for high compressive strength, typically 3,000 to 4,000 PSI. If you are planting ornamental groundcover around the base post-installation, integrate a balanced NPK ratio of 10-10-10 into the backfill to support root establishment. Avoid high nitrogen (N) fertilizers near the metal shaft, as excessive nitrates can contribute to localized corrosion in specific soil moisture conditions. Ensure you have 6 inches of coarse drainage gravel (3/4 inch crushed stone) to prevent water from pooling at the base of the sleeve, which would otherwise lead to anaerobic conditions and hardware degradation.
Timing:
The installation window is dictated by Hardiness Zones and the local frost line. In Zones 3 through 6, you must complete the installation at least four weeks before the first hard frost. This allows the concrete to cure fully and the soil to settle before the expansion of ice crystals occurs. In warmer Zones 8 through 10, installation can occur year-round, provided you avoid periods of extreme drought where the soil has lost its plasticity.
From a botanical perspective, the "Biological Clock" of the surrounding landscape must be respected. Schedule your installation during the vegetative stage of nearby perennial plants. Excavating during the reproductive stage (flowering) diverts energy away from seed production and can cause systemic shock. If you must install during the summer, monitor the photoperiod; high heat and long days increase transpiration rates, meaning any plants disturbed by the digging will require immediate irrigation to maintain cell turgor.
Phases:

Sowing the Foundation
Begin by excavating a hole four times the diameter of the pole. For a standard 2.5 inch diameter pole, the hole should be 10 to 12 inches wide. Dig deep enough to accommodate 6 inches of gravel plus the length of the ground sleeve. The depth is typically 10% of the total pole height plus one foot. Use a level to ensure the sleeve is perfectly vertical.
Pro-Tip: Proper drainage prevents the "heaving" effect. Biological Why: Maintaining an aerobic environment in the rhizosphere (the soil zone surrounding the base) prevents the buildup of methane and hydrogen sulfide, which can occur in waterlogged, compacted soils and damage nearby root systems.
Transplanting the Hardware
Insert the ground sleeve into the center of the hole. Fill the area around the sleeve with concrete, stopping 2 inches below the grade. Use a trowel to slope the top of the concrete away from the sleeve. This creates a watershed that prevents liquid from sitting against the metal.
Pro-Tip: Avoid air pockets in the concrete by "poking" the wet mix with a rebar rod. Biological Why: Eliminating voids ensures maximum contact between the foundation and the soil. This mimics the way mycorrhizal symbiosis works; just as fungal hyphae bridge gaps to provide stability and nutrients to a plant, solid concrete provides the friction needed to resist wind torque.
Establishing the Pole
Once the concrete has cured for 72 hours, slide the flagpole into the sleeve. If there is any play between the pole and the sleeve, use dry sand to fill the gap. This allows for future removal while maintaining a rigid fit.
Pro-Tip: Check the vertical alignment with a spirit level at two points 90 degrees apart. Biological Why: This ensures the pole does not lean, which would create uneven weight distribution. In plants, phototropism causes a stem to lean toward light, but a flagpole lacks the auxin suppression mechanisms to correct its own growth, making manual leveling critical.
The Clinic:
Physiological disorders in the landscape often manifest after the soil is disturbed for construction.
Symptom: Leaf margins turning brown and crispy on nearby shrubs.
Solution: This is likely desiccation from root severance. Increase irrigation to the affected plants immediately.
Fix-It: For Nitrogen chlorosis (yellowing of older leaves), apply a foliar spray of urea or a high-nitrogen liquid fertilizer to bypass the damaged root zone.
Symptom: Stunted growth in the immediate vicinity of the new pole.
Solution: Check for soil compaction. The heavy foot traffic during installation crushes macropores.
Fix-It: Use a garden fork to aerate the soil to a depth of 6 inches and top-dress with organic compost to restore soil structure.
Symptom: Concrete base cracking or shifting.
Solution: This indicates a failure to reach the frost line or poor drainage.
Fix-It: Excavate a small trench around the base and backfill with crushed limestone to improve drainage and neutralize soil acidity.
Maintenance:
A flagpole requires consistent monitoring of its environment. Inspect the base monthly for signs of soil erosion. If the concrete becomes exposed, top-dress with 2 inches of organic mulch to regulate temperature and moisture. Use a soil moisture meter to ensure the area around the pole receives 1.5 inches of water per week, especially if you have planted turf or groundcover to hide the base.
For the hardware, use bypass pruners to clear any encroaching tree limbs that could snag the flag. If you are planting around the base, use a hori-hori knife to weed the area without disturbing the concrete foundation. Every autumn, check the halyard (rope) for fraying; UV degradation acts on synthetic fibers much like senescence acts on deciduous leaves, breaking down cellular structures until they fail.
The Yield:
While a flagpole does not produce a caloric yield, its "harvest" is the visual impact and structural longevity. To maintain "day-one" freshness of the installation, wash the pole with a mild surfactant once a year to remove pollutants. If you have planted ornamental species like Lavender or Boxwood at the base to soften the transition, harvest the flowers at the "balloon stage" (just before opening) for maximum fragrance and longevity. Use sharp snips to ensure a clean cut that prevents the entry of pathogens into the plant's vascular system.
FAQ:
How deep should the hole be for a 20-foot pole?
The hole must be at least 30 inches deep. This accounts for 10% of the pole's height above ground plus an additional 6 inches for a gravel drainage base. Always dig below the local frost line to prevent heaving.
What type of concrete should I use?
Use a high-strength pre-mixed concrete with a rating of at least 3,000 PSI. For areas with high salt content or acidic soil, look for a mix with sulfate resistance to prevent the foundation from degrading over time.
Can I install a flagpole in sandy soil?
Yes, but you must increase the diameter of the hole by 50%. Sandy soil has a lower load-bearing capacity and higher drainage rates, requiring a larger concrete "foot" to distribute the lateral pressure from wind.
When is the best time of year to install?
Install during the late spring or early autumn. Avoid mid-winter when the ground is frozen and mid-summer when high evaporation rates can cause the concrete to cure too quickly, leading to structural brittle points.