7 Best Solar Spotlights for Flags
Damp earth releases a sharp, geosmin-heavy scent after a late evening irrigation cycle; this is the smell of a healthy rhizosphere. Maintaining turgor pressure in a flagstaff garden requires more than just water. It requires precision lighting to ensure visibility during the nocturnal phase. Selecting the best solar spotlights for flags is a technical necessity for the modern horticulturist who treats the flagpole base as a high-performance landscape bed. High-intensity discharge from solar LEDs must penetrate the canopy without disrupting the plant photoperiod.
Materials:

The substrate surrounding the flagpole must be a **friable loam** with a high Cation Exchange Capacity (CEC). Aim for a **soil pH between 6.2 and 6.8** to maximize nutrient bioavailability. For woody ornamentals at the base, apply a **10-10-10 NPK ratio** in early spring to support vegetative growth. If the area is heavily mulched, nitrogen draw-down may occur; supplement with a **blood meal (12-0-0)** to maintain deep green foliage. The physical texture should allow for rapid drainage while retaining enough moisture to prevent root desiccation during peak solar exposure.
Timing:
Horticultural success depends on the USDA Hardiness Zone mapping. In Zones 5 through 7, the window for installing lighting and peripheral plantings opens after the last frost date, typically between April 15 and May 10. The biological clock of the garden is governed by the photoperiod. As days lengthen, plants transition from vegetative states to reproductive stages. Solar spotlights must be positioned to avoid light pollution that could delay senescence in short-day plants or trigger premature bolting in sensitive species.
Phases:

Sowing and Ground Prep
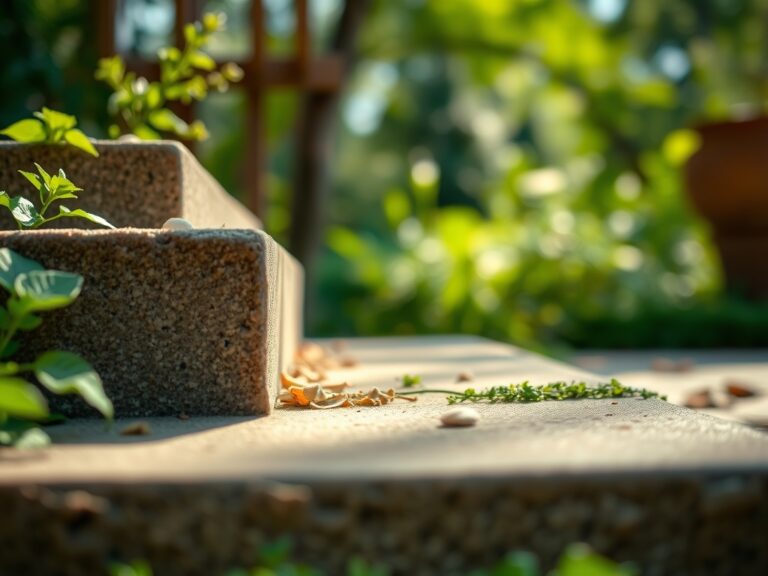
Clear a 24-inch radius around the flagpole. Use a hori-hori knife to remove perennial weeds by the taproot. Incorporate 3 inches of organic compost to improve soil structure. Ensure the solar panel for your spotlight is oriented at a 45-degree angle southward to capture maximum photon flux density.
Pro-Tip: Proper spacing prevents auxin suppression. When plants are overcrowded, the lack of light triggers a hormonal response that causes leggy, weak stems as the plant searches for a light source.
Transplanting
When installing foundational shrubs like Buxus or Ilex, dig a hole twice the width of the root ball. Ensure the crown sits exactly at the soil line to prevent stem rot. Backfill with the native soil mixed with a low-phosphorus (5-10-5) starter fertilizer to encourage root elongation without excessive top-growth.
Pro-Tip: Dip root balls in a mycorrhizal fungal inoculant. This symbiotic relationship extends the root system's reach, increasing the uptake of phosphorus and micronutrients by up to 300 percent.
Establishing
During the first 21 days, the plant focuses on hydraulic integration. Monitor the soil with a digital moisture meter. Maintain a consistent moisture level of 60 percent field capacity. The solar spotlights should be tested during this phase to ensure the heat signature from the LED housing does not cause localized leaf scorch on low-hanging foliage.
Pro-Tip: Utilize the principle of phototropism. Position your spotlights so they do not compete with natural morning sun, which can cause the plant to lean unnaturally toward the artificial light source at night.
The Clinic:
Physiological disorders often mimic disease. Observe the foliage for specific markers of distress.
Symptom: Interveinal chlorosis (yellowing between green veins).
Solution: This indicates a Magnesium deficiency. Apply Epsom salts (Magnesium Sulfate) at a rate of 1 tablespoon per gallon of water.
Symptom: Marginal leaf burn or necrosis on new growth.
Solution: This is often Calcium deficiency caused by inconsistent transpiration. Stabilize the irrigation schedule to ensure a steady flow of calcium ions through the xylem.
Symptom: Stunted growth with purple-tinted undersides of leaves.
Solution: This is a classic Phosphorus deficiency. Check soil temperature; phosphorus uptake is inhibited when soil temperatures drop below 55 degrees Fahrenheit.
Fix-It for Nitrogen Chlorosis: If the entire leaf turns pale yellow, the plant is scavenging nitrogen from older tissue. Apply a quick-release liquid seaweed or fish emulsion (5-1-1) for immediate nitrogen availability.
Maintenance:
Precision is the hallmark of a master gardener. Deliver 1.5 inches of water per week directly at the drip line. Avoid overhead irrigation after 4:00 PM to minimize the duration of leaf wetness, which prevents fungal pathogens like Oidium (powdery mildew) from germinating. Use bypass pruners to remove any crossing branches that obstruct the solar spotlight's beam. Every 90 days, wipe the solar panels with a microfiber cloth to remove dust and pollen; a 10 percent decrease in panel clarity can result in a 25 percent drop in light duration.
The Yield:
If your flagpole garden includes cut flowers like Zinnia or Echinacea, harvest when the first row of ray florets begins to open. Use a sharp blade to make a 45-degree cut to maximize surface area for water uptake. Immediately plunge the stems into 110-degree Fahrenheit water to remove air bubbles from the xylem. This "hardening off" process ensures day-one freshness for up to 10 days in a controlled indoor environment.
FAQ:
How many lumens are needed for a 20-foot flagpole?
For a 20-foot pole, a solar spotlight should produce at least 300 to 500 lumens. This intensity ensures the light reaches the flag's peak while accounting for atmospheric scattering and the beam angle of the LED.
Will solar lights interfere with plant growth cycles?
Most solar LEDs do not emit enough Photosynthetically Active Radiation (PAR) to trigger growth. However, placing high-output lights too close to "short-day" plants like Chrysanthemums can delay their flowering by disrupting their internal circadian rhythms and phytochrome signaling.
What is the best soil for a flagpole garden?
A sandy loam with a pH of 6.5 is ideal. It provides the necessary drainage to prevent root rot around the flagpole base while maintaining enough CEC to hold onto essential cations like Potassium and Calcium.
How do I prevent solar light failure in winter?
In cold climates, battery efficiency drops significantly. Ensure the panel receives at least 6 hours of direct sun. Clear snow immediately; even a thin layer blocks photons, preventing the chemical conversion required to charge the lithium-ion cells.