9 Best Spark Plugs for Tillers
Damp earth emits a sharp, metallic scent of geosmin as the tiller blades bite into the topsoil. When the engine stutters, it disrupts the turgor pressure of the entire planting schedule. Selecting the best spark plugs for tillers is not merely a mechanical chore; it is the foundation of soil preparation. A fouled plug leads to incomplete combustion and carbon buildup, which stalls the essential aeration of the rhizosphere. To maintain a consistent 3,000 RPM for deep tilling, the ignition system must provide a precise thermal range. Without a reliable spark, the window for optimal seedbed preparation closes as the soil moisture evaporates. High-performance plugs ensure that the internal combustion engine generates the torque necessary to fracture compacted clay into a friable substrate. This guide examines the technical specifications of ignition components required to keep your garden machinery operational during the critical spring transition.
Materials:

Before addressing the mechanical requirements, the soil must be analyzed for structural integrity. The ideal substrate for heavy tilling is a **friable loam** with a **Cation Exchange Capacity (CEC) between 15 and 25 meq/100g**.
- pH Requirements: Maintain a soil pH between 6.2 and 6.8 to optimize nutrient solubility.
- NPK Ratios: For early season preparation, target a base saturation of 4-2-2 (Nitrogen-Phosphorus-Potassium). High nitrogen levels (above 150 ppm) can lead to excessive vegetative growth at the expense of root strength.
- Physical Texture: The soil should consist of 40 percent sand, 40 percent silt, and 20 percent clay. This balance prevents the tiller from glazing the soil walls, which inhibits lateral root expansion.
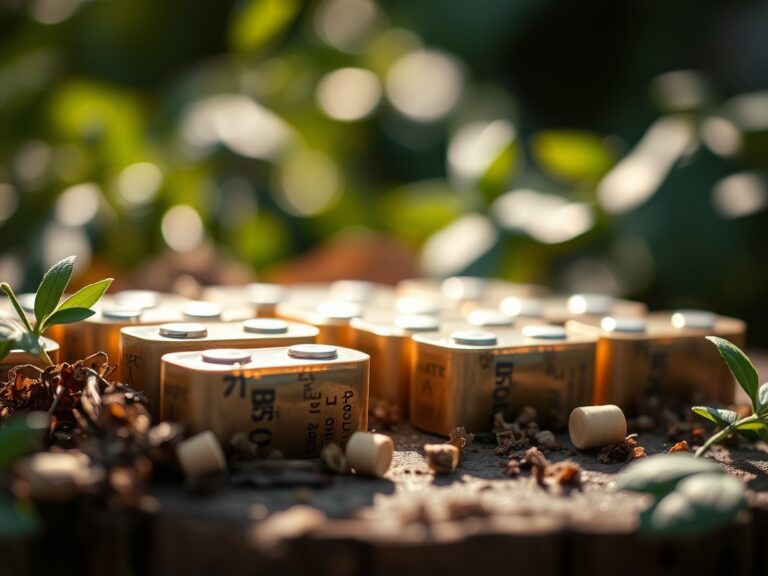
- Spark Plug Selection: Use NGK BMR6A or Champion RC12YC for standard overhead valve engines. These models provide the necessary heat dissipation to prevent pre-ignition in high-load gardening environments.
Timing:
Agricultural success depends on the Hardiness Zone and the local frost-date window. In Zones 5 through 7, tilling should commence when the soil temperature consistently reaches 50 degrees Fahrenheit at a depth of four inches. This temperature threshold signals the end of the "Biological Clock" for dormant microbes and the beginning of the vegetative stage.
The transition from vegetative to reproductive stages is governed by the photoperiod. Most garden crops require a minimum of 12 to 14 hours of daylight to trigger the transition from leaf production to flower initiation. Tilling too early in the season, particularly when the soil is above 25 percent moisture content, results in "clodding." This destroys the soil structure and reduces the oxygen available to the rhizosphere.
Phases:

Sowing
Prepare the seedbed by tilling to a depth of 8 inches. Ensure the best spark plugs for tillers are gapped to exactly .030 inches for maximum spark intensity. Once the soil is pulverized, sow seeds at a depth three times their diameter.
Pro-Tip: Maintain consistent soil contact to trigger imbibition. This is the biological process where the seed coat absorbs water to activate metabolic enzymes.
Transplanting
When moving seedlings from the greenhouse, ensure the root ball is saturated. Use a hori-hori knife to create a hole twice the width of the root system. Backfill with native soil to avoid creating a "pot effect" where roots circle the hole rather than penetrating the surrounding earth.
Pro-Tip: Irrigate immediately to eliminate air pockets and reduce transplant shock. This minimizes the sudden drop in turgor pressure that leads to wilting.
Establishing
During the first 21 days, the plant focuses on root architecture. Monitor the soil moisture meter to keep the root zone between 60 and 80 percent field capacity. Avoid high-nitrogen fertilizers during this phase to prevent auxin suppression, which can stunt lateral root branching.
Pro-Tip: Encourage mycorrhizal symbiosis by adding fungal inoculants. These organisms extend the root surface area by up to 1,000 percent, increasing phosphorus uptake.
The Clinic:
Plant health is a reflection of soil chemistry and mechanical precision. Identify these physiological disorders early:
-
Symptom: Interveinal chlorosis (yellowing between green veins) in young leaves.
Solution: This indicates Iron deficiency. Apply chelated iron foliar spray or lower the pH below 7.0 to increase bioavailability. -
Symptom: Purpling of the underside of older leaves.
Solution: This is a classic sign of Phosphorus deficiency. Phosphorus becomes immobile in cold soils (below 55 degrees Fahrenheit). Increase soil temperature using black plastic mulch. -
Symptom: Blossom end rot on fruit.
Solution: This is caused by Calcium localized deficiency, often due to erratic watering. Maintain a consistent 1.5 inches of water per week to ensure steady calcium transport through the xylem. -
Symptom: Stunted growth and pale green foliage across the entire plant.
Solution: Nitrogen chlorosis. Apply a high-nitrogen organic amendment like blood meal (12-0-0) to restore chlorophyll production.
Maintenance:
Precision tools require rigorous upkeep to ensure plant longevity. Use bypass pruners for clean cuts on soft tissue; anvil pruners can crush the vascular cambium and invite pathogens.
- Irrigation: Apply 1.5 inches of water per week at the drip line. Avoid overhead watering to reduce the risk of fungal spores germinating on the leaf surface.
- Tool Care: Sanitize your hori-hori knife with a 10 percent bleach solution after working with diseased plants.
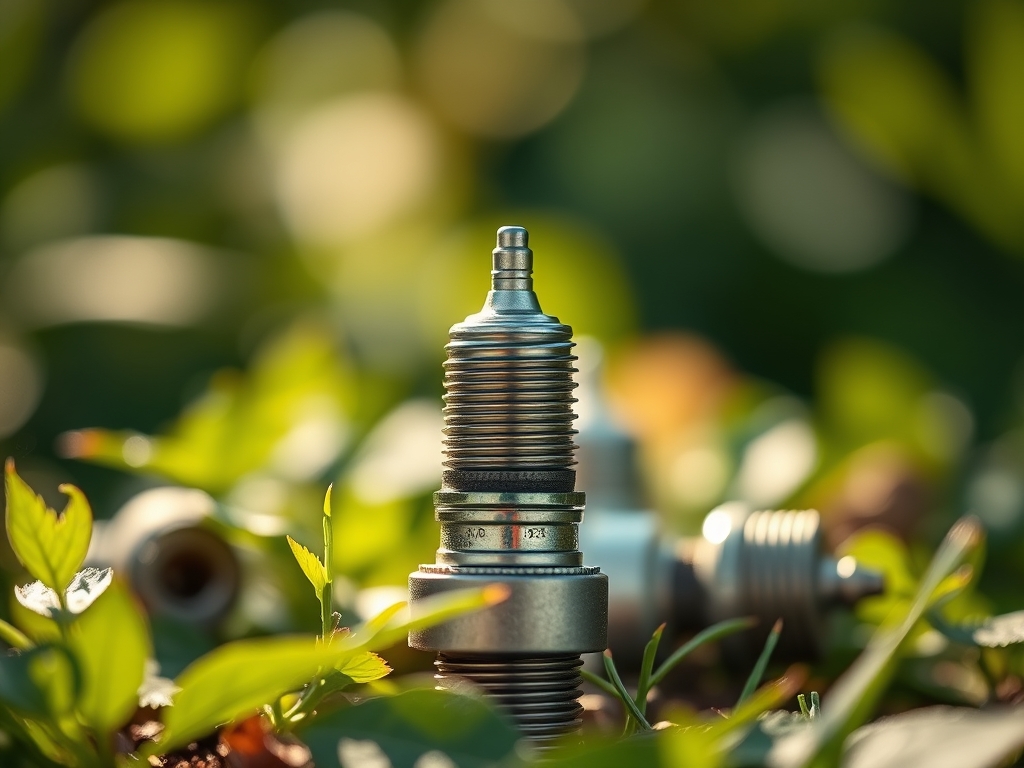
- Engine Check: Inspect the spark plug every 25 hours of operation. A tan or light gray insulator indicates a healthy engine; a black, oily coating suggests the engine is running too "rich" or has internal oil leaks.
The Yield:
Harvesting is the final stage of the biological cycle. For most horticultural crops, harvest during the cool of the morning when turgor pressure is at its peak. This prevents the plant from losing moisture to transpiration before it can be cooled.
Use a sharp blade to sever the stem, leaving a small portion of the pedicel attached to prevent moisture loss from the fruit. Immediately move the harvest to a shaded area with a temperature of 45 to 55 degrees Fahrenheit to slow the rate of senescence. This post-harvest handling preserves the sugars and acids within the plant tissue for maximum quality.
FAQ:
What is the best spark plug gap for a tiller?
Most small engines require a gap of .030 inches. Always verify the manufacturer specifications in the manual. Use a feeler gauge to ensure the gap is precise; improper spacing leads to engine hesitation and poor fuel combustion.
How often should I change my tiller's spark plug?
Replace the spark plug every 100 hours of use or once per season. If the engine is difficult to start or consumes excessive fuel, inspect the plug for carbon deposits or electrode erosion immediately to prevent engine damage.
Why does my tiller spark plug keep fouling?
Fouling usually occurs due to an incorrect fuel-to-air ratio or using old gasoline. Ensure the air filter is clean and the carburetor is adjusted. In two-stroke engines, an incorrect oil-to-gas mix will also cause rapid carbon buildup.
Can I use an automotive spark plug in my tiller?
No. Automotive plugs have different thread lengths and heat ranges. Using the wrong plug can cause terminal engine damage, including piston perforation or stripped cylinder head threads. Always use a plug designed for small air-cooled engines.