6 Simple Steps to Install a Pond Filter
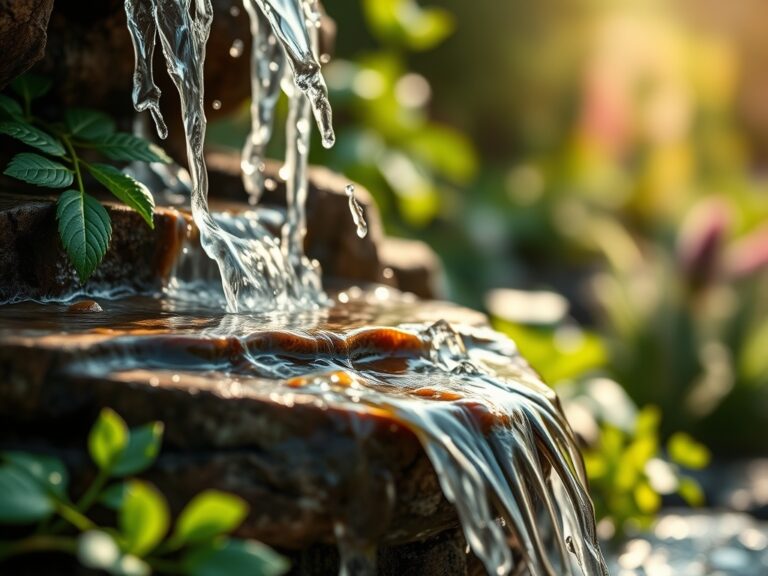
The smell of damp earth and the sharp, metallic scent of stagnant water indicate a failure in the pond's nitrogen cycle. When turgor pressure in aquatic flora drops, it is often due to an accumulation of ammonia and nitrites that inhibit root function. To restore the aquatic rhizosphere, you must master the steps to install a pond filter. Proper filtration ensures that the water column remains oxygenated and clear, preventing the buildup of anaerobic sludge that triggers plant senescence. This process requires a technical understanding of flow rates and mechanical separation. You will need to calculate the total volume of your pond to select a pump capable of cycling the entire body of water every two hours. Proper installation prevents the accumulation of suspended solids that block sunlight, ensuring your submerged macrophytes can maintain optimal photosynthetic rates.
Materials:
A successful installation begins with the surrounding soil profile. The area where the filter housing sits should consist of a **friable loam** with a high **Cation Exchange Capacity (CEC)** to handle occasional overflow without eroding. If the soil is too sandy, the filter base may shift, causing pipe stress. The ideal soil pH for the surrounding marginal plants should be maintained between **6.5 and 7.2**.
For the biological media within the filter, look for materials that provide a high surface-area-to-volume ratio. This encourages the colonization of Nitrosomonas and Nitrobacter bacteria. If you are planting around the filter to camouflage the unit, use a balanced 10-10-10 NPK ratio fertilizer for initial establishment. For heavy feeders like Iris pseudacorus, a higher phosphorus ratio of 10-20-10 encourages robust rhizome development and structural integrity against water movement.
Timing:
Installation is most effective in Hardiness Zones 4 through 8 during the early spring, specifically when the water temperature reaches a consistent 50 degrees Fahrenheit. This temperature marks the "Biological Clock" transition where beneficial bacteria emerge from dormancy and begin the nitrification process. In warmer Zones 9 and 10, installation can occur year round, but you must monitor for rapid algae blooms caused by increased photoperiods. Avoid installation during the first frost-date window, as frozen PVC components become brittle and prone to hairline fractures under pressure.
Phases:
Sowing the Biological Foundation
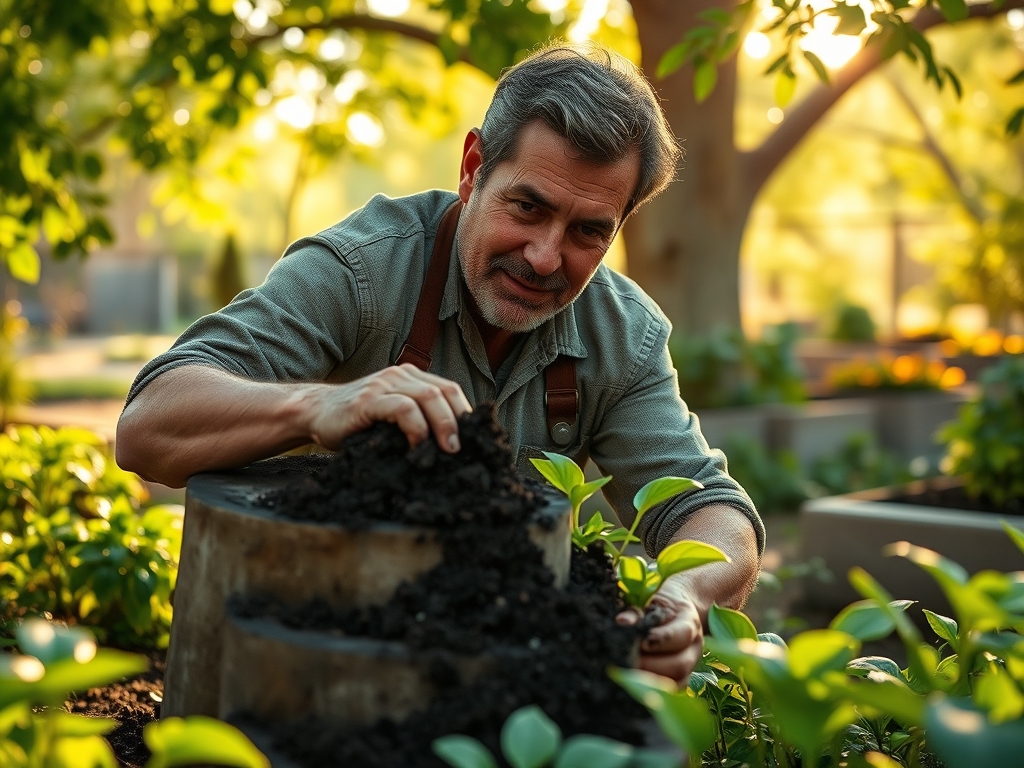
Before the pump is submerged, you must seed the filter media. This involves introducing concentrated bacterial cultures directly into the filter mats. This step bypasses the slow natural colonization process. Place the filter box on a level, compacted surface to prevent gravitational shifts that disrupt the flow weir.
Pro-Tip: Utilize mycorrhizal symbiosis by placing inoculated starter tabs near the roots of any marginal plants you install around the filter outlet. These fungi extend the root system's reach, allowing the plants to more efficiently scrub excess nitrates from the filtered water returning to the pond.
Transplanting the Hardware
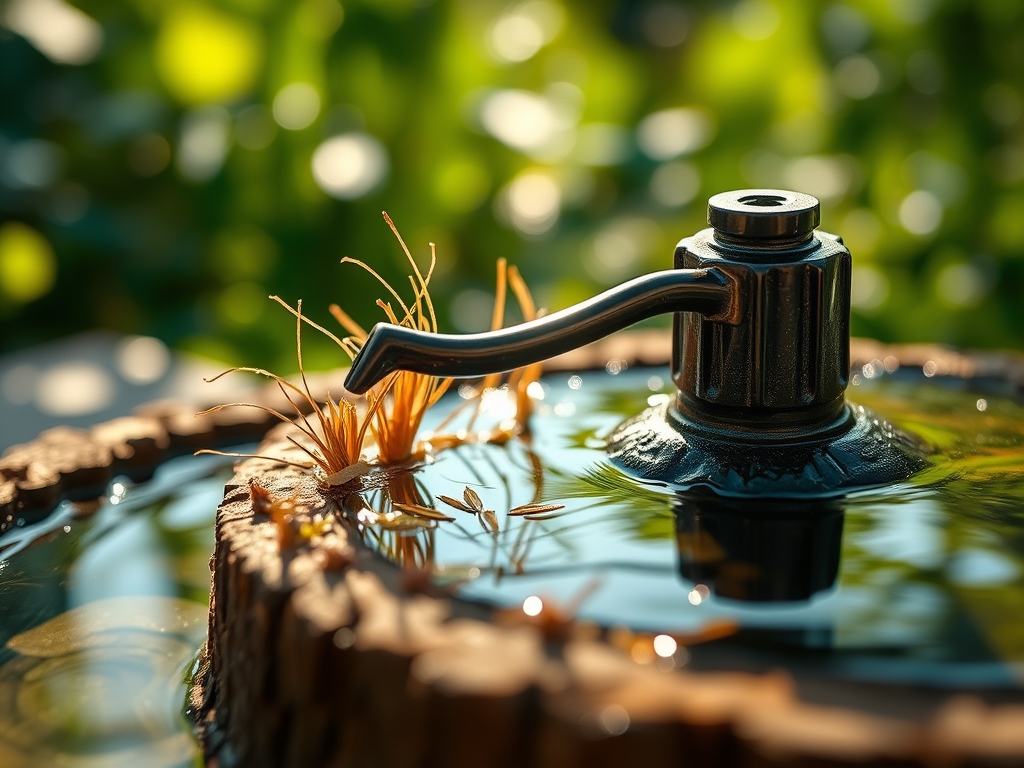
Submerge the pump at the opposite end of the pond from the filter return. This creates a directional current that prevents "dead zones" where debris accumulates. Connect the flexible ribbed hosing using stainless steel clamps tightened to 15 inch-pounds of torque. Ensure the hose is buried at least 4 inches deep to protect it from UV degradation and mechanical damage from lawn equipment.
Pro-Tip: Maintain the photoperiod requirements of your aquatic plants by positioning the filter return so it creates a gentle ripple. This surface agitation increases gas exchange but should not be so violent that it causes auxin suppression in floating plants like lilies, which prefer still water for leaf expansion.
Establishing the Flow
Once the connections are secure, prime the system. Monitor the return flow for the first 72 hours. The water should pass through the mechanical sponges first to remove solids, then through the biological media. Check the turgor pressure of nearby aquatic foliage; if leaves appear limp despite being in water, check for pump vibrations that might be damaging delicate root hairs through micro-cavitation.
Pro-Tip: Observe phototropism in the surrounding landscape. If you are using a gravity-fed waterfall filter, ensure the spillway is not shaded by dense canopy growth. Direct sunlight on the spillway can help regulate the temperature of the returning water, though excessive heat must be balanced to maintain high dissolved oxygen levels.
The Clinic:
Physiological disorders in the pond ecosystem often manifest through the flora before the fauna.
- Symptom: Yellowing of new leaves while veins remain green.
Solution: This is Iron Chlorosis. Check the pH; if it exceeds 7.5, iron becomes insoluble. Lower the pH using sulfur-based buffers. - Symptom: Stunted growth and purple tint on the underside of leaves.
Solution: Phosphorus deficiency. Supplement with aquatic-safe bone meal or a 0-20-0 fertilizer spike placed directly in the planting media. - Symptom: Rapid leaf death (senescence) at the pond edges.
Solution: Check for Ammonia toxicity. The filter may be undersized or the biological media may be clogged. Increase the flow rate or add more surface area for bacteria. - Fix-It for Nitrogen Chlorosis: If older leaves turn pale yellow and drop, the nitrogen cycle is failing. Increase the fish load slightly or add a slow-release Nitrogen source to the filter's output zone to boost vegetative vigor.
Maintenance:
Consistency is the hallmark of a professional horticulturist. Use a soil moisture meter to ensure the berm surrounding your filter stays hydrated but not waterlogged. For the plants integrated into the filtration landscape, provide 1.5 inches of water per week at the drip line if rainfall is insufficient.
Every thirty days, use bypass pruners to remove any decaying organic matter from the pond surface before it enters the filter intake. If roots from marginal plants begin to encroach on the hosing, use a hori-hori knife to prune the root mass cleanly. This prevents "root-bound" pressure from cracking the filter housing. Check the mechanical filter mats weekly; if the flow rate drops by more than 20 percent, rinse the mats in a bucket of pond water to preserve the bacterial colony.
The Yield:
While a pond filter does not produce a traditional harvest, the "yield" is measured in the biomass of your aquatic plants. For water lilies, harvest spent blooms and yellowing pads by cutting the stem 2 inches above the rhizome. This prevents the energy of the plant from being diverted to seed production, maintaining high turgor pressure in the remaining foliage. For edible watercress grown in the filter's runoff, harvest the top 3 inches of growth. To maintain "day-one" freshness, immediately submerge the cut ends in 40-degree Fahrenheit water to stop the metabolic rate and prevent wilting.
FAQ:
How often should I clean the pond filter?
Clean the mechanical media when the flow rate visibly decreases, usually every 2 to 4 weeks. Never wash biological media with tap water; the chlorine will kill the nitrifying bacteria and crash the nitrogen cycle.
What size pump do I need for my filter?
Calculate your pond volume (Length x Width x Average Depth x 7.48). Select a pump that moves the total volume every 1 to 2 hours. For a 1,000-gallon pond, use a 500-1,000 GPH pump.
Can I run my pond filter in the winter?
In zones with hard freezes, pull the pump and filter to prevent ice expansion from cracking the housing. In milder climates, keep it running to maintain oxygenation, provided the water does not freeze solid and block the intake.
Why is my pond still cloudy after installing a filter?
Biological filters require 4 to 6 weeks to establish a bacterial colony. During this "New Pond Syndrome" phase, ammonia levels may spike. Avoid overfeeding fish and ensure the UV clarifier bulb is functioning to kill suspended algae.