8 High-Humidity Steps for Repotting a Calathea
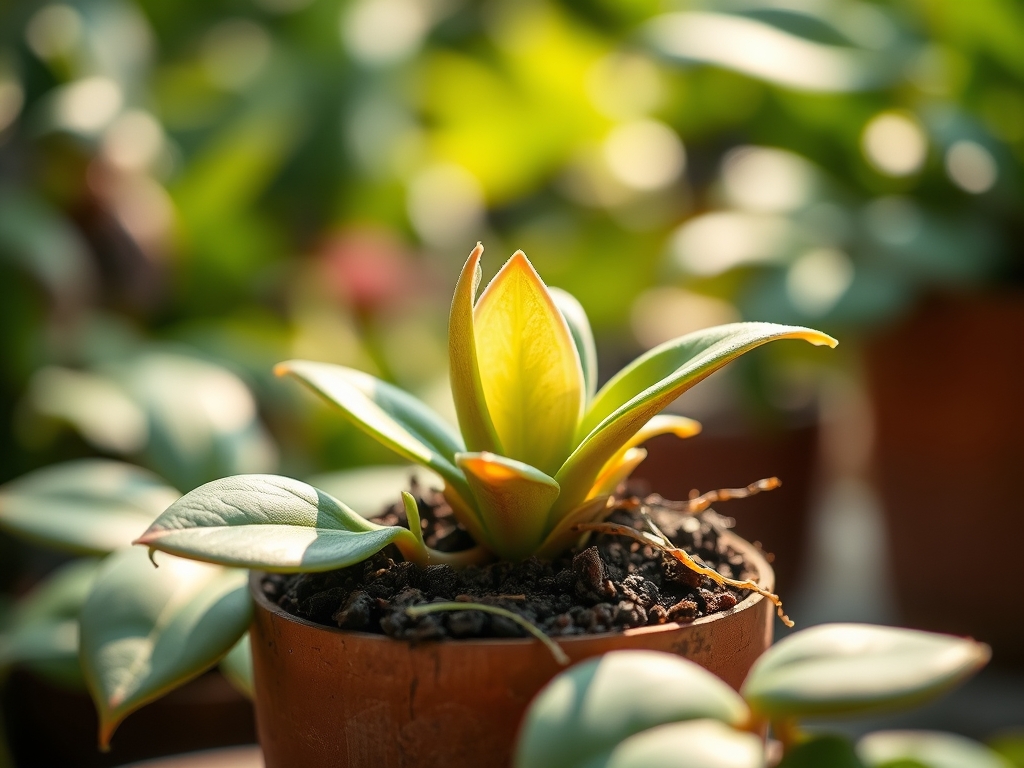
The air around a Calathea thickens with moisture as leaf edges begin to brown, a signal that roots have spiraled into themselves within the nursery pot. Mastering the steps for repotting a calathea means controlling three variables: substrate aeration, humidity retention, and minimal root disturbance during the transfer. These Brazilian understory natives demand specific conditions that replicate the forest floor, where organic matter decomposes at 6.0–6.5 pH and ambient humidity hovers near 70 percent.
Materials
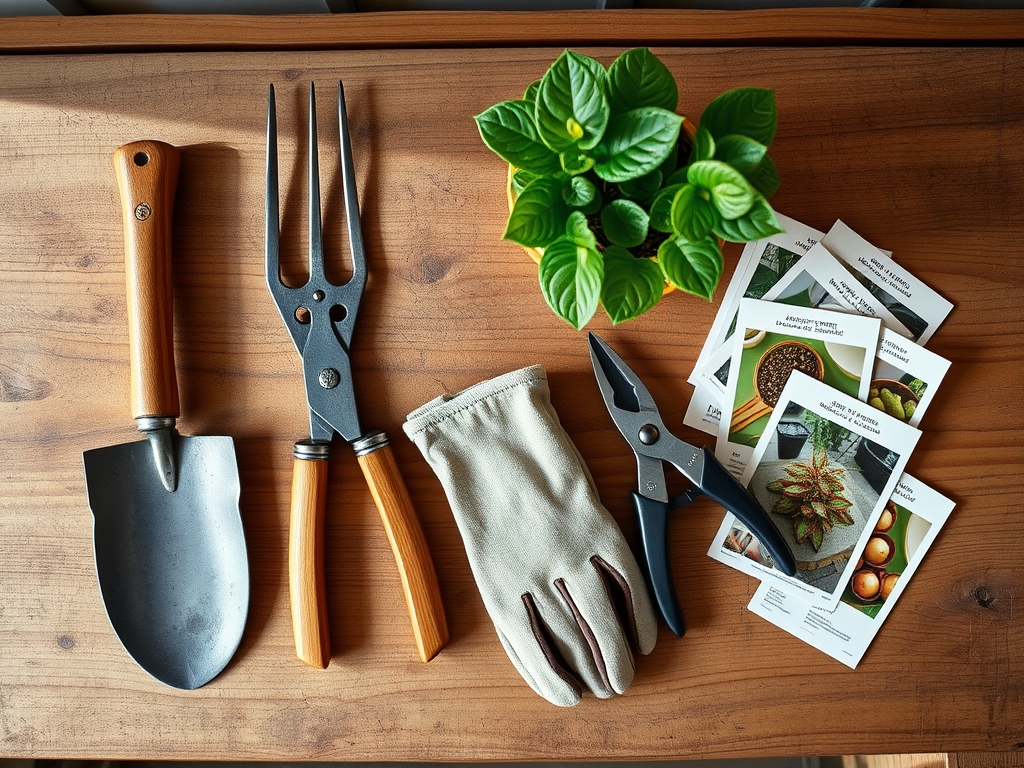
Select a pot 2 inches wider than the current container, constructed from glazed ceramic or thick plastic to maintain substrate moisture. The new vessel must include drainage holes measuring at least 0.5 inches in diameter.
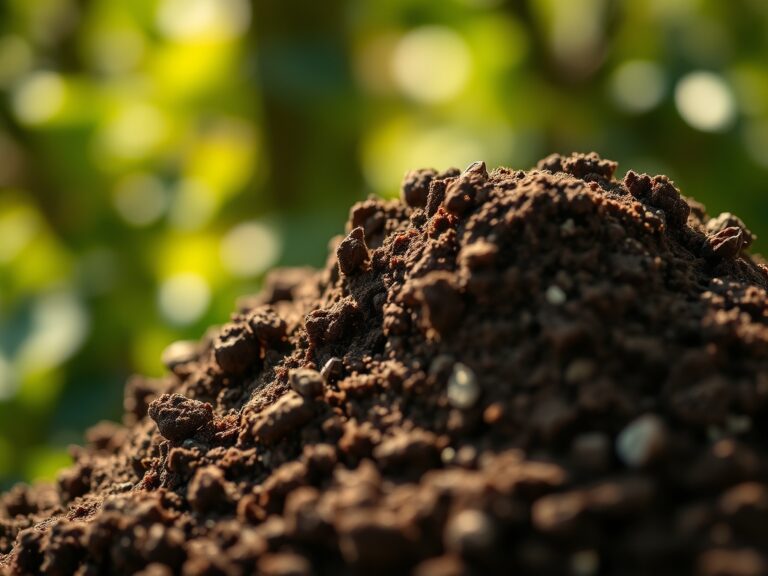
For substrate, combine equal parts peat moss (pH 3.5–4.5), perlite (neutral pH), and orchid bark (aged, pH 5.5–6.5). Add 10 percent worm castings for slow-release nitrogen, targeting an NPK ratio near 1-0-0 from the castings alone. Incorporate mycorrhizal fungi inoculant at the root zone, applying 1 teaspoon per gallon of soil mix to enhance phosphorus uptake and establish symbiotic networks. The finished blend should register between 6.0–6.5 pH when tested with a slurry method.
Prepare a diluted rooting hormone solution (0.1 percent IBA concentration) for post-transplant application. Gather sterilized pruning shears, a spray bottle filled with distilled water, and a humidity dome or clear plastic bag large enough to cover the entire plant.
Timing
Execute repotting during active growth periods, specifically April through June in USDA Hardiness Zones 9–11 where outdoor cultivation occurs. For indoor specimens across all zones, schedule the procedure when daytime temperatures stabilize between 70–80°F and nighttime lows remain above 60°F.
Avoid repotting during dormancy (November through February) when auxin distribution slows and root regeneration rates drop by 60 percent. Monitor the last frost date for your region; outdoor Calatheas require a minimum two-week buffer after the final freeze before experiencing transplant stress.
Phases
Step 1: Pre-Hydration
Water the Calathea 24 hours before repotting to increase cell turgor pressure. This reduces leaf wilt during the procedure and allows roots to slide from the container with less tearing.
Step 2: Extraction
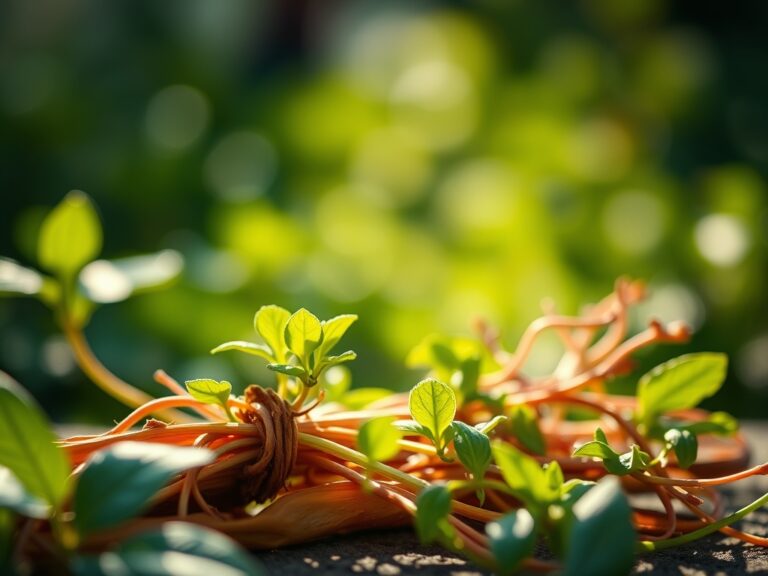
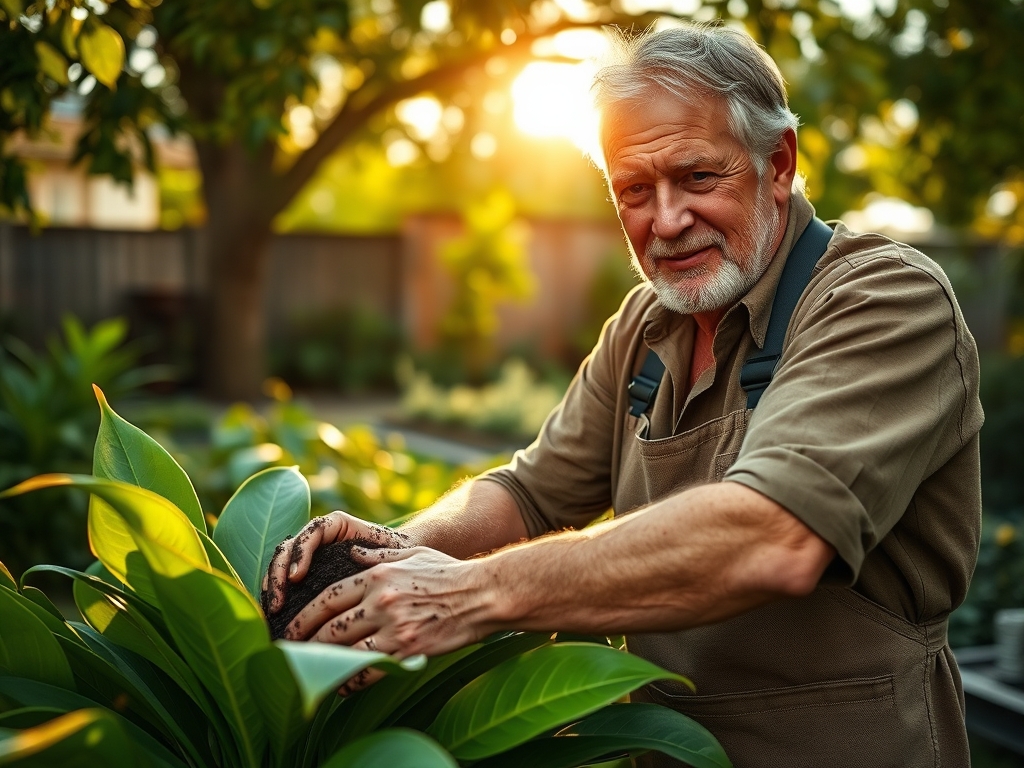
Tip the pot to a 45-degree angle and tap the base firmly. Support the crown with your palm spread across the soil surface. Slide the root ball free without pulling on stems, which damages vascular tissue at the connection points.
Step 3: Root Inspection and Pruning
Examine roots for circling patterns. Cut away any roots forming complete circles using shears sterilized in 70 percent isopropyl alcohol. Remove brown, mushy sections that indicate rot, making cuts at 30-degree angles to maximize surface area for callus formation.
Pro-Tip: Apply cinnamon powder (a natural antifungal containing cinnamaldehyde) directly to pruned root surfaces to prevent pathogen colonization.
Step 4: Substrate Layering
Add 1 inch of prepared substrate to the new pot's base. Create a small mound in the center to support the root ball at the correct height. The crown should sit 0.5 inches below the pot rim after settling.
Step 5: Positioning and Filling
Center the root ball on the mound. Fill gaps with substrate, tapping the pot sides every 2 inches of added material to eliminate air pockets that disrupt water movement. Maintain the original planting depth; burying stems deeper invites bacterial soft rot at the base.
Pro-Tip: Press substrate firmly around the perimeter but leave the center slightly loose to encourage vertical root penetration rather than continued circling.
Step 6: Initial Watering
Apply distilled or rainwater until it exits drainage holes. Discard runoff immediately to prevent salt accumulation in the saucer. This first watering settles substrate particles and establishes contact between roots and soil.
Step 7: Rooting Hormone Application
Mist the exposed substrate surface with diluted IBA solution, applying 2 ounces per 6-inch pot diameter. This stimulates lateral root development within the first 14 days post-transplant.
Step 8: Humidity Enclosure
Place the pot inside a humidity dome or drape a clear plastic bag over the foliage, ensuring it does not touch leaves. Vent the enclosure for 10 minutes twice daily to prevent fungal growth. Maintain this environment for 10 days while new root hairs establish.
Pro-Tip: Position the enclosed plant in bright, indirect light measuring 1,000–2,000 foot-candles to balance photosynthesis with reduced transpiration rates.
Troubleshooting
Symptom: Leaf edges turn brown and crisp within 48 hours.
Solution: Humidity dropped below 60 percent. Re-install the humidity dome and mist foliage with distilled water every 8 hours. Check that substrate moisture remains at 40 percent field capacity.
Symptom: Leaves curl inward and stems soften at the base.
Solution: Overwatering has compromised root function and introduced Pythium. Remove from substrate, cut away all brown roots, and repot in fresh, dry mix with improved drainage. Withhold water for 72 hours.
Symptom: New growth emerges pale yellow or white.
Solution: Nitrogen deficiency from excessive substrate aeration. Top-dress with 1 tablespoon worm castings per 6-inch pot diameter to provide gradual nitrogen release at 1-0-0 NPK.
Symptom: Spider mites appear as fine webbing between leaf veins.
Solution: Low humidity (below 50 percent) attracts these pests. Spray undersides of leaves with neem oil emulsion (2 tablespoons per quart water) every 5 days for three applications. Increase ambient humidity to 65 percent.
Symptom: Growth stalls completely for 4 weeks post-repotting.
Solution: Transplant shock from excessive root pruning. Apply kelp extract fertilizer (0-0-1 NPK) at half-strength weekly to supply cytokinins that stimulate cell division.
Maintenance
Measure soil moisture with a probe inserted 2 inches deep. Water when readings drop to 30 percent, applying 8 ounces per 6-inch pot until drainage occurs. Frequency ranges from every 4 days in summer to every 9 days in winter.
Fertilize every 14 days during the growing season with a balanced liquid formula at 1-1-1 NPK ratio, diluted to one-quarter package strength. Flush substrate monthly with three times the pot volume in distilled water to leach accumulated salts.
Maintain ambient humidity between 60–70 percent using a cool-mist humidifier positioned 3 feet from foliage. Monitor with a digital hygrometer placed at plant height.
Wipe leaves weekly with a damp microfiber cloth to remove dust that blocks stomata and reduces gas exchange efficiency by up to 30 percent.
FAQ
How often do Calatheas need repotting?
Every 18–24 months when roots emerge from drainage holes or growth slows despite adequate fertilization. Root-bound specimens show 40 percent reduced leaf expansion.
Can I use tap water for repotting?
Only if total dissolved solids measure below 150 ppm and chlorine has dissipated for 24 hours. High salts damage root hairs and interfere with cation exchange capacity.
What pot size increase is appropriate?
Move up exactly 2 inches in diameter. Excessive substrate volume retains water longer than roots can absorb, creating anaerobic conditions that kill fine roots within 7 days.
Should I remove old soil completely?
Remove only loose material from the outer root zone. Soil clinging directly to roots contains established mycorrhizal networks critical for phosphorus uptake. Disturbing this layer extends recovery time by 3 weeks.
Why do leaves droop after repotting?
Temporary loss of root hairs reduces water uptake capacity by 50 percent. Drooping reverses within 5–7 days as new root hairs regenerate at a rate of 0.1 inches per day under optimal humidity.