7 Classic Steps to Install a Garden Arbor
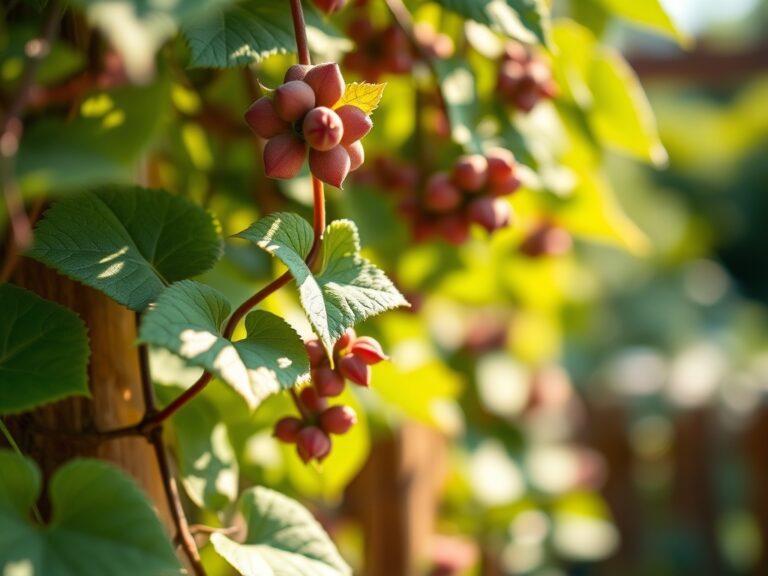
The smell of damp, anaerobic clay mixed with the sharp scent of crushed pine needles signals the start of a structural installation. Success in the landscape depends on more than aesthetics; it requires understanding the mechanical load and the biological needs of the surrounding flora. When executing the steps to install a garden arbor, the primary objective is to secure a permanent structure without compromising the rhizosphere of nearby perennials. A well placed arbor manages light infiltration and directs vertical growth, transforming the garden's spatial architecture through calculated engineering and horticultural precision.
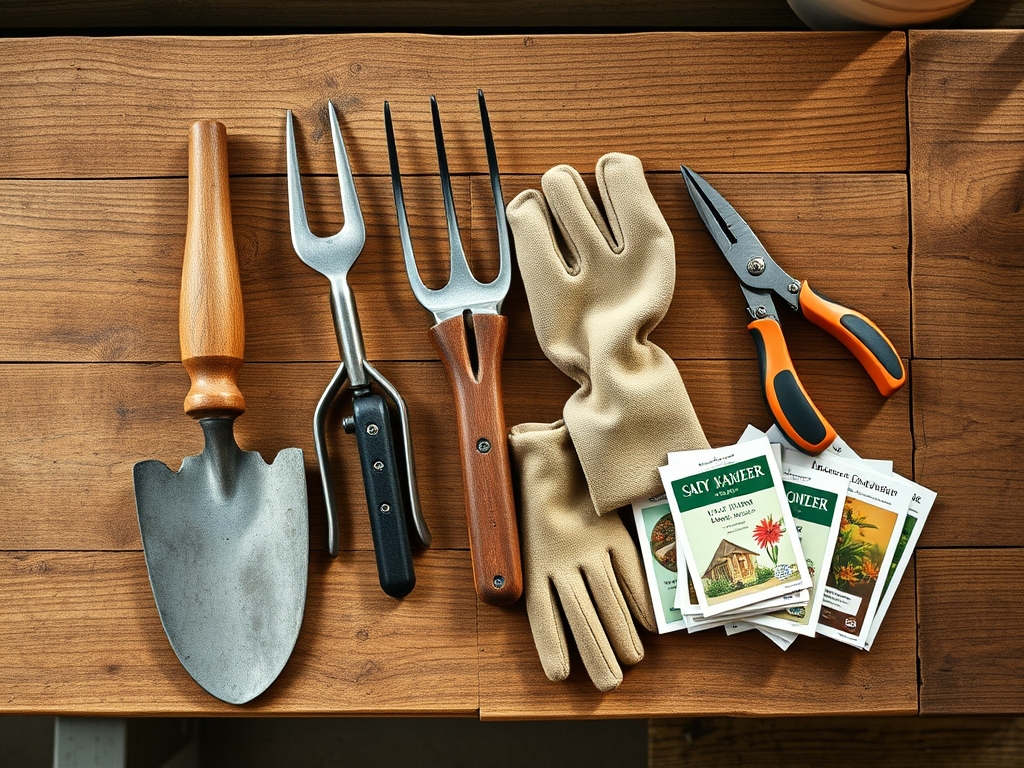
Materials:
The foundation of any vertical structure is the substrate it sits within. For an arbor intended to support heavy woody vines like Wisteria or Campsis radicans, the soil must be a friable loam with a high Cation Exchange Capacity (CEC). This ensures the soil can hold the nutrients required for the rapid biomass production of climbing plants.
The ideal soil environment for the arbor base should maintain a pH between 6.0 and 7.0. Before setting posts, amend the surrounding soil with a balanced 10-10-10 NPK ratio to provide a baseline of nitrogen, phosphorus, and potassium. If you are planting heavy feeders at the base, increase the phosphorus (the middle number) to a 5-10-5 ratio to stimulate vigorous root development and structural lignification. Avoid high-clay soils that retain excessive moisture; these can lead to anaerobic conditions and root rot. Ensure the texture allows for rapid drainage while maintaining enough organic matter to support mycorrhizal symbiosis.
Timing:
The biological clock of your garden dictates the installation window. In USDA Hardiness Zones 4 through 7, the optimal time for installation is late winter or early spring, before the transition from the vegetative stage to the reproductive stage begins. You must complete the ground-breaking steps before the first thaw-freeze cycle ends to avoid soil compaction.
In Zones 8 through 10, installation is best performed in late autumn. This allows the soil to settle and the root systems of accompanying climbers to establish during the cooler months when transpiration rates are low. Installing during a period of plant senescence (dormancy) minimizes the risk of transplant shock for any vegetation you must move to accommodate the arbor posts. Always verify your local frost-free date; setting posts in frozen ground leads to "heaving" as the ice crystals expand and contract, which will compromise the plumb line of your structure.
Phases:
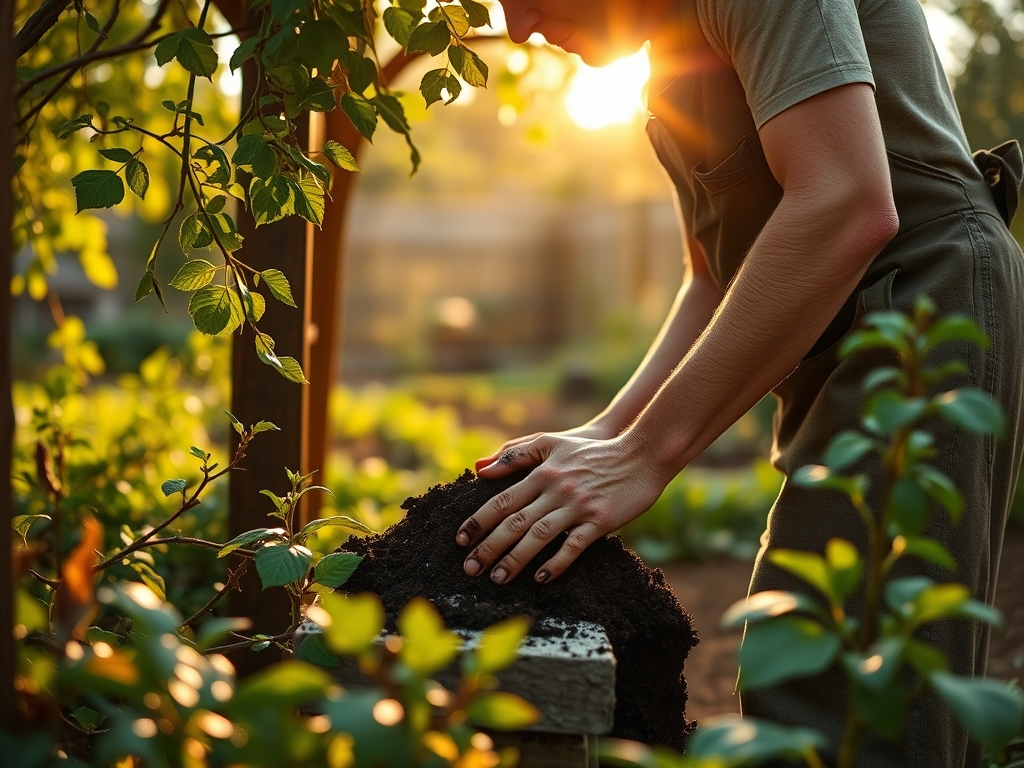
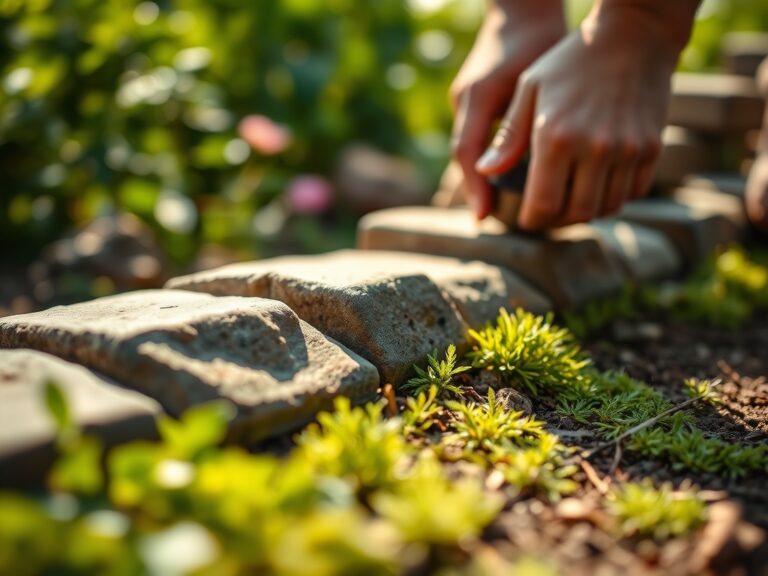
Sowing and Site Preparation
Begin by clearing a radius of 24 inches around each post location. Remove all competitive weeds and turf. Use a soil moisture meter to ensure the ground is not saturated; digging in wet soil destroys the soil structure by collapsing the macropores necessary for oxygen exchange.
Pro-Tip: Maintaining soil porosity is vital because roots require oxygen for cellular respiration. Compacting the soil during installation creates a physical barrier that restricts root penetration and limits the plant's ability to access deep-water reserves.
Transplanting and Post Setting
Dig holes to a depth of at least 24 to 36 inches, or below the frost line for your specific zone. For the arbor to remain stable under the weight of a mature vine, the post must be anchored in 6 inches of crushed gravel for drainage, followed by concrete or tightly packed structural fill. When placing plants at the base, ensure the root flare is visible at the soil surface.
Pro-Tip: When positioning climbing plants, understand phototropism. Plants will naturally grow toward the strongest light source. Align your arbor on a North-South axis to ensure both sides of the structure receive equal solar radiation, preventing lopsided growth and uneven weight distribution.
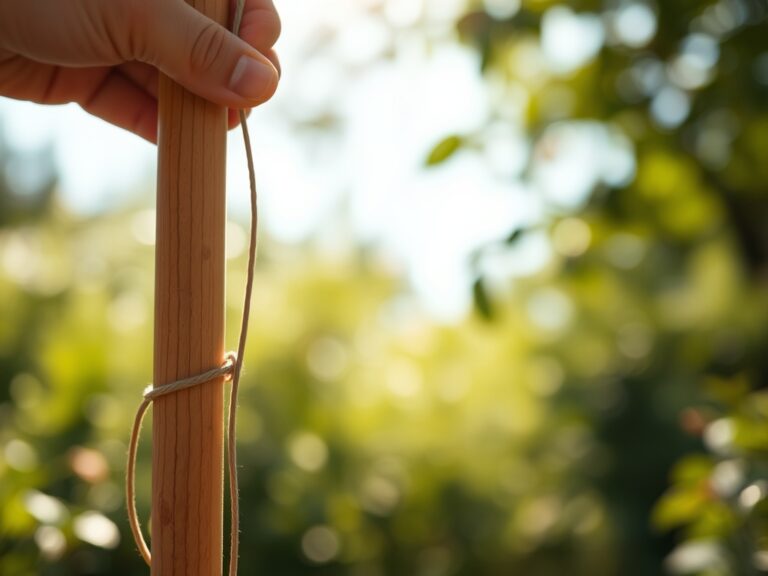
Establishing the Canopy
Once the structure is secure, begin training the primary leaders of your chosen climbers. Use soft garden twine to secure stems to the arbor. Avoid tight wire that can cause girdling, which restricts the flow of water and nutrients through the xylem and phloem.
Pro-Tip: Prune the lateral buds to encourage apical dominance. By suppressing the auxins in the side shoots, you force the plant to direct its energy toward the main leader, allowing it to reach the top of the arbor faster.
The Clinic:
Physiological disorders often manifest shortly after structural changes in the garden. Monitor your plants for these specific symptoms:
- Nitrogen Chlorosis: If the older leaves at the base of your arbor-climbing plants turn pale yellow while the veins remain green, the plant lacks nitrogen. Fix this by applying a liquid 20-20-20 fertilizer to the root zone for immediate uptake.
- Leaf Scorch: This occurs when the transpiration rate exceeds the water uptake. It often happens when heat radiates off a metal arbor. Increase irrigation to 2 inches of water per week during peak summer.
- Iron Deficiency: Common in alkaline soils (pH above 7.0), this causes yellowing of new growth. Apply chelated iron to the soil to lower the pH and restore chlorophyll production.
- Etiolation: If the plant stems are spindly and pale, they are not receiving enough light. Thin the surrounding tree canopy to increase the photosynthetically active radiation (PAR) reaching the arbor.
Maintenance:
A garden arbor is a living component of the landscape. Precision maintenance is required to prevent the structure from becoming a liability. Use a hori-hori knife to remove deep-rooted weeds near the posts without disturbing the primary root ball of your climbers.
Irrigation must be targeted. Provide 1.5 inches of water per week delivered directly to the drip line using a soaker hose. This encourages deep root growth rather than shallow, weak systems. Every spring, use bypass pruners to remove dead, damaged, or diseased wood (the "3 Ds"). Make cuts at a 45-degree angle just above a lateral bud to promote rapid healing and prevent fungal pathogens from entering the vascular system. Check the structural integrity of the arbor annually; wood rot or rusted bolts can lead to a catastrophic collapse under the weight of a rain-soaked canopy.
The Yield:
If your arbor supports flowering vines like Clematis or edible grapes, timing the harvest is a matter of chemical balance. For flowers, harvest in the early morning when turgor pressure is at its highest. This ensures the blooms remain rigid and fresh. For grapes, use a refractometer to measure the Brix level (sugar content). A reading of 18 to 22 indicates peak ripeness. Use sharp shears to cut the cluster stem; never pull the fruit, as this damages the fruiting spur for the following season. Post-harvest, keep the produce in a high-humidity, cool environment to slow the rate of respiration and senescence.
FAQ:
How deep should I set garden arbor posts?
Posts should be buried at least 24 to 36 inches deep. In colder climates, you must place the base of the post below the local frost line to prevent the structure from shifting during the winter freeze-thaw cycles.
What is the best soil for plants near an arbor?
A well-draining friable loam with a pH of 6.0 to 7.0 is ideal. The soil should have a high organic matter content to support a healthy rhizosphere and provide the necessary nutrients for vertical growth.
How do I prevent my arbor from rotting?
Use pressure-treated wood or rot-resistant species like cedar. Ensure the base of the post sits on 6 inches of gravel to facilitate drainage and prevent water from pooling around the wood, which leads to fungal decay.
When should I prune vines on an arbor?
Prune during the dormant season, typically late winter. This prevents sap loss and reduces the risk of pest infestation. Removing old wood encourages the plant to direct energy into new, vigorous growth during the spring vegetative phase.