8 Simple Steps to Waterproof Tool Bags
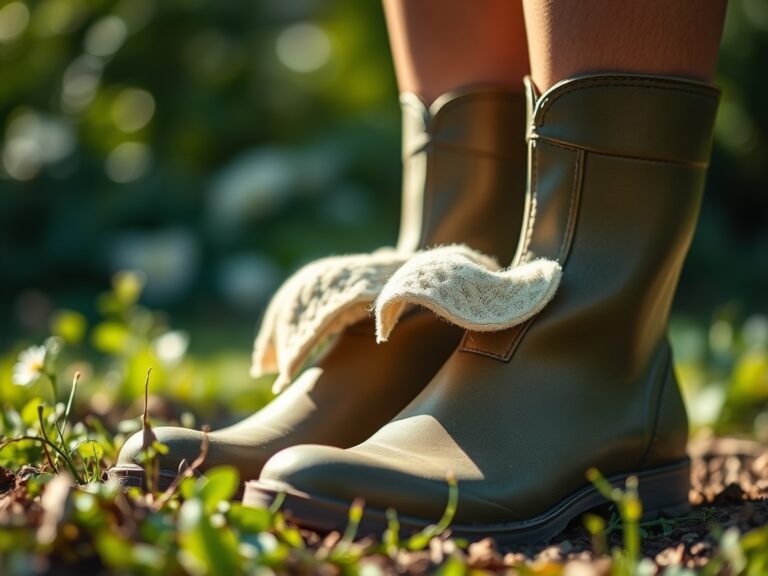
The smell of damp earth and the crisp turgor of a healthy leaf define a successful season, but moisture is a silent predator for steel and canvas. When humidity spikes, condensation settles into the fibers of your gear, initiating oxidation on high carbon steel blades. Protecting your equipment is as vital as protecting your crop. Following specific steps to waterproof tool bags ensures that your hori-hori knives and bypass pruners remain free of rust while sitting in the rhizosphere during field operations. Proper moisture barriers prevent the capillary action of water from wicking into the fabric and compromising the integrity of your professional kit.
Materials:
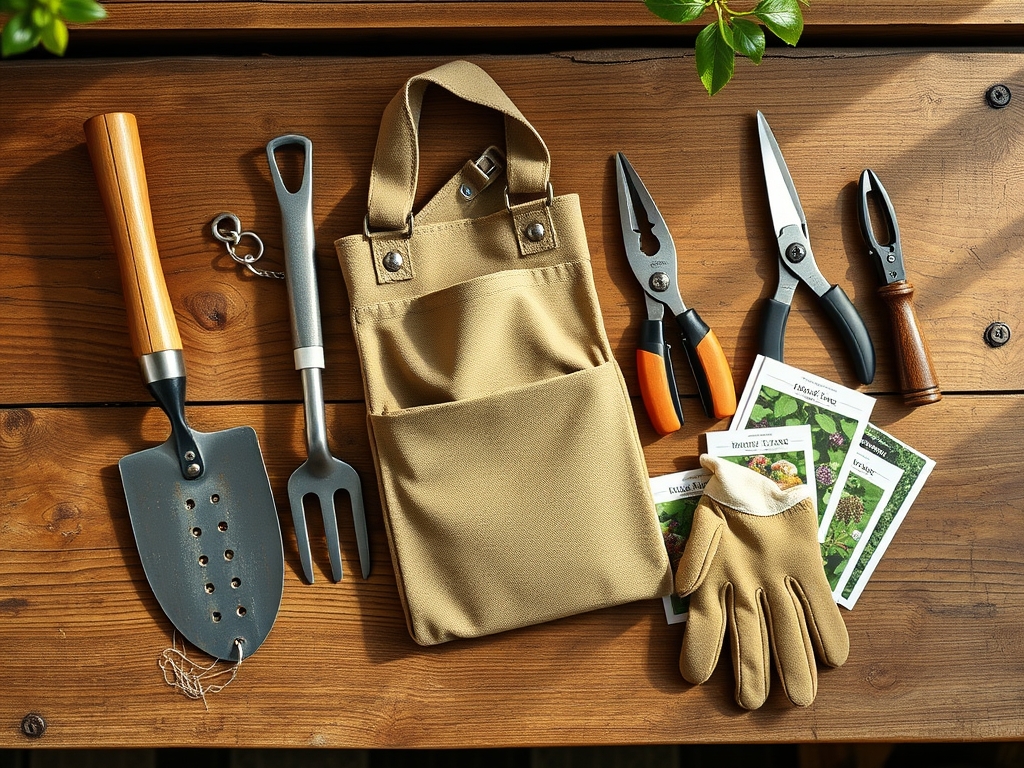
A successful waterproofing project requires a clean environment and specific chemical compounds. Just as a **friable loam** requires a balanced **Cation Exchange Capacity (CEC)** to hold nutrients, your bag requires a substrate that can bond with hydrophobic agents. If your workspace has a soil pH of 6.5 and an NPK ratio of **10-10-10**, it is ideal for general gardening, but for this task, you need a dry, neutral surface. You will need a paraffin or beeswax base for canvas, or a fluoropolymer spray for synthetic fibers. These materials create a surface tension that mimics the waxy cuticle of a *Prunus* leaf, forcing water to bead and roll off rather than penetrate the cellular structure of the fabric.
Timing:
Hardiness Zones 3 through 9 dictate the window for this maintenance. You must complete these steps before the first frost date when the "Biological Clock" of your garden shifts from the vegetative stage to senescence. In Zone 7, this usually occurs by late October. Waterproofing should be performed when ambient temperatures are between 65 and 75 degrees Fahrenheit to allow for proper molecular bonding of the sealant. If you wait until the dormant season, the cold will prevent the wax or spray from curing, leading to a brittle finish that cracks under the mechanical stress of daily use.
Phases:

Sowing the Foundation
The first step involves deep cleaning. Remove all debris, including dried mud and organic matter. Use a stiff brush to clear the weave. This is analogous to preparing a seedbed; any leftover pathogens or fungal spores trapped in the fabric can lead to rot once the bag is sealed. Ensure the bag is 100 percent dry before proceeding.
Pro-Tip: Moisture trapped under a sealant creates an anaerobic environment. This promotes the growth of mildew, similar to how compacted soil leads to root rot by depriving the rhizosphere of necessary oxygen.
Transplanting the Sealant
Apply your chosen waterproofing agent in thin, even layers. If using a wax bar, rub it vigorously against the fabric until the friction creates enough heat to melt the wax into the fibers. For sprays, maintain a distance of 8 to 12 inches to avoid pooling. Focus on the seams, as these are the primary points of failure where water ingress is most likely.
Pro-Tip: Heat the waxed fabric with a hairdryer to encourage deep penetration. This utilizes thermal expansion, much like how increased soil temperatures accelerate the uptake of water and nutrients through osmotic pressure.
Establishing the Barrier
Allow the bag to cure in a well-ventilated area for at least 24 hours. Do not expose it to direct sunlight immediately, as UV radiation can degrade certain synthetic polymers before they have fully bonded. Once cured, the surface should feel dry to the touch and exhibit high surface tension.
Pro-Tip: Proper curing ensures the longevity of the hydrophobic layer. This mimics the development of the Casparian strip in plant roots, which acts as a selective barrier to regulate the movement of water and minerals.
The Clinic:
Physiological disorders in tool bags often mirror those in plants. Use the following diagnostic guide to maintain your gear.
- Symptom: White, powdery residue on canvas.
Solution: This is often mildew caused by storing a damp bag. Clean with a 10 percent bleach solution and re-waterproof. - Symptom: Fabric stiffness or cracking.
Solution: Over-application of wax. Use a heat gun to redistribute the wax or remove excess with a lint-free cloth. - Symptom: Water soaking through seams despite treatment.
Solution: Mechanical failure of the thread. Apply a dedicated seam sealer containing polyurethane. - Fix-It for Nutrient Deficiencies: Just as Nitrogen chlorosis causes yellowing in leaves, a lack of "nutrition" (conditioning) in leather tool bags causes fading and brittleness. Apply a mink oil or neatsfoot oil to restore flexibility and prevent desiccation.
Maintenance:
Maintain your bag with the same precision you use for irrigation. While a garden might require 1.5 inches of water per week at the drip line, your tool bag requires zero. Use a soil moisture meter to check the humidity levels in your tool shed; levels should remain below 50 percent. Wipe down your hori-hori knife after every use to prevent the transfer of moisture to the bag's interior. If the bag becomes soiled, spot clean it immediately with a damp cloth rather than submerging it, which would strip the protective oils and waxes.
The Yield:
A well-maintained tool bag yields efficiency. When your tools are sharp and rust-free, your cuts are cleaner, reducing the risk of introducing pathogens to your plants. Harvesting herbs like Ocimum basilicum requires precise, quick snips to ensure "day-one" freshness and prevent bruising. A waterproof bag ensures that your bypass pruners are always in peak condition for this task. The longevity of your equipment is the ultimate harvest of your maintenance efforts.
FAQ:
How often should I waterproof my tool bag?
Reapply treatment once every six to twelve months. Frequency depends on your local Hardiness Zone and exposure to precipitation. If water stops beading on the surface, the hydrophobic barrier has degraded and requires immediate replenishment.
Can I use candle wax for waterproofing?
Avoid scented or colored candles. Use 100 percent natural beeswax or specialized paraffin blends. Impurities in standard candles can degrade fabric fibers over time and attract pests that may carry pathogens into your garden environment.
Will waterproofing make my bag heavy?
A standard wax treatment adds approximately 2 to 4 ounces to the total weight. This is a negligible trade-off for the protection provided against oxidation and fungal degradation of the tool bag's structural integrity.
Does waterproofing affect the breathability of the fabric?
Heavy waxing significantly reduces airflow. For synthetic bags, use a fluoropolymer spray to maintain some breathability while still providing water resistance. This prevents condensation from building up inside the bag during high-humidity cycles.